diy: clay ornaments
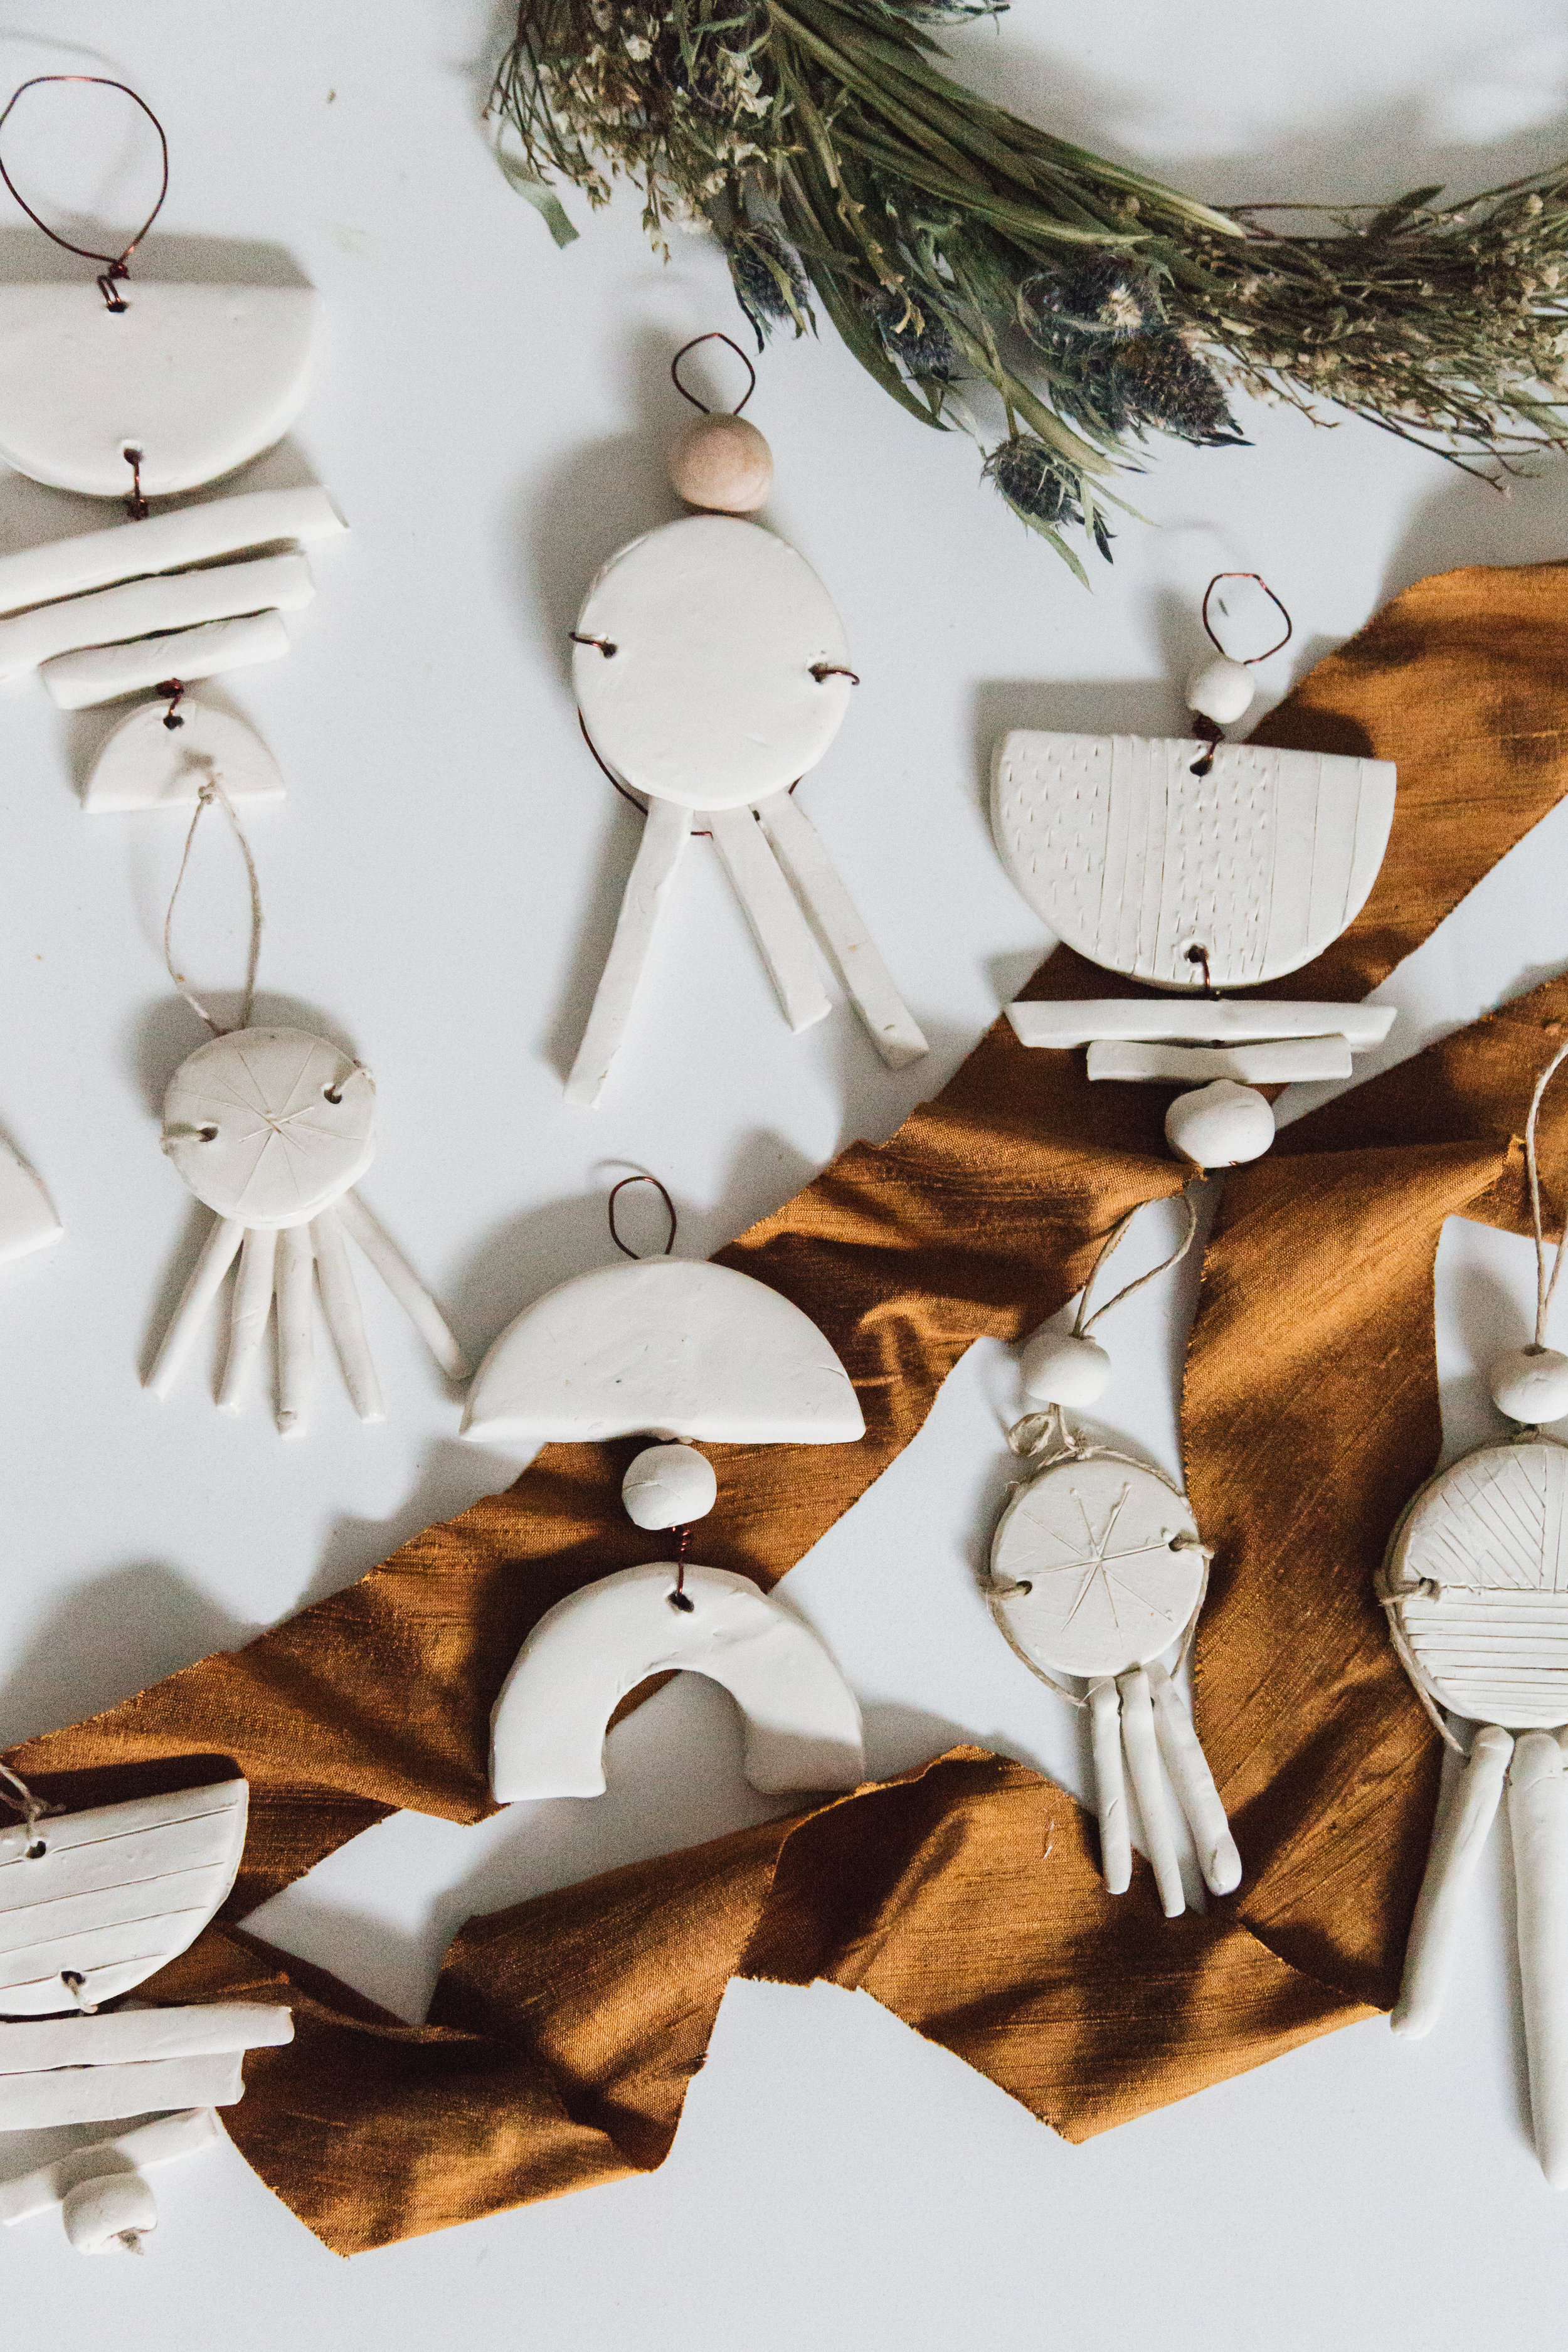
We’ve been taking turns with the flu in our home, i’m pretty sure i’ve been through it twice at this point. Today I snuck out to the craft store before my husband left for work and stocked up on craft supplies and stuff to make some ornaments for our tree and as gifts! I wasnt even planning on doing a tutorial on the blog but I got so much interest after i posted to instagram stories that I would share here and make it easier to just direct my lovely tribe here for details etc!
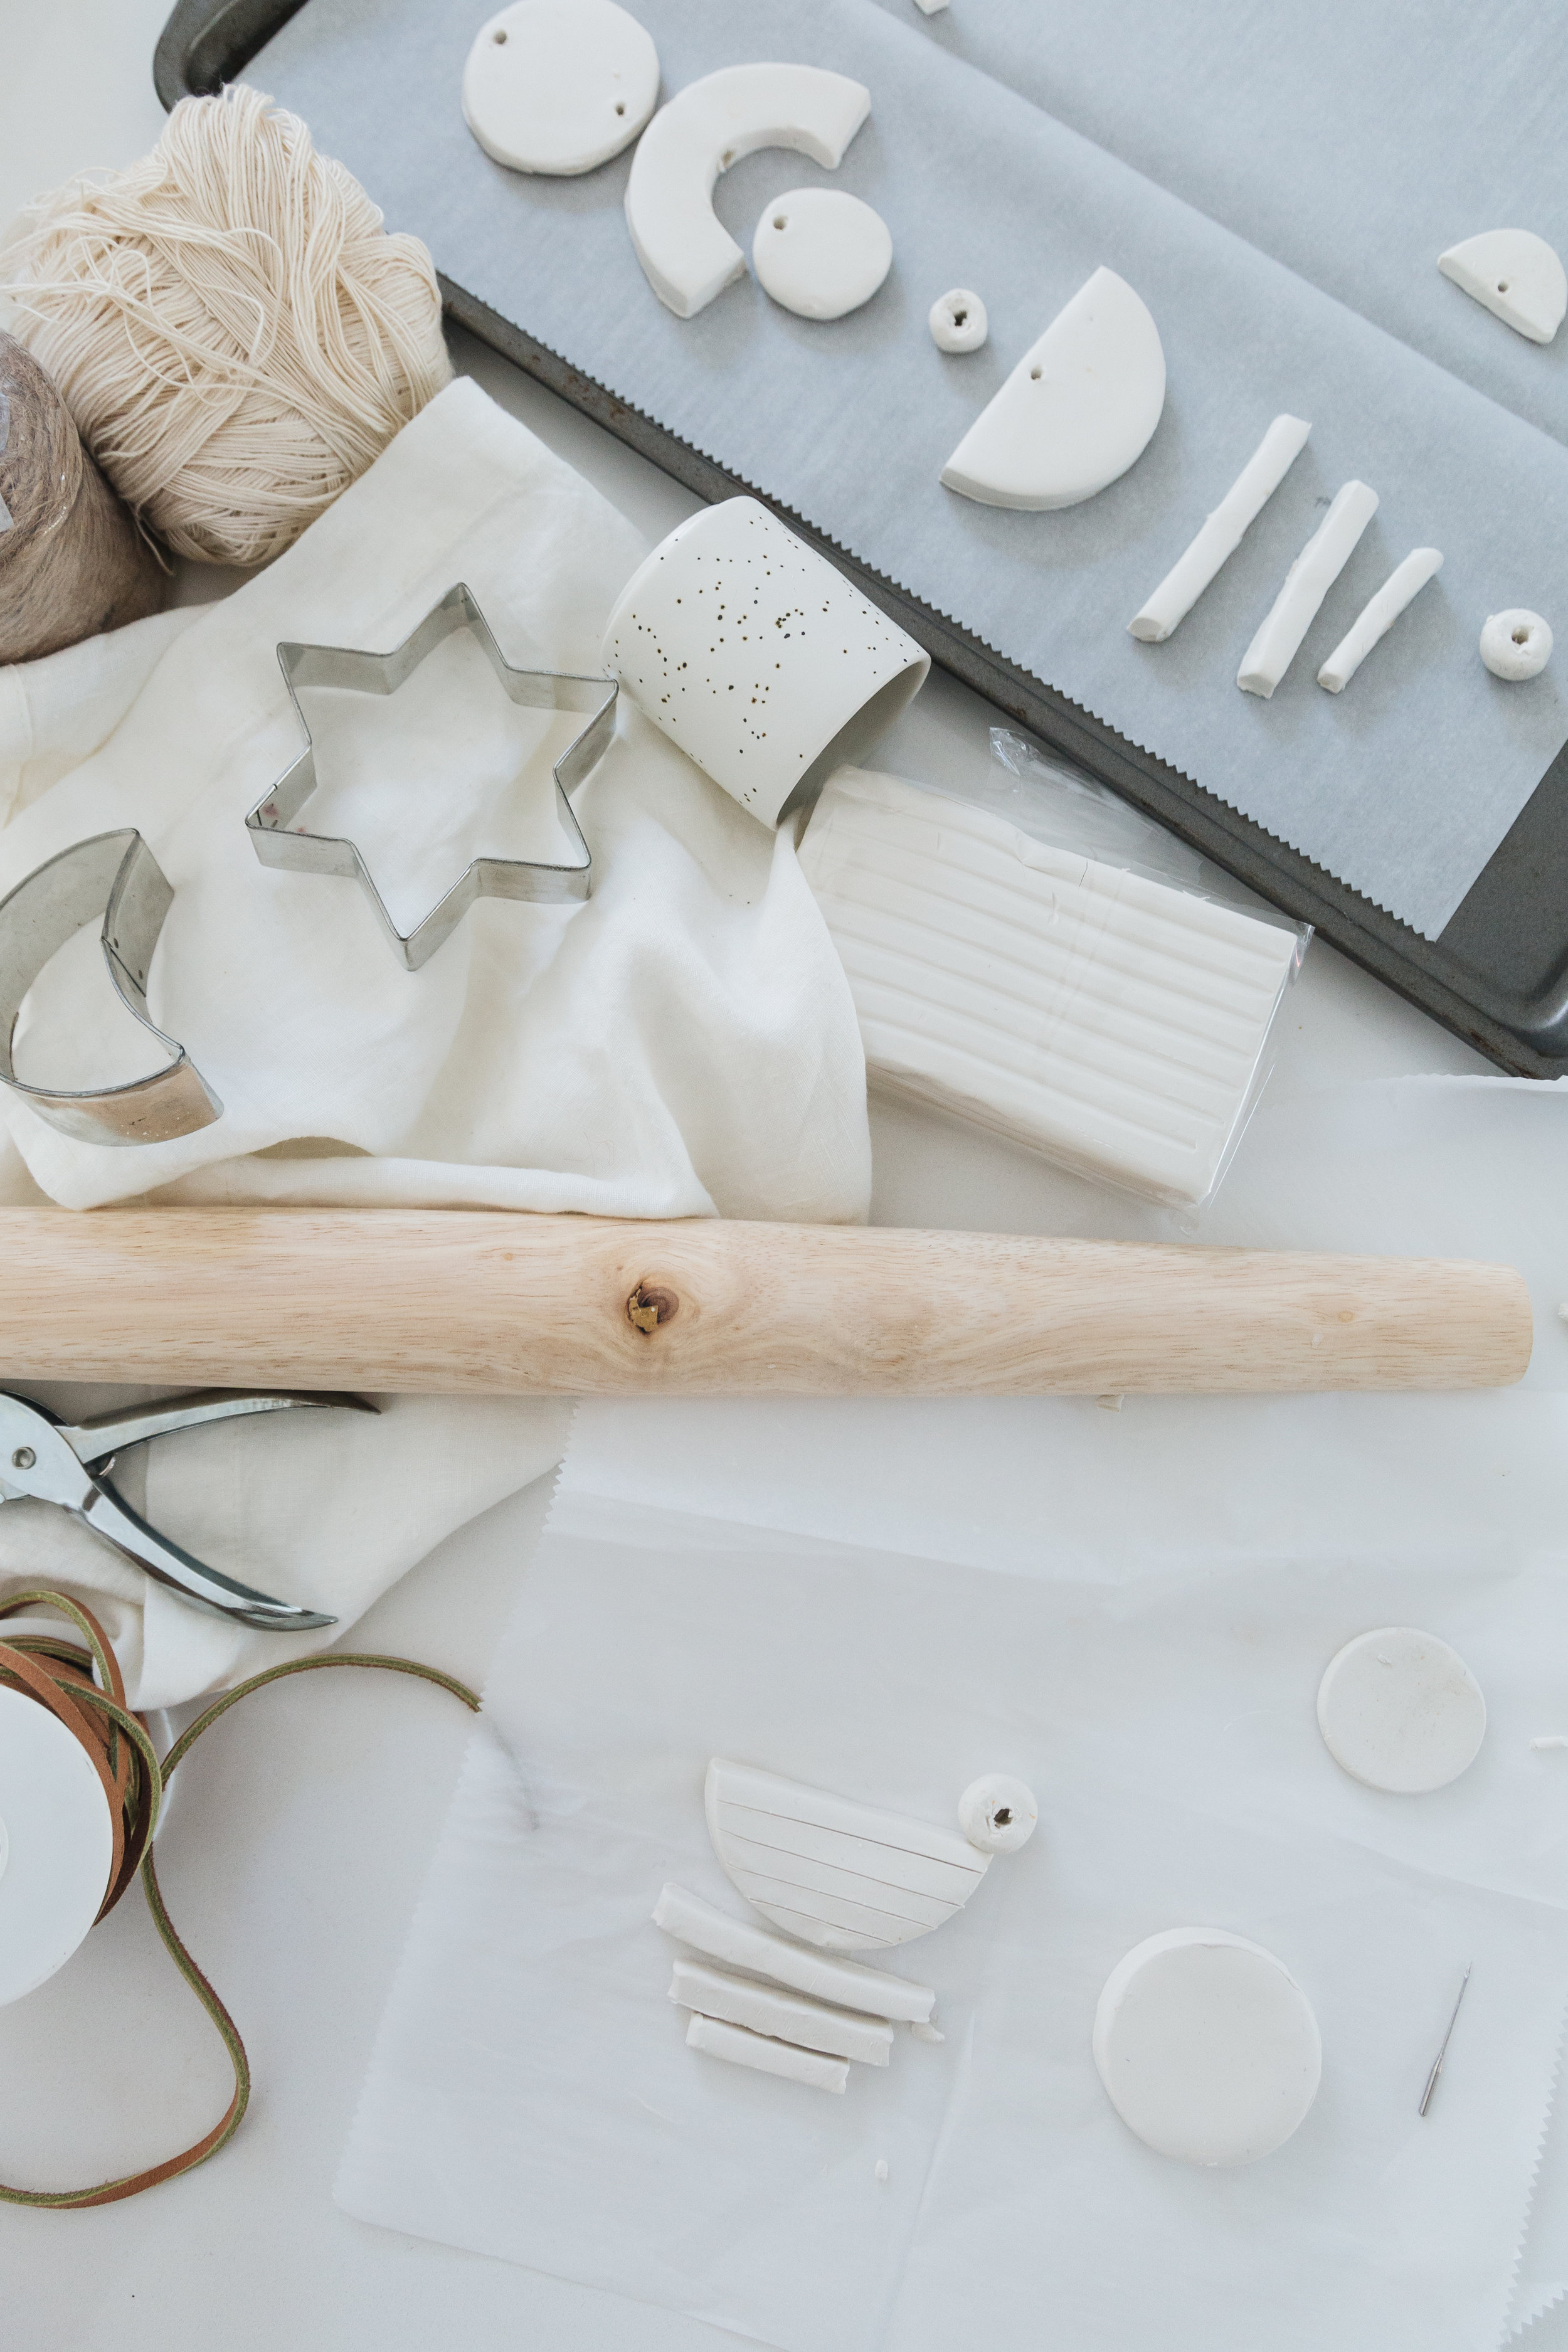
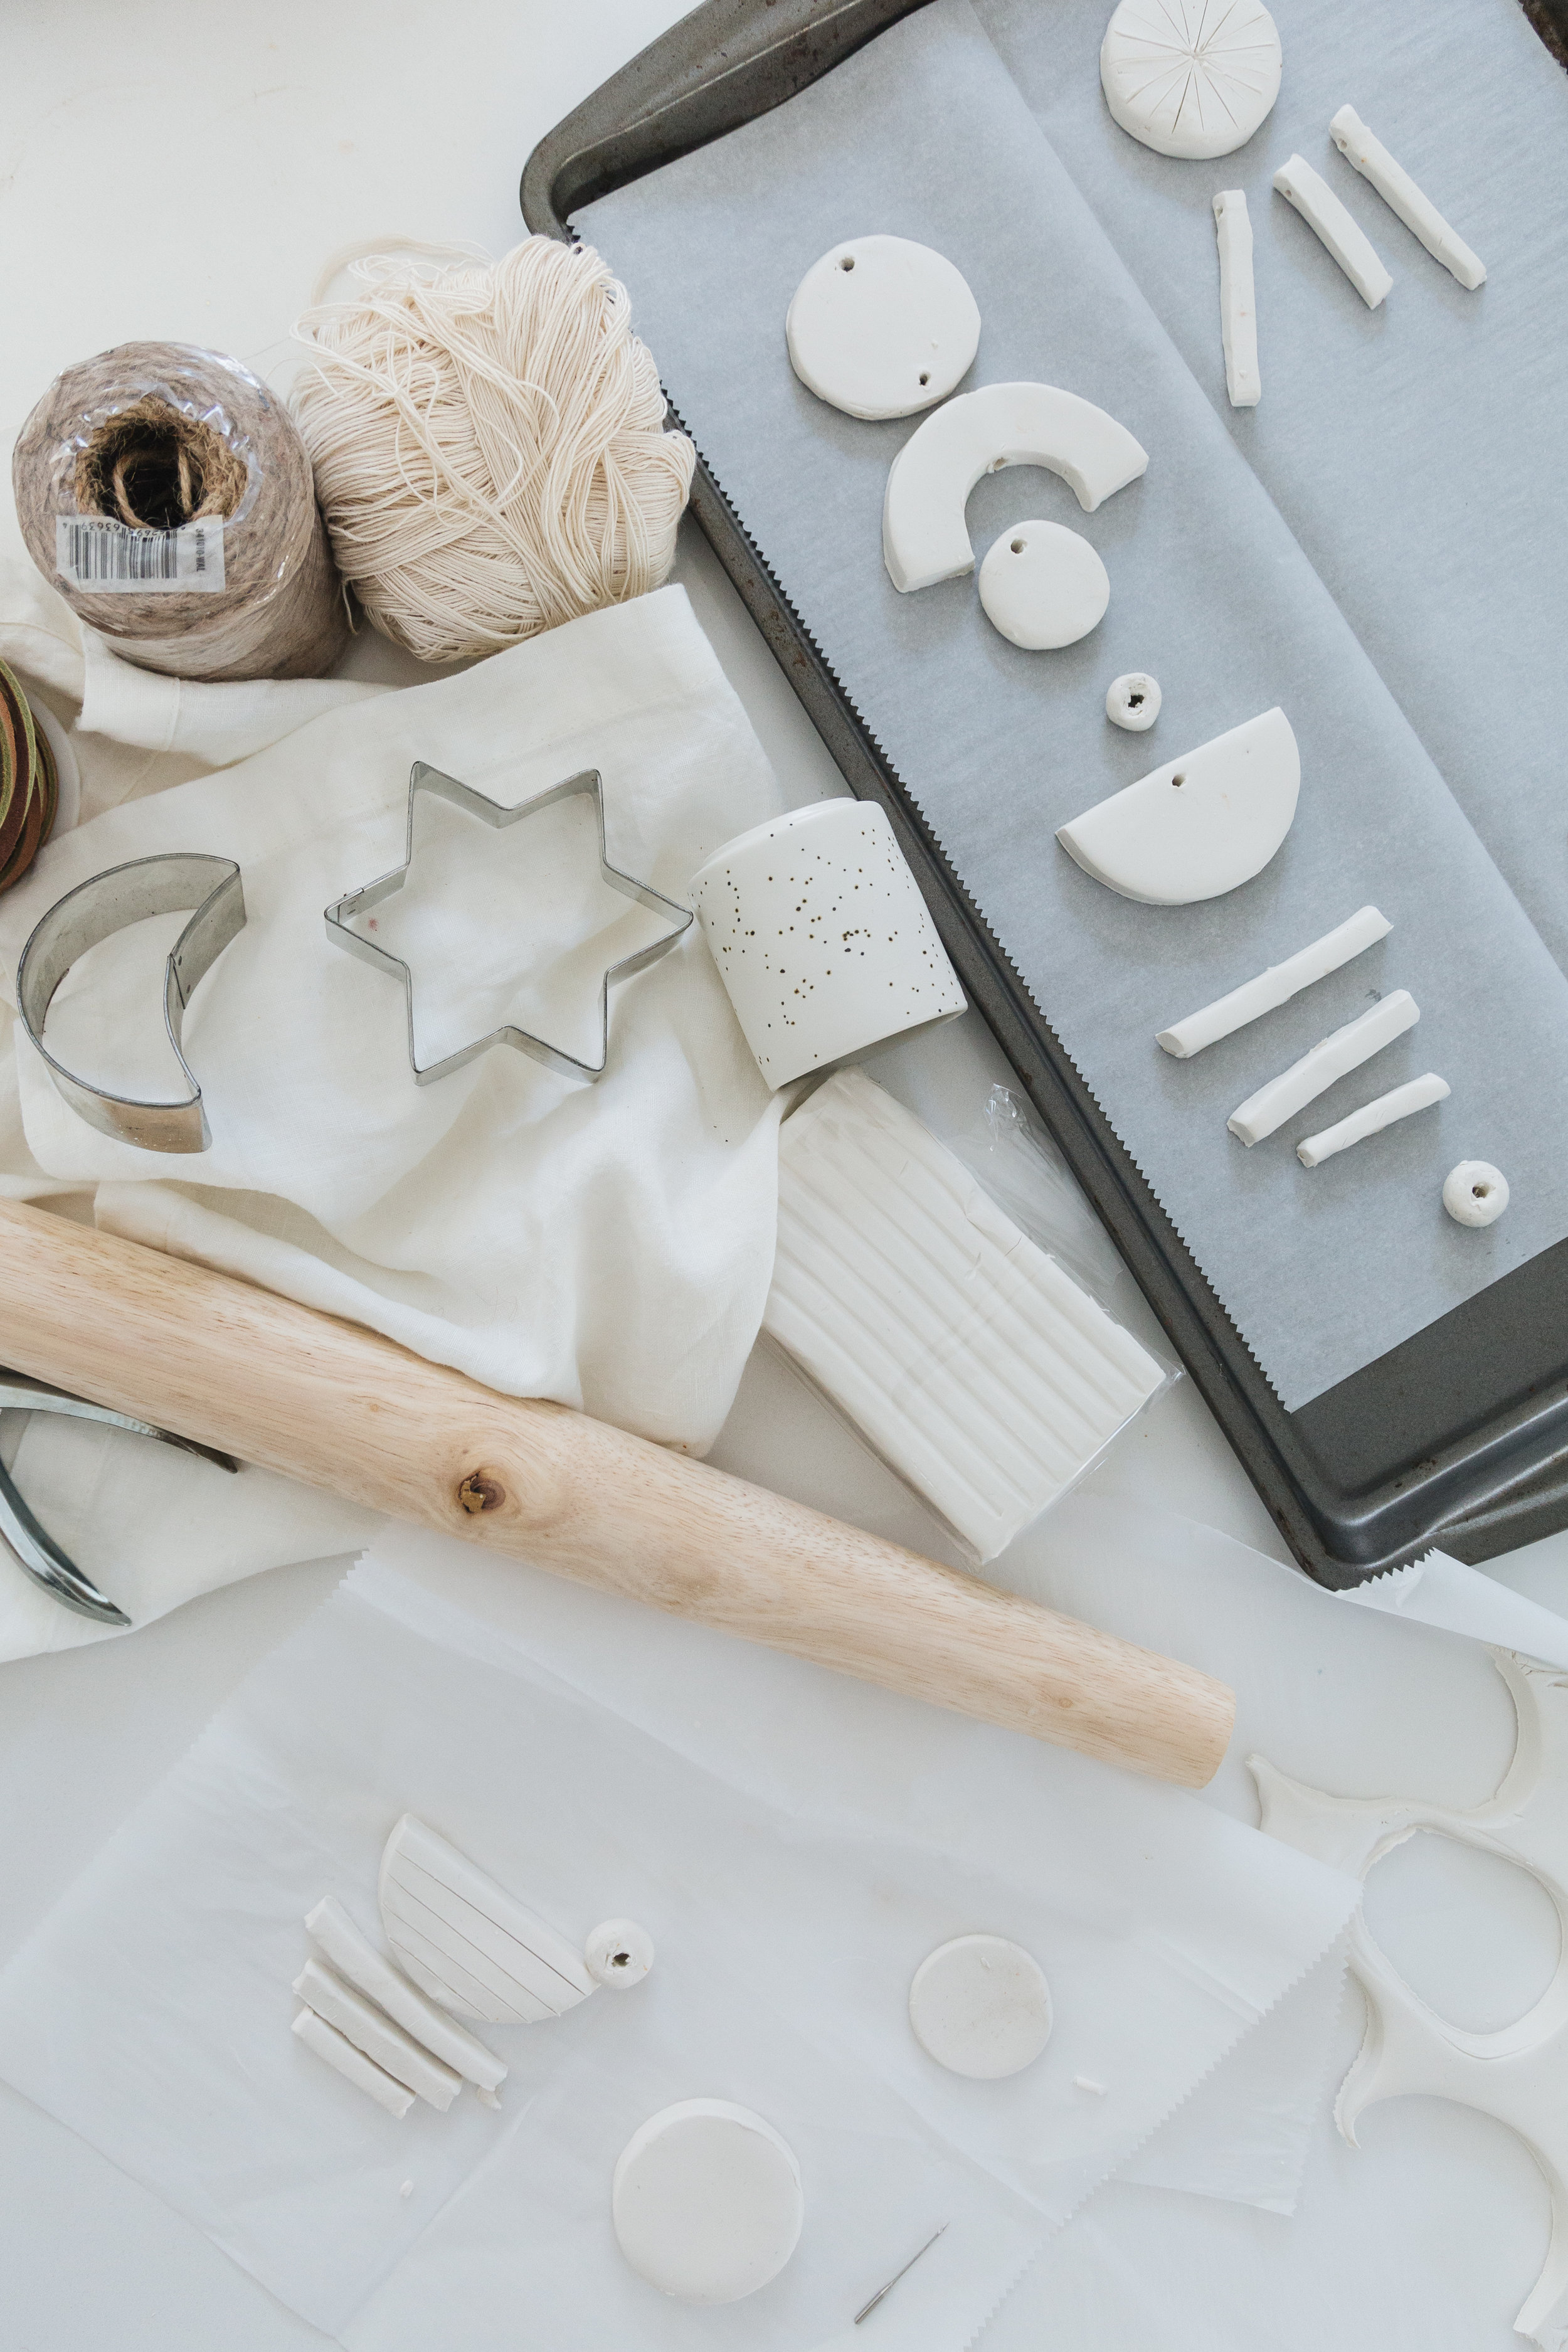
So here’s what you need:
oven-bake clay. this one is my favorite i used 1.75 lbs of clay to make all my ornament sets
parchement or wax paper
rolling pin
bead twine OR jewelry string OR copper wire
cookie cutters for desired shapes
So here’s what you do:
Preheat your oven to 275 (every clay is different so read the back of your instructions if you got a different kind than mine). I laid my parchment paper sheets on top of my counter and baking sheets to create a clean workspace, and worked and kneaded the clay for a while with clean hands to make the clay smooth and workable. I made it into a ball and placed it between two sheets of parchment paper and placed a cutting board on top and pressed down to flatten as much I could to start the process of pressing the clay flat. Then I rolled it until about 1/2inch thickness being careful not to press into the clay with my fingers because I wanted to keep the clay smooth.
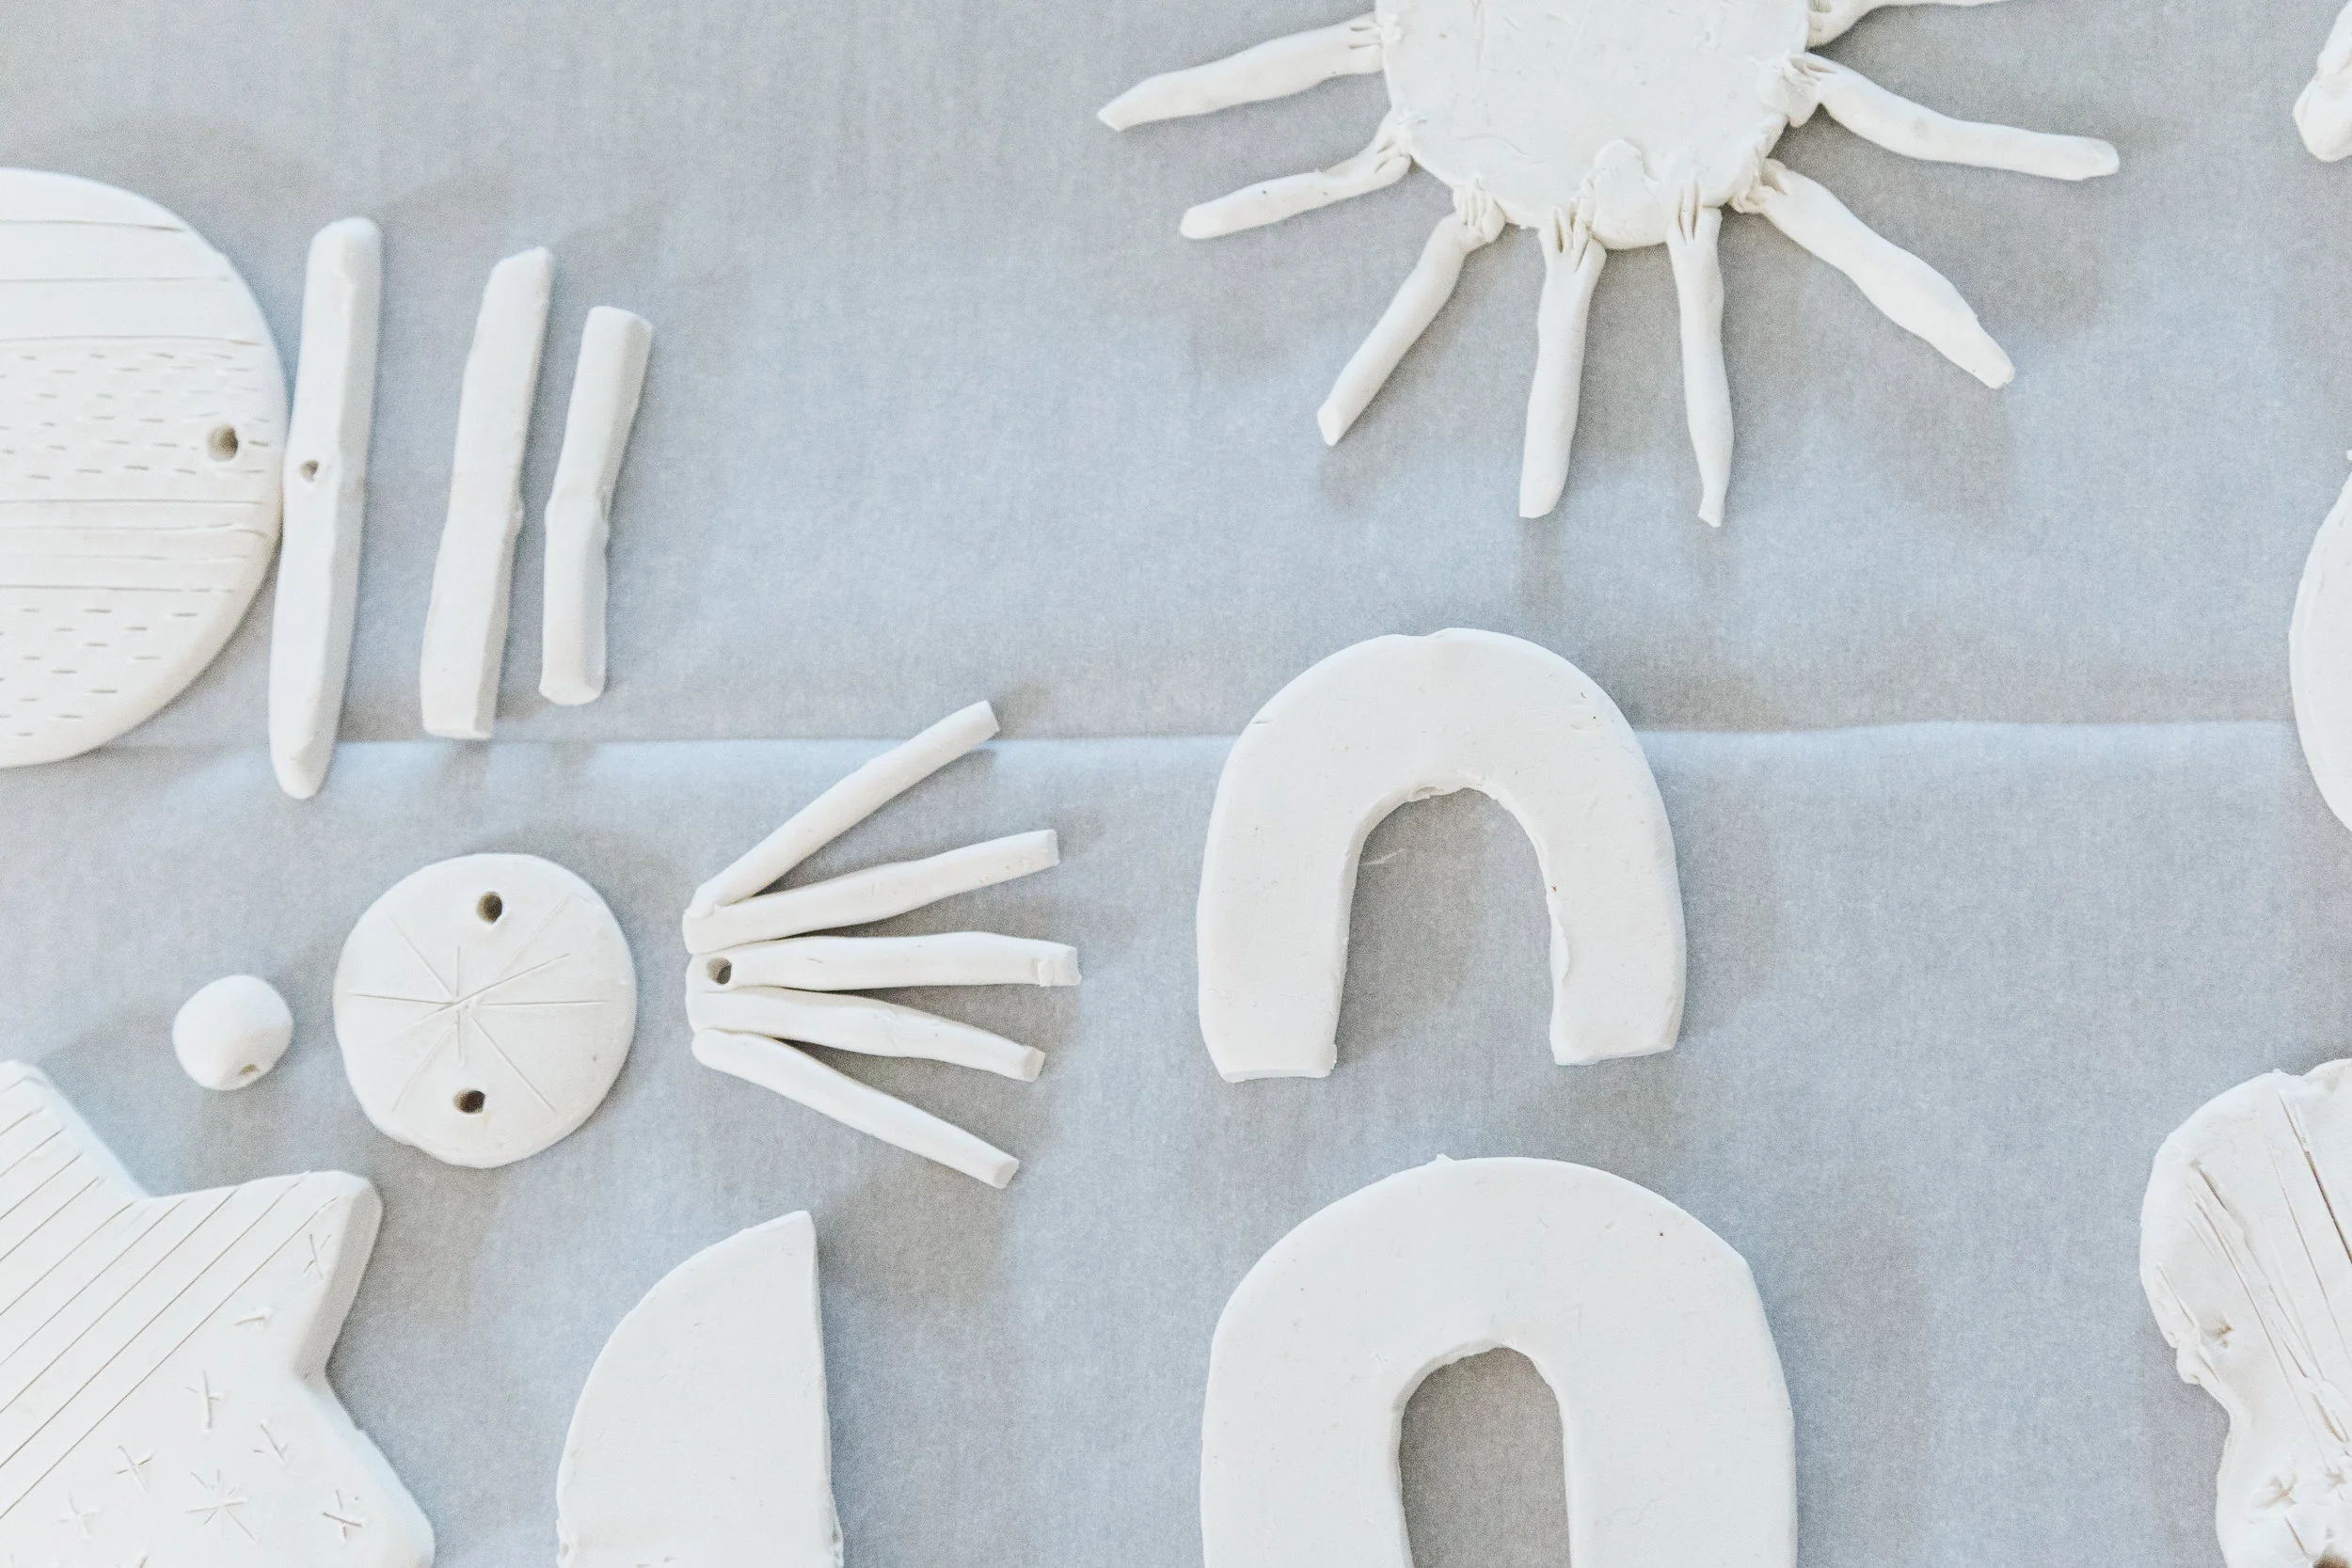
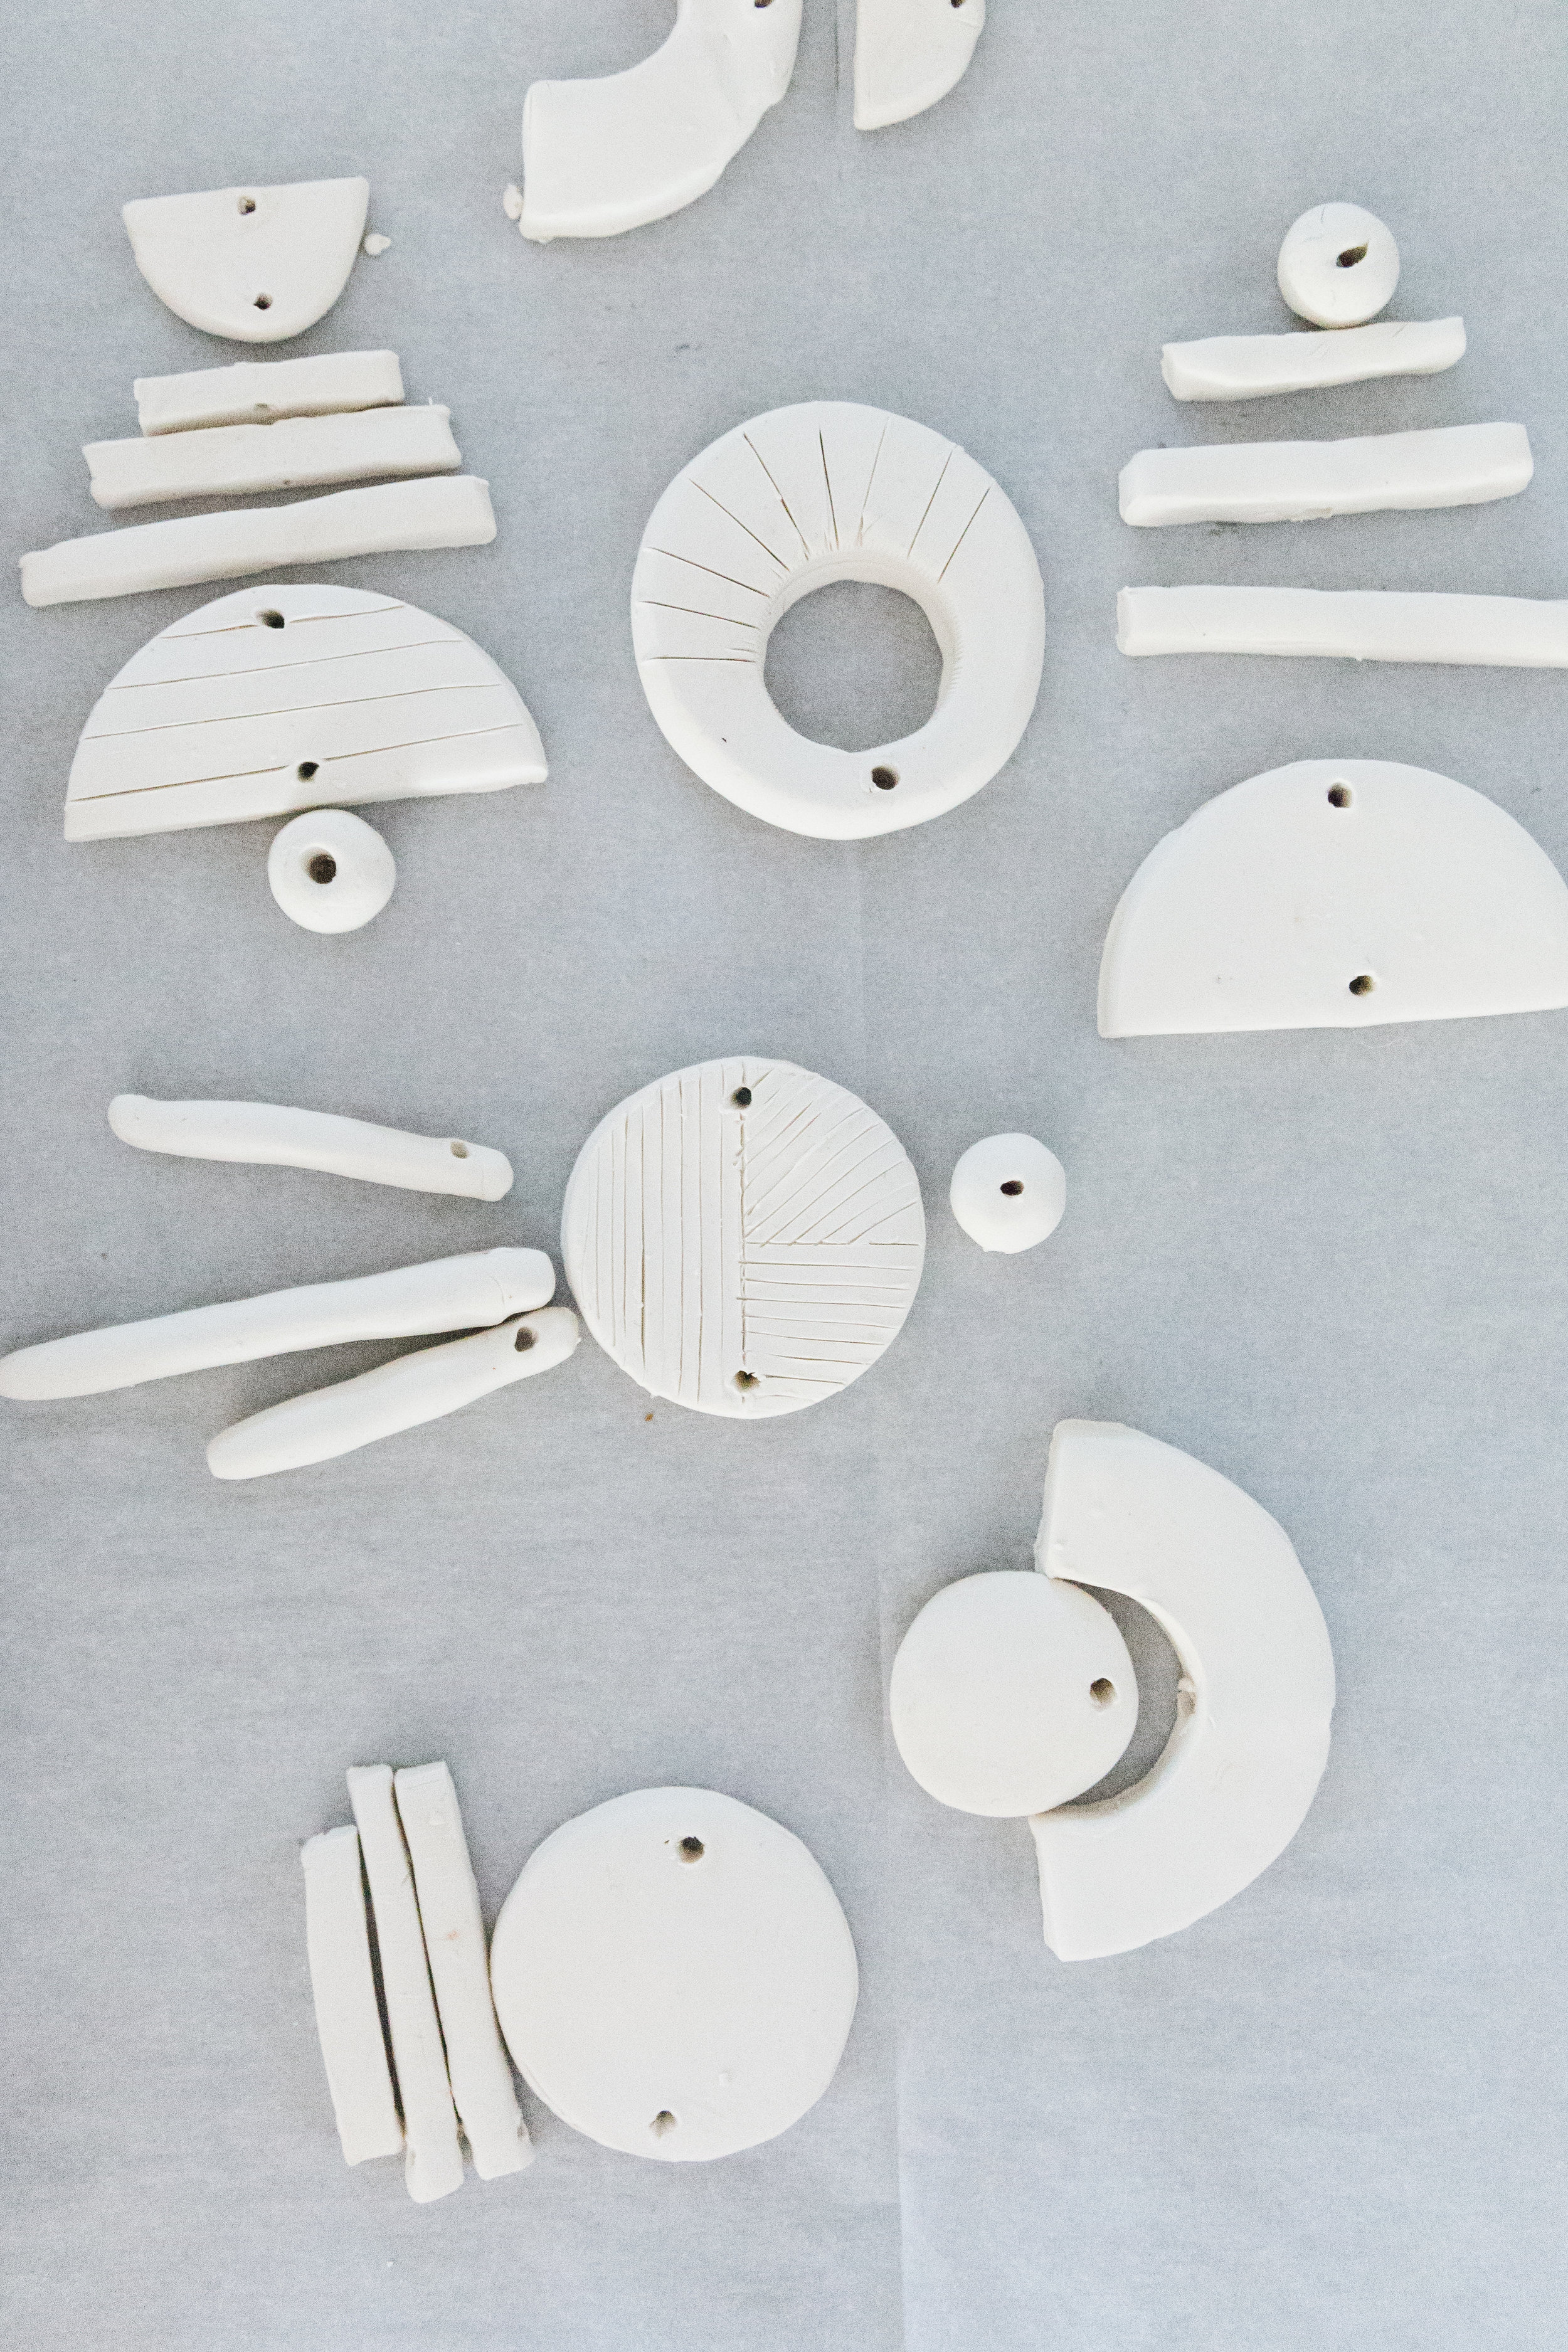
Once the clay was even and flat, I cut out my shapes and made sure to pre-meditate how I wanted them to hang and where I would carve the holes to attach them together in order for them to hang right.
I arranged all the pieces that I cut and started making all my hanger holes with my wooden skewer, make sure you don’t forget to put the holes in because i forgot few and wasn’t able to drill it after the clay is hard or it will crack. I placed them on the baking tray and baked them in the oven for 15 minutes (again every brand of clay is different so ready the instructions if you got a different clay than i did).
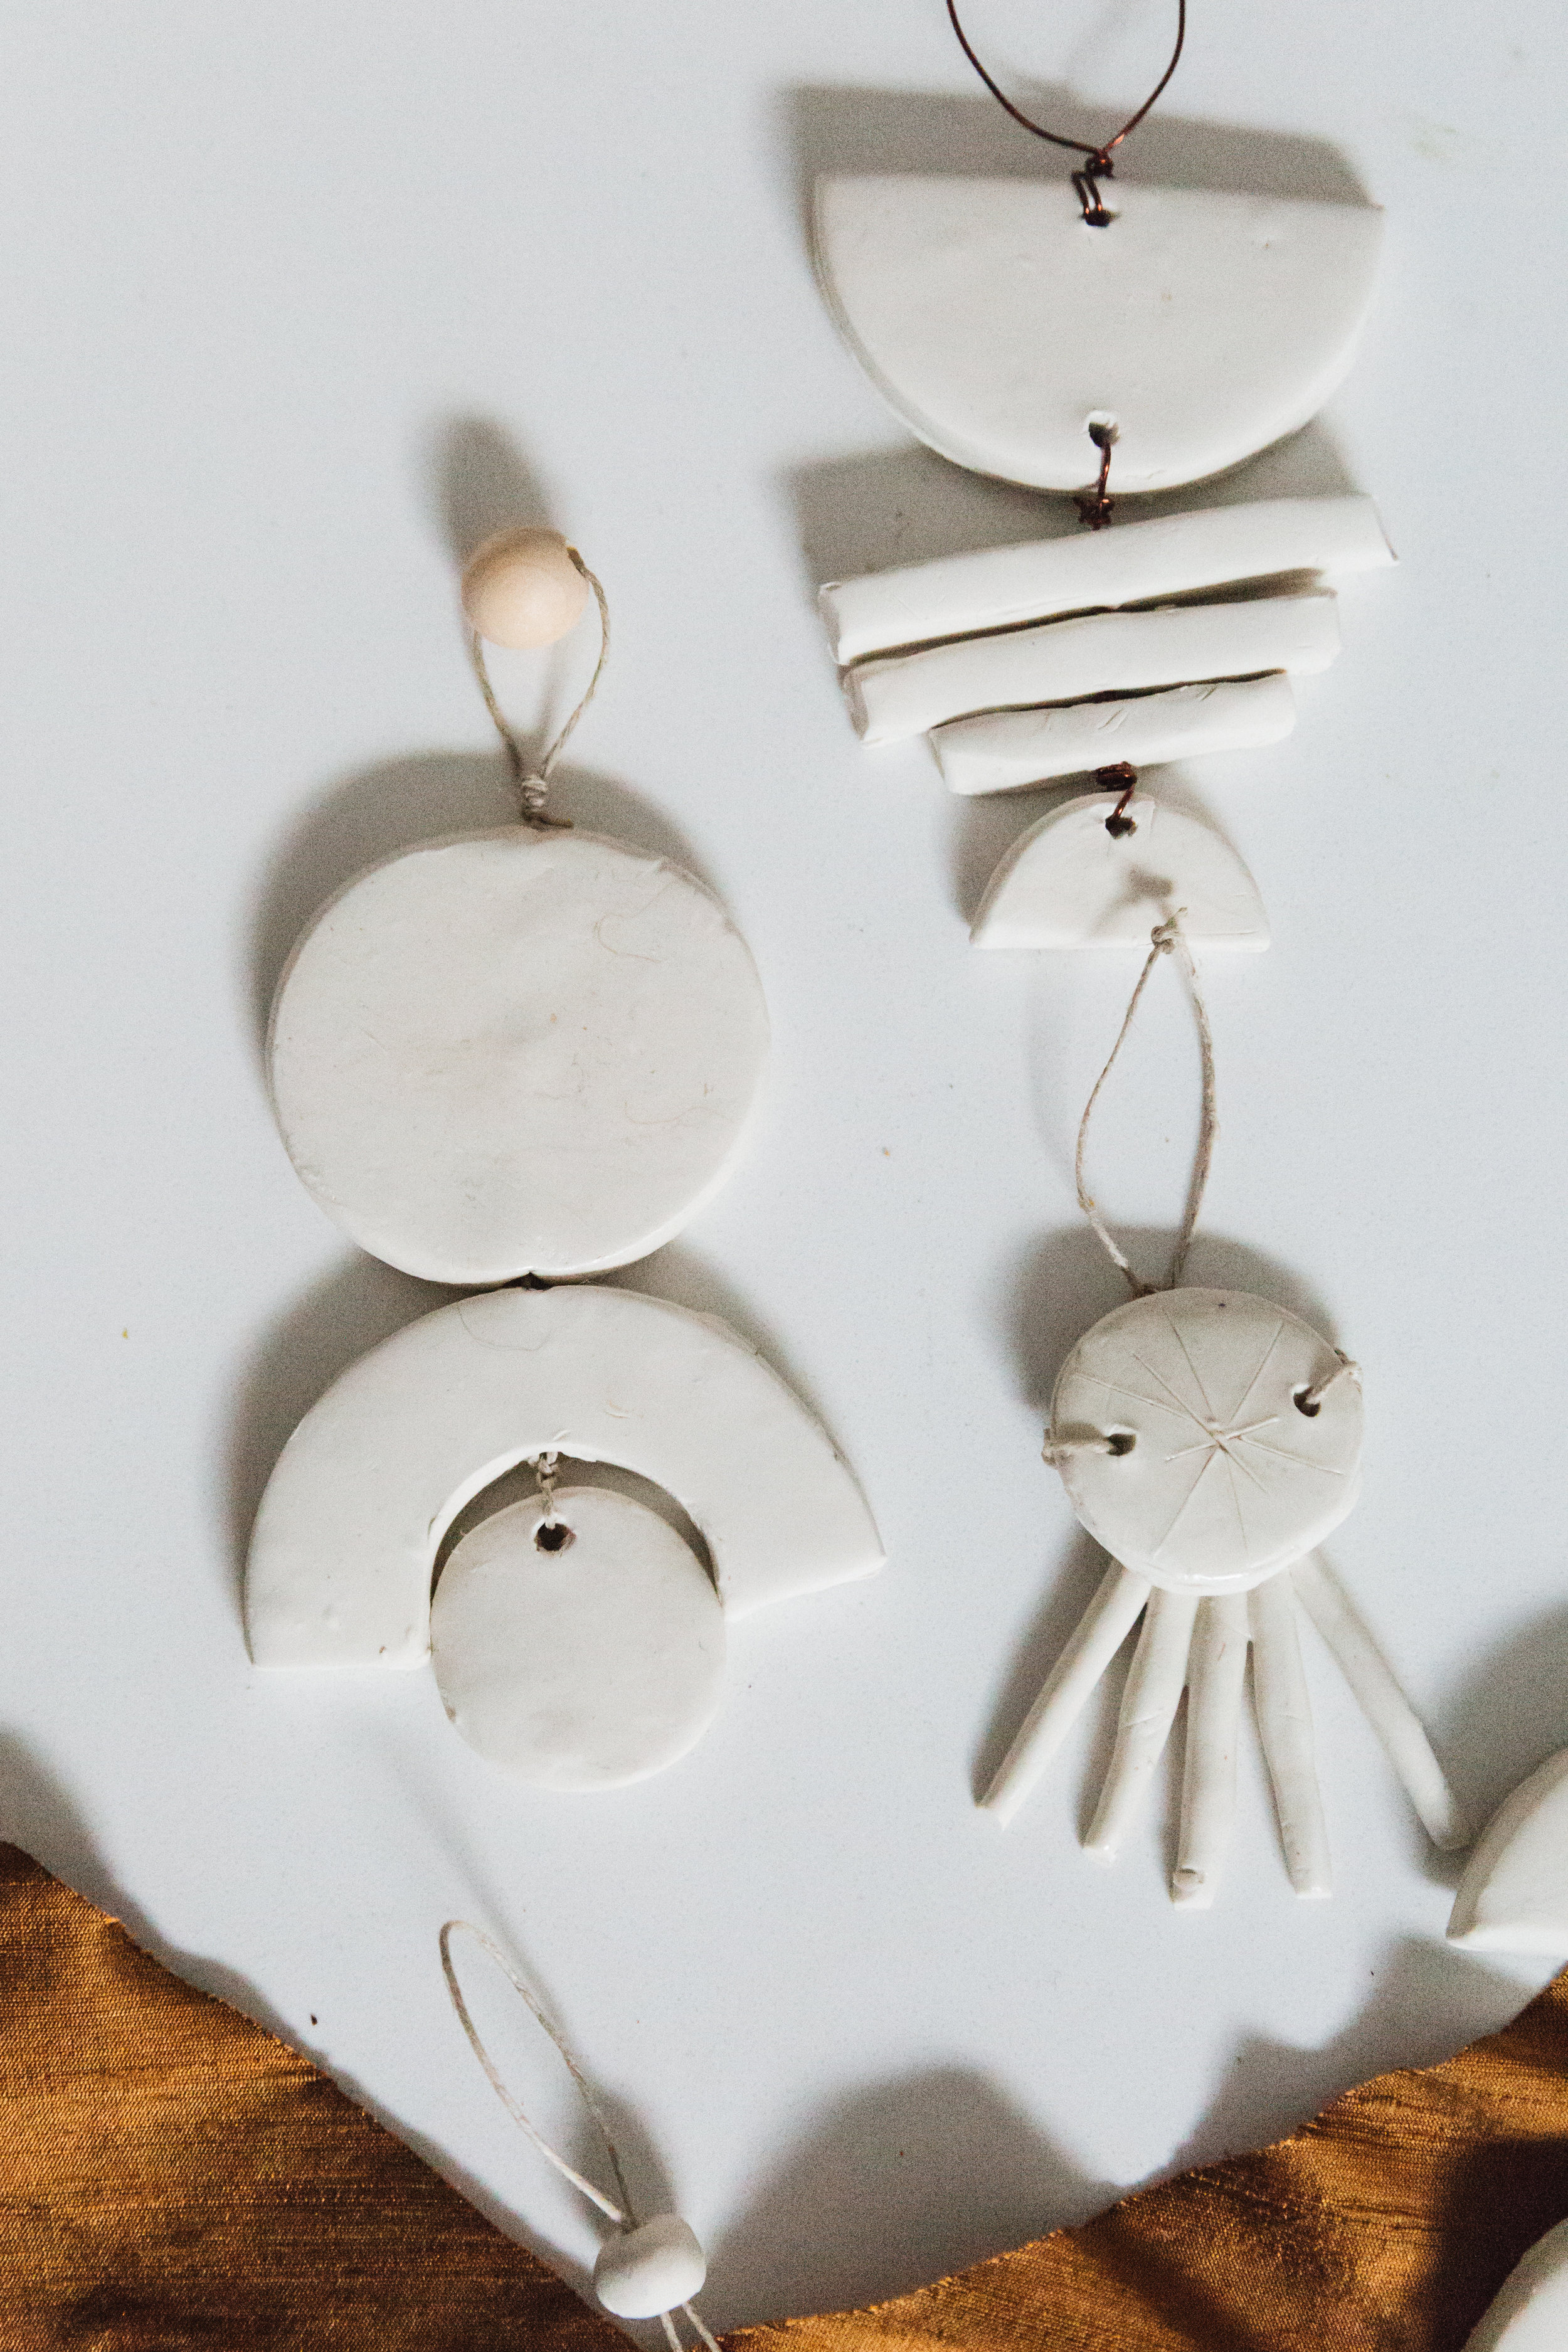
I experimented with both jewelry twine and copper jewelry wire and think overall wire was a little easier to string through the holes etc but its totally preference!
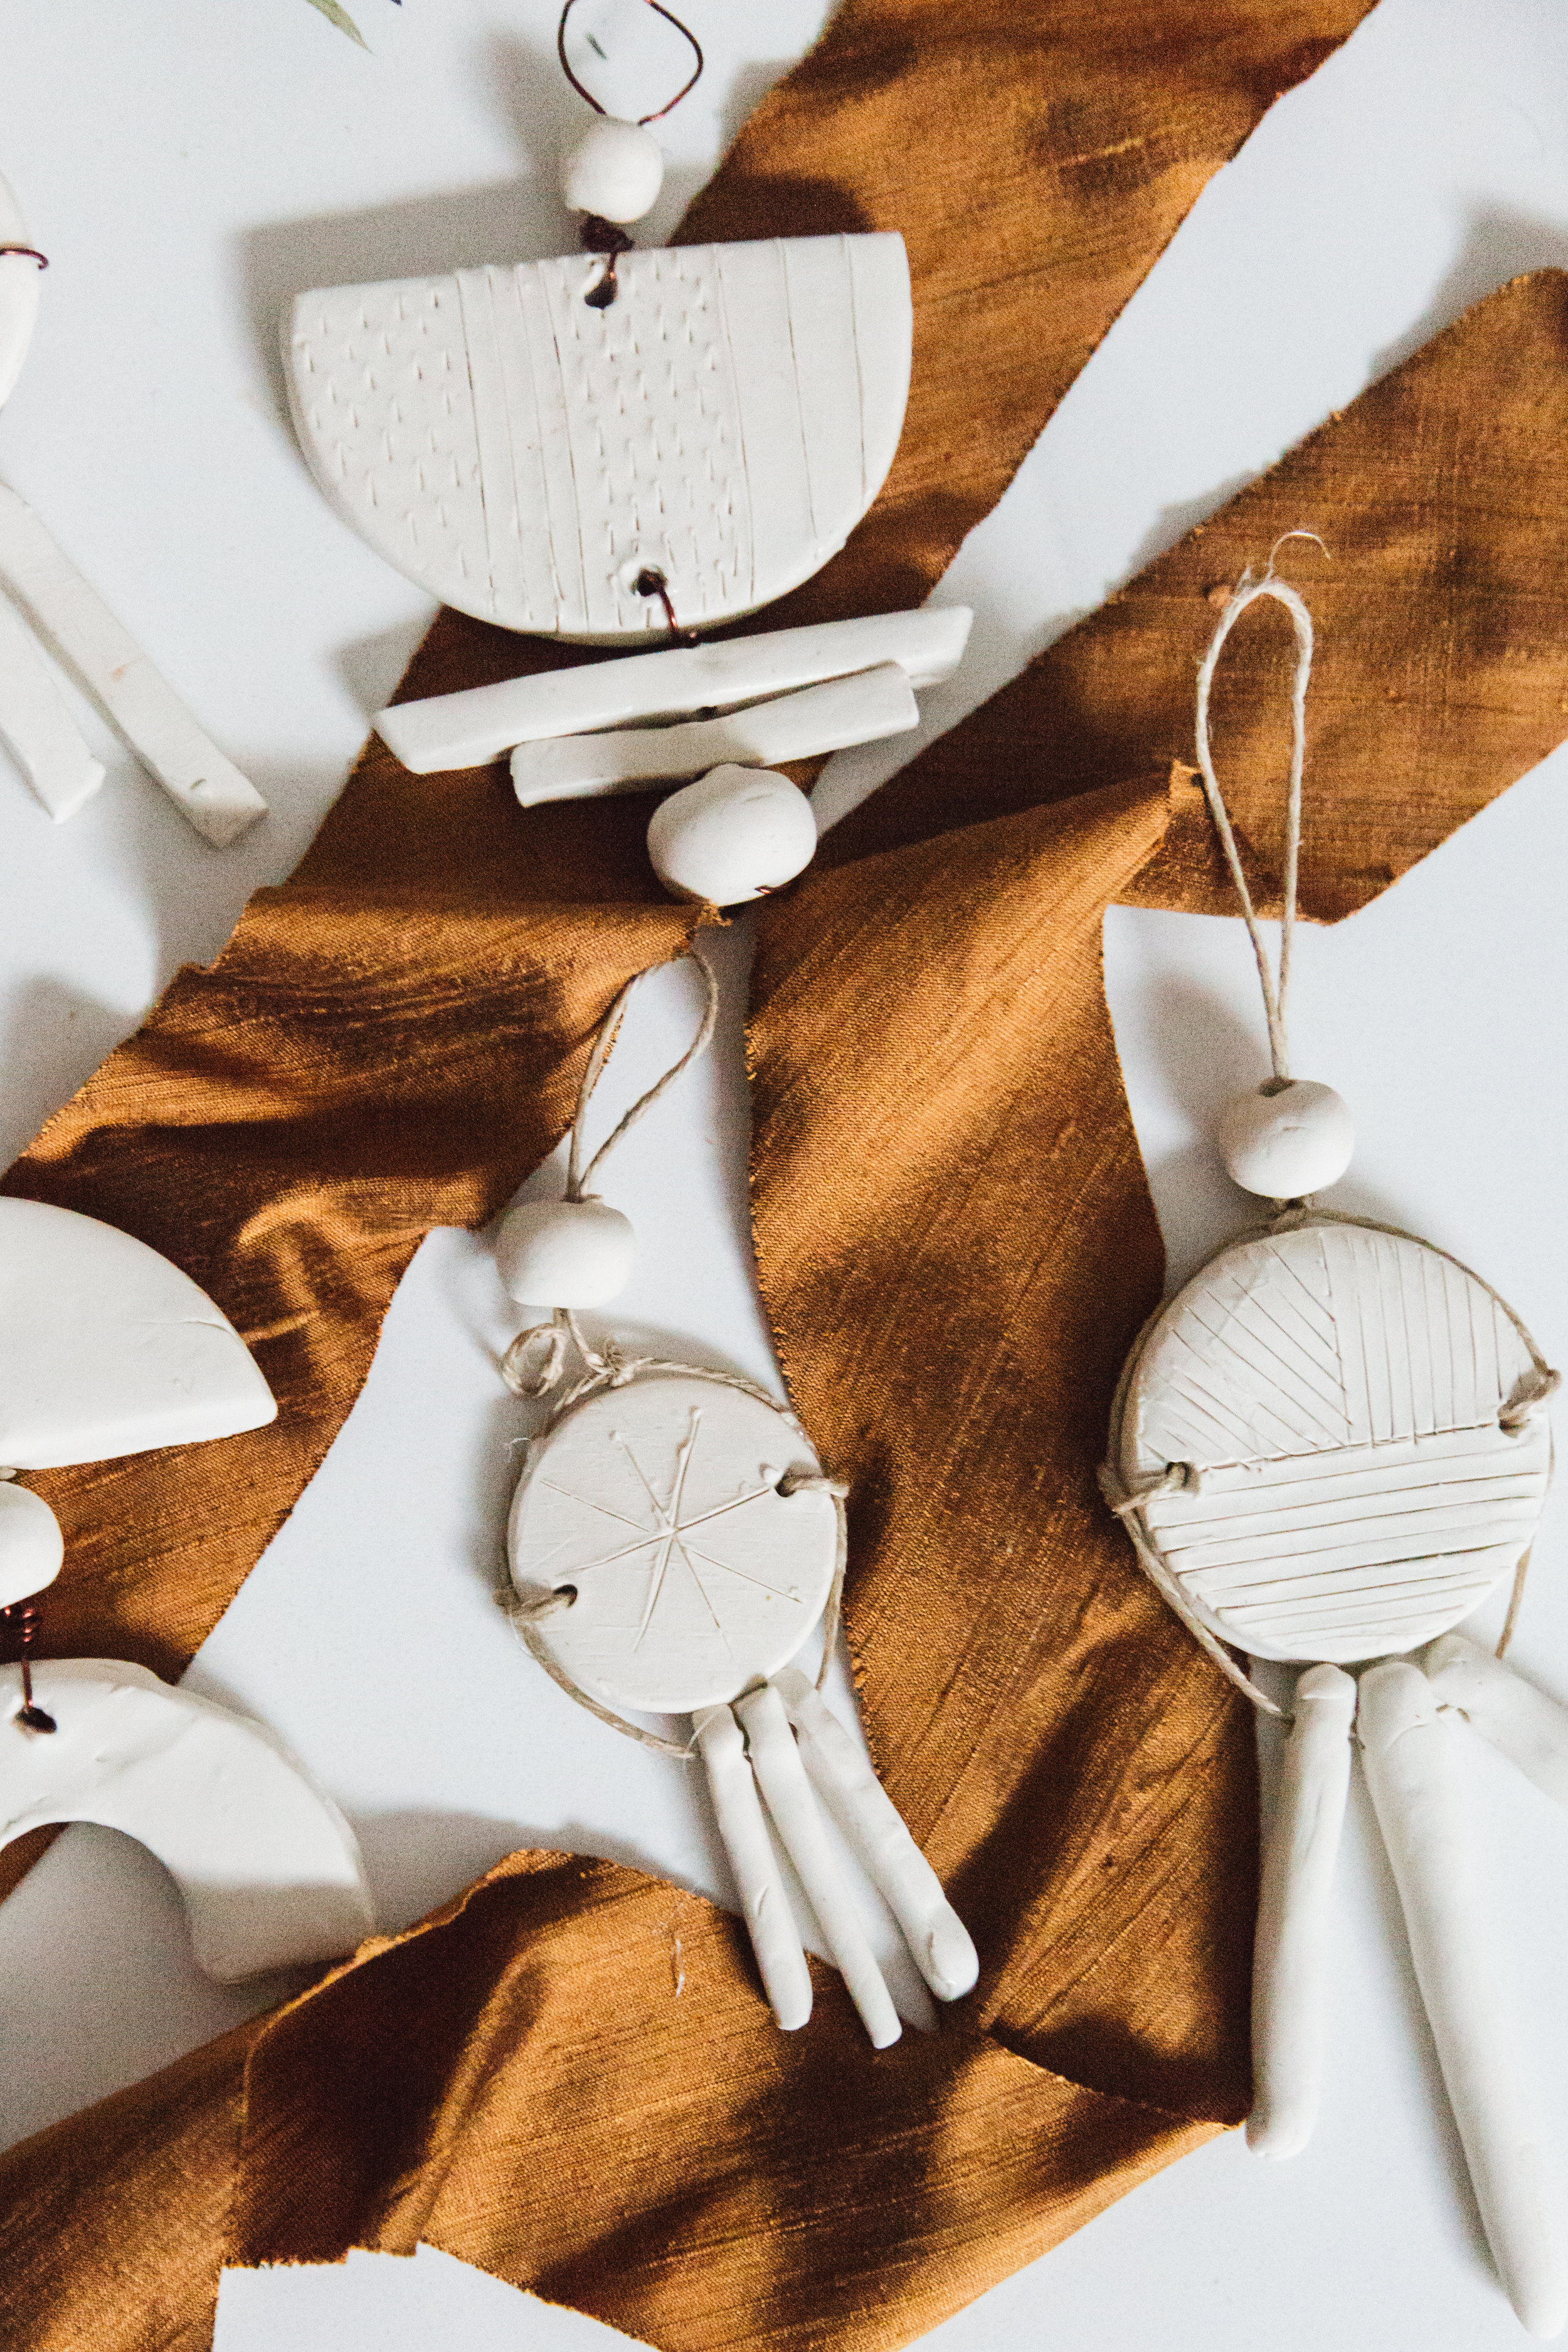
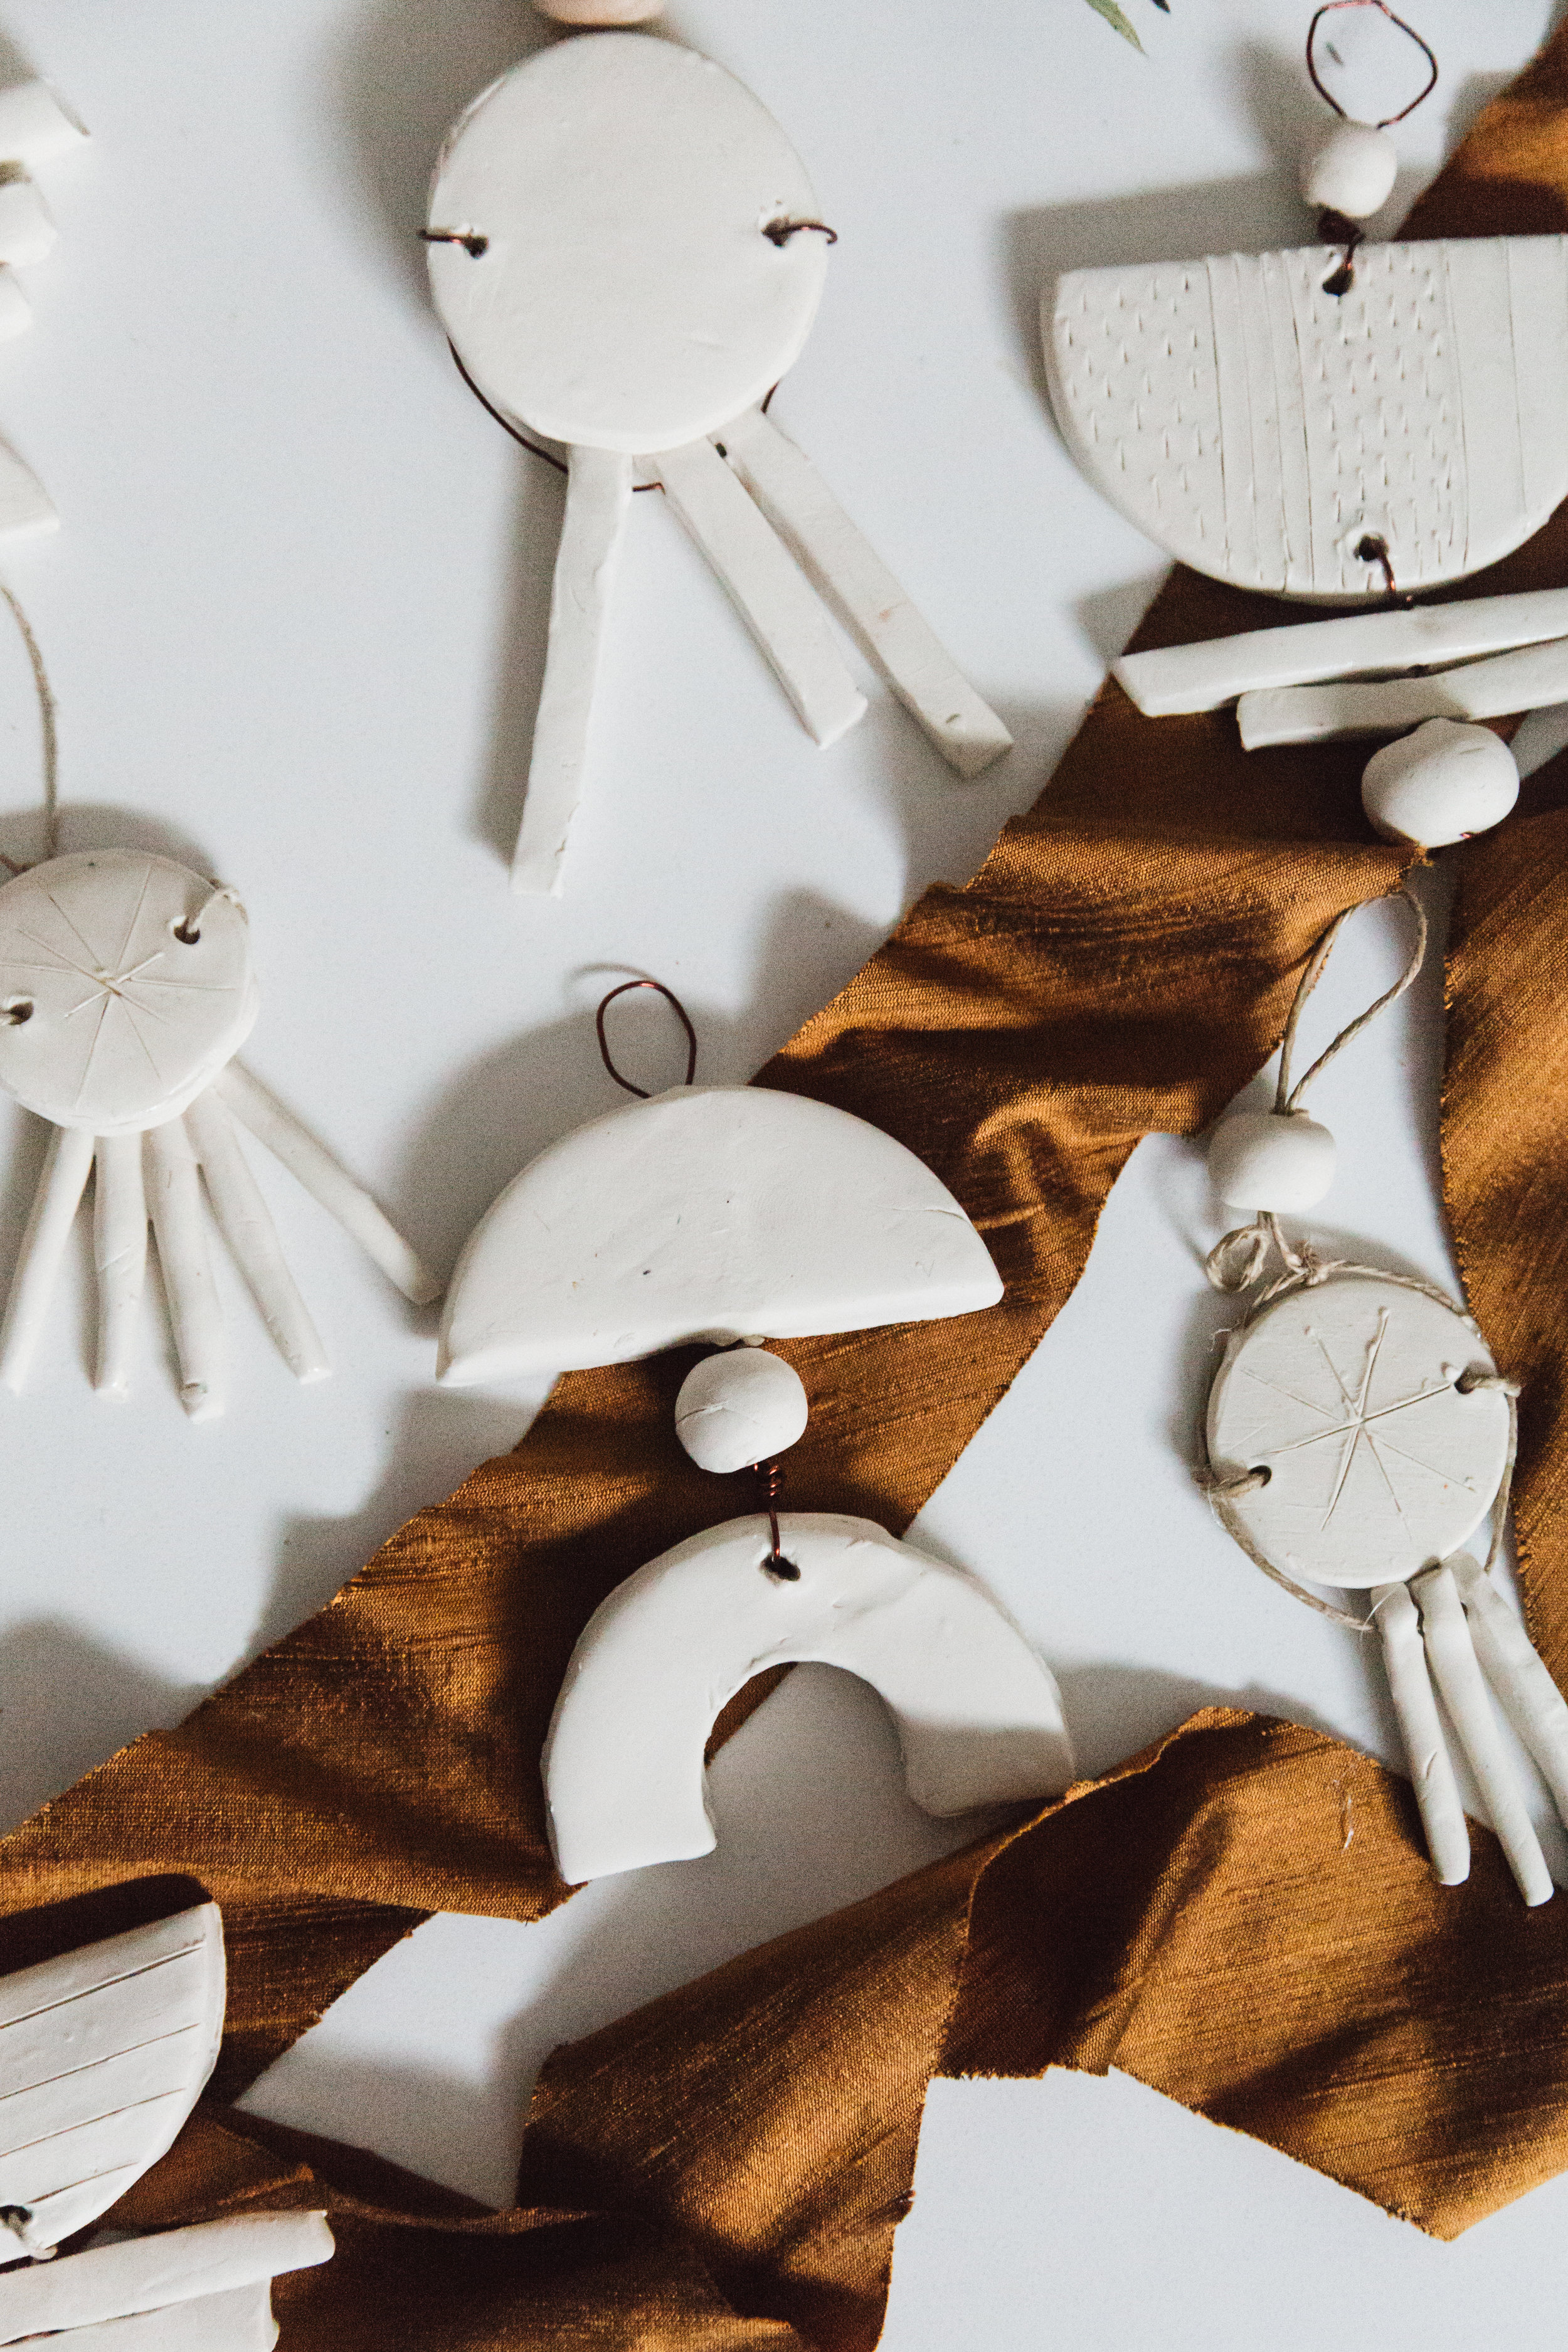
I think they turned out pretty cute! You can paint them after if you want too but I got lazy and i like them simple so its completely up to you! Have fun and if you make them tag me on insta, I want to see! @amberthrane
xo, Amber Thrane


