kitchen remodel update: floating shelves tutorial

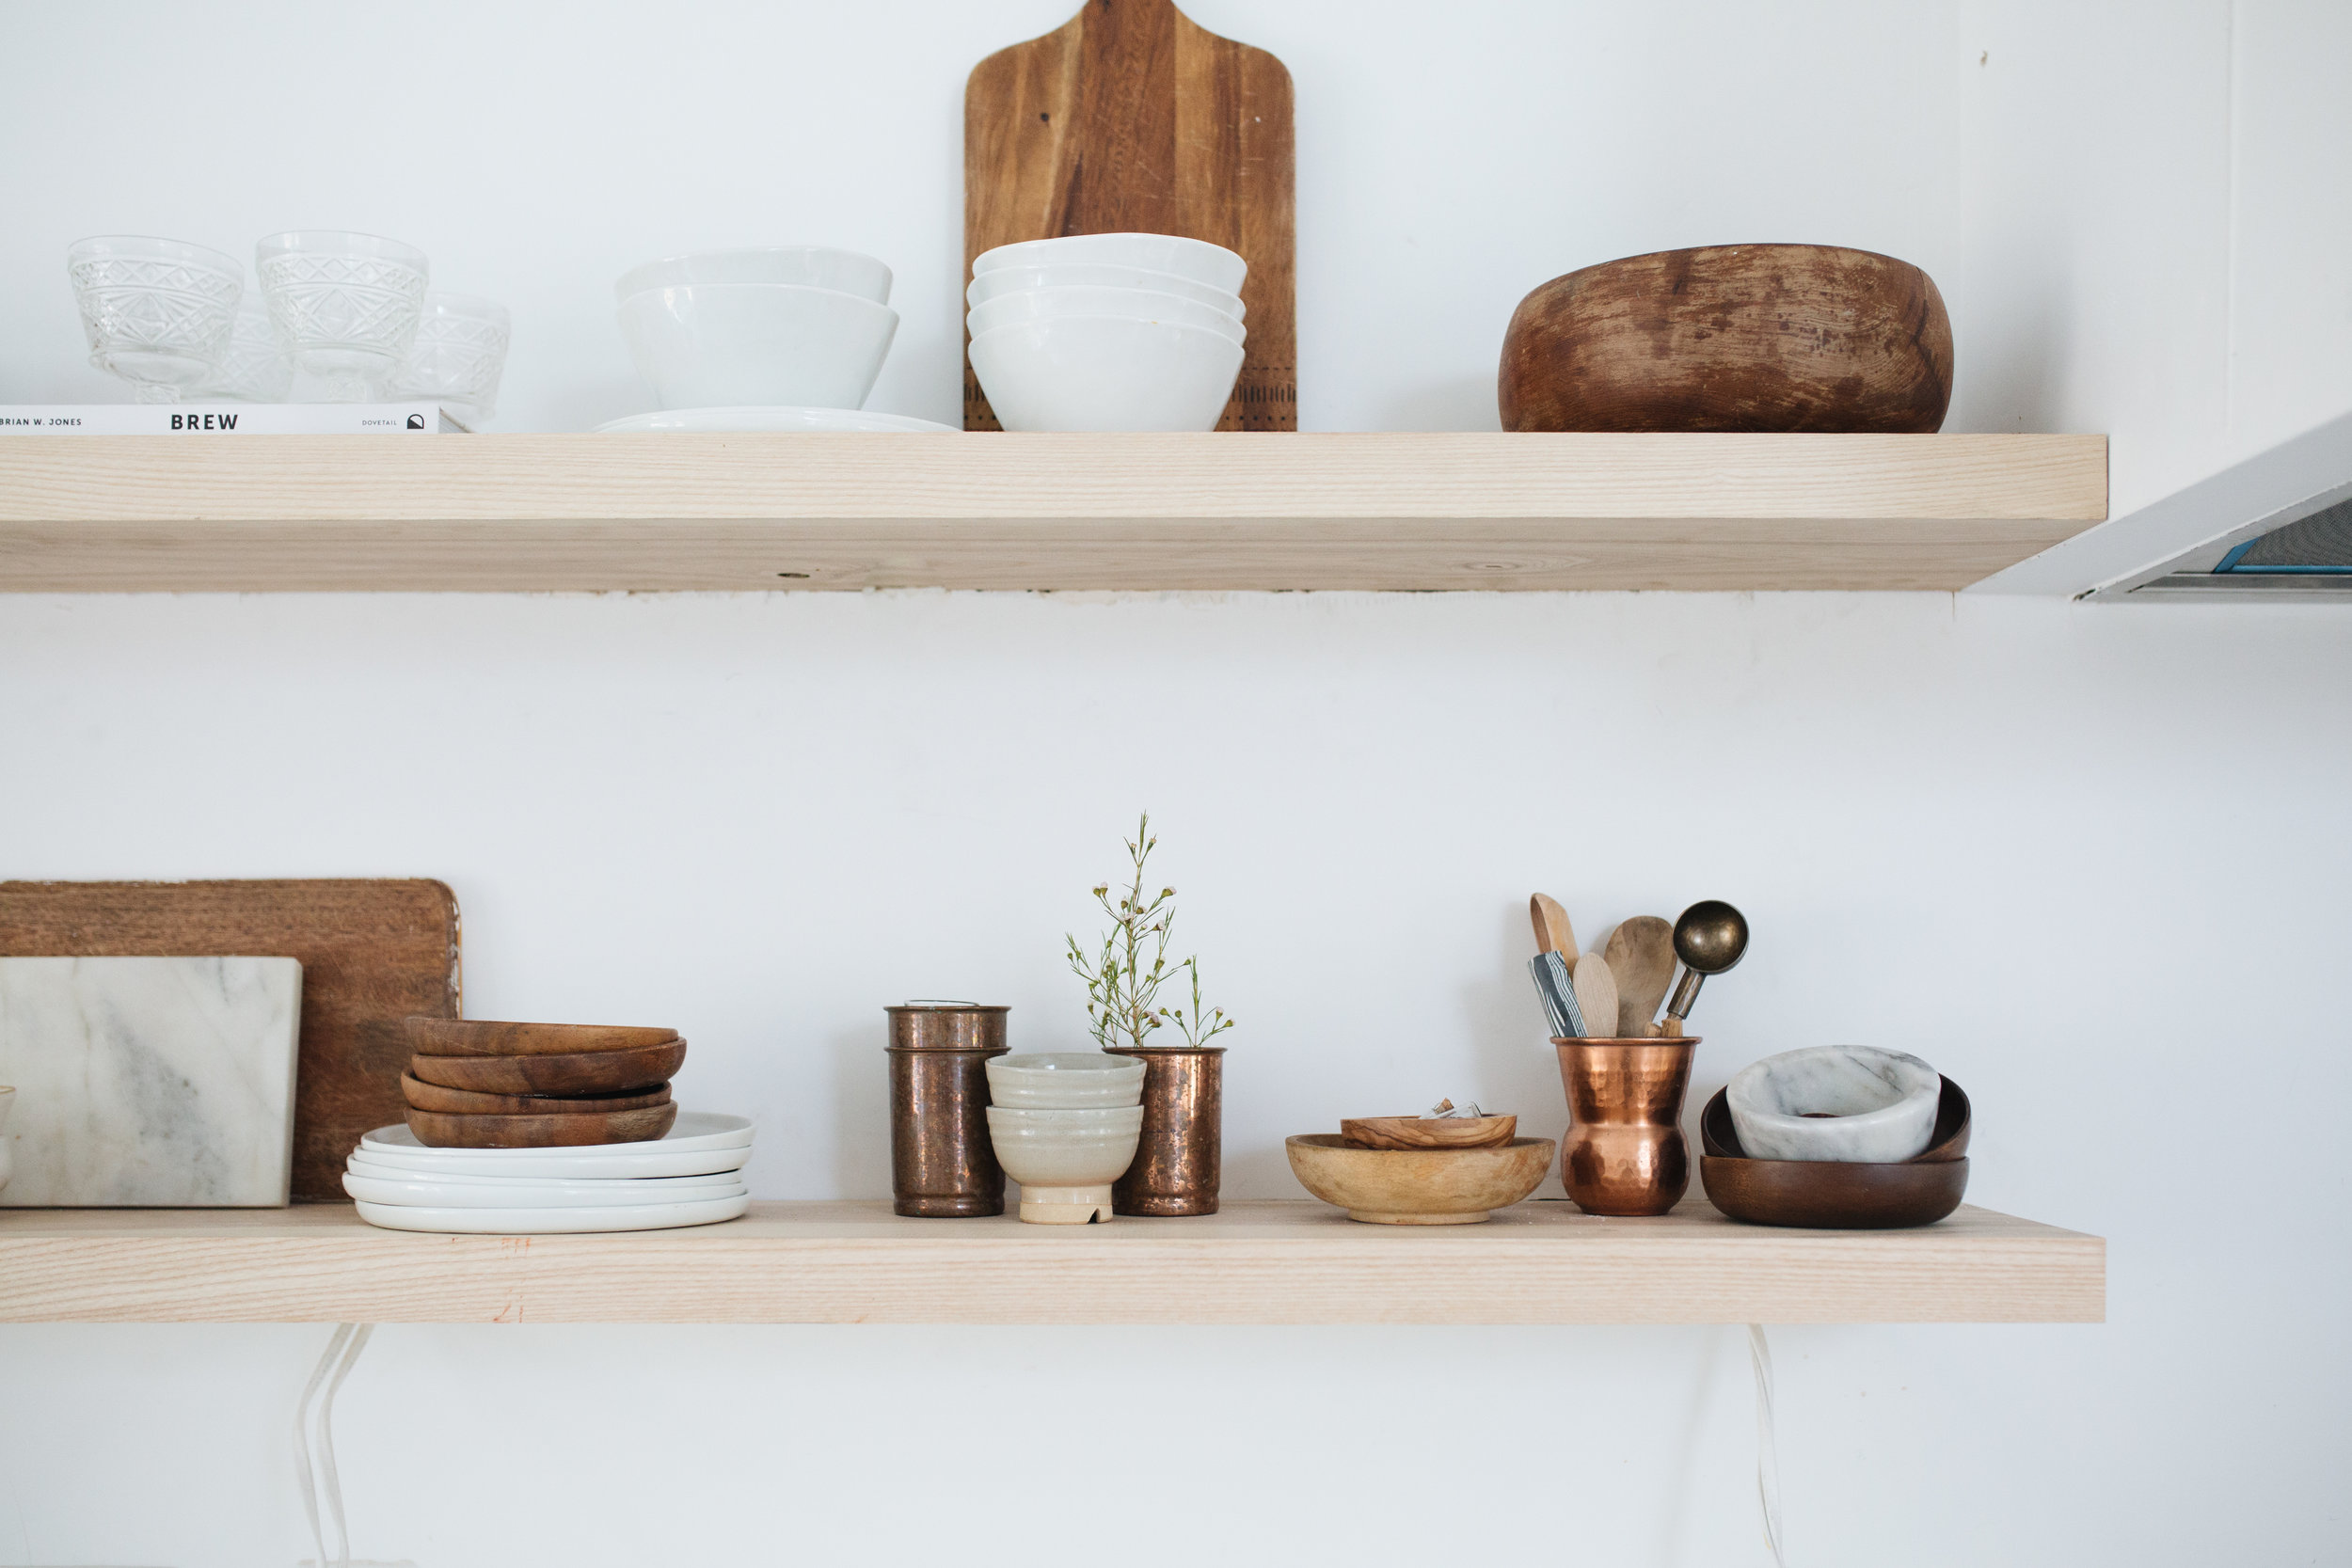
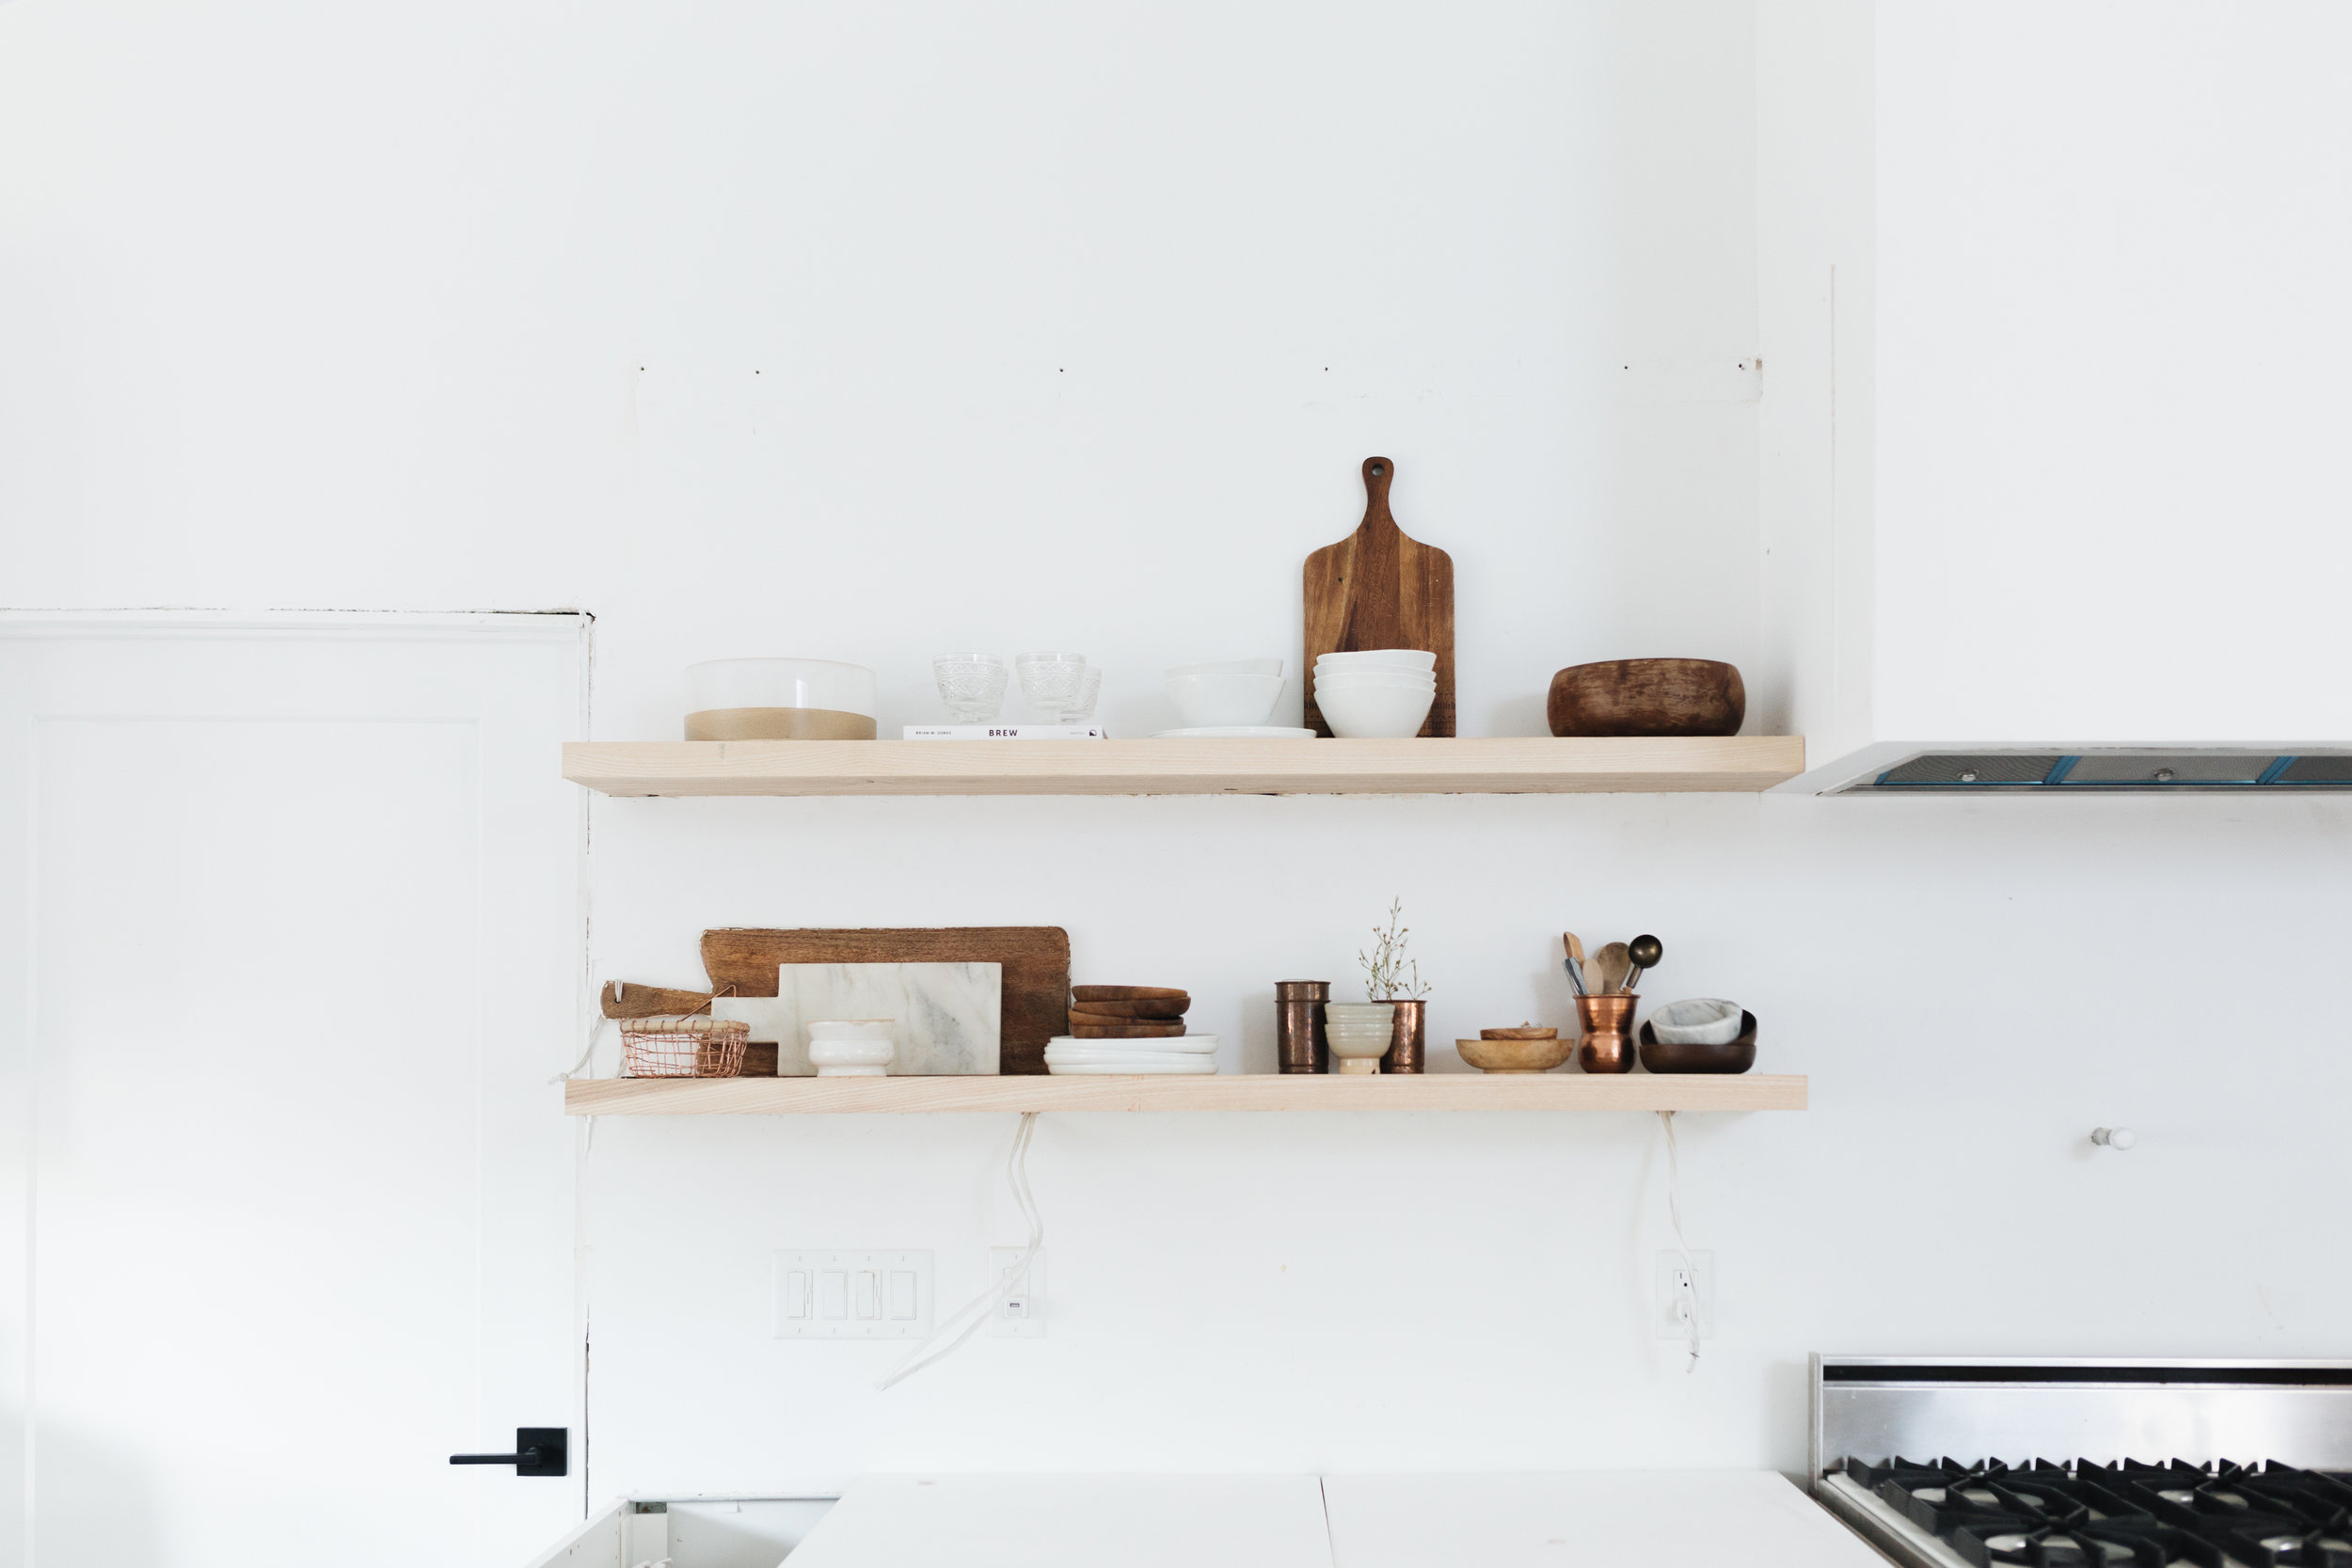
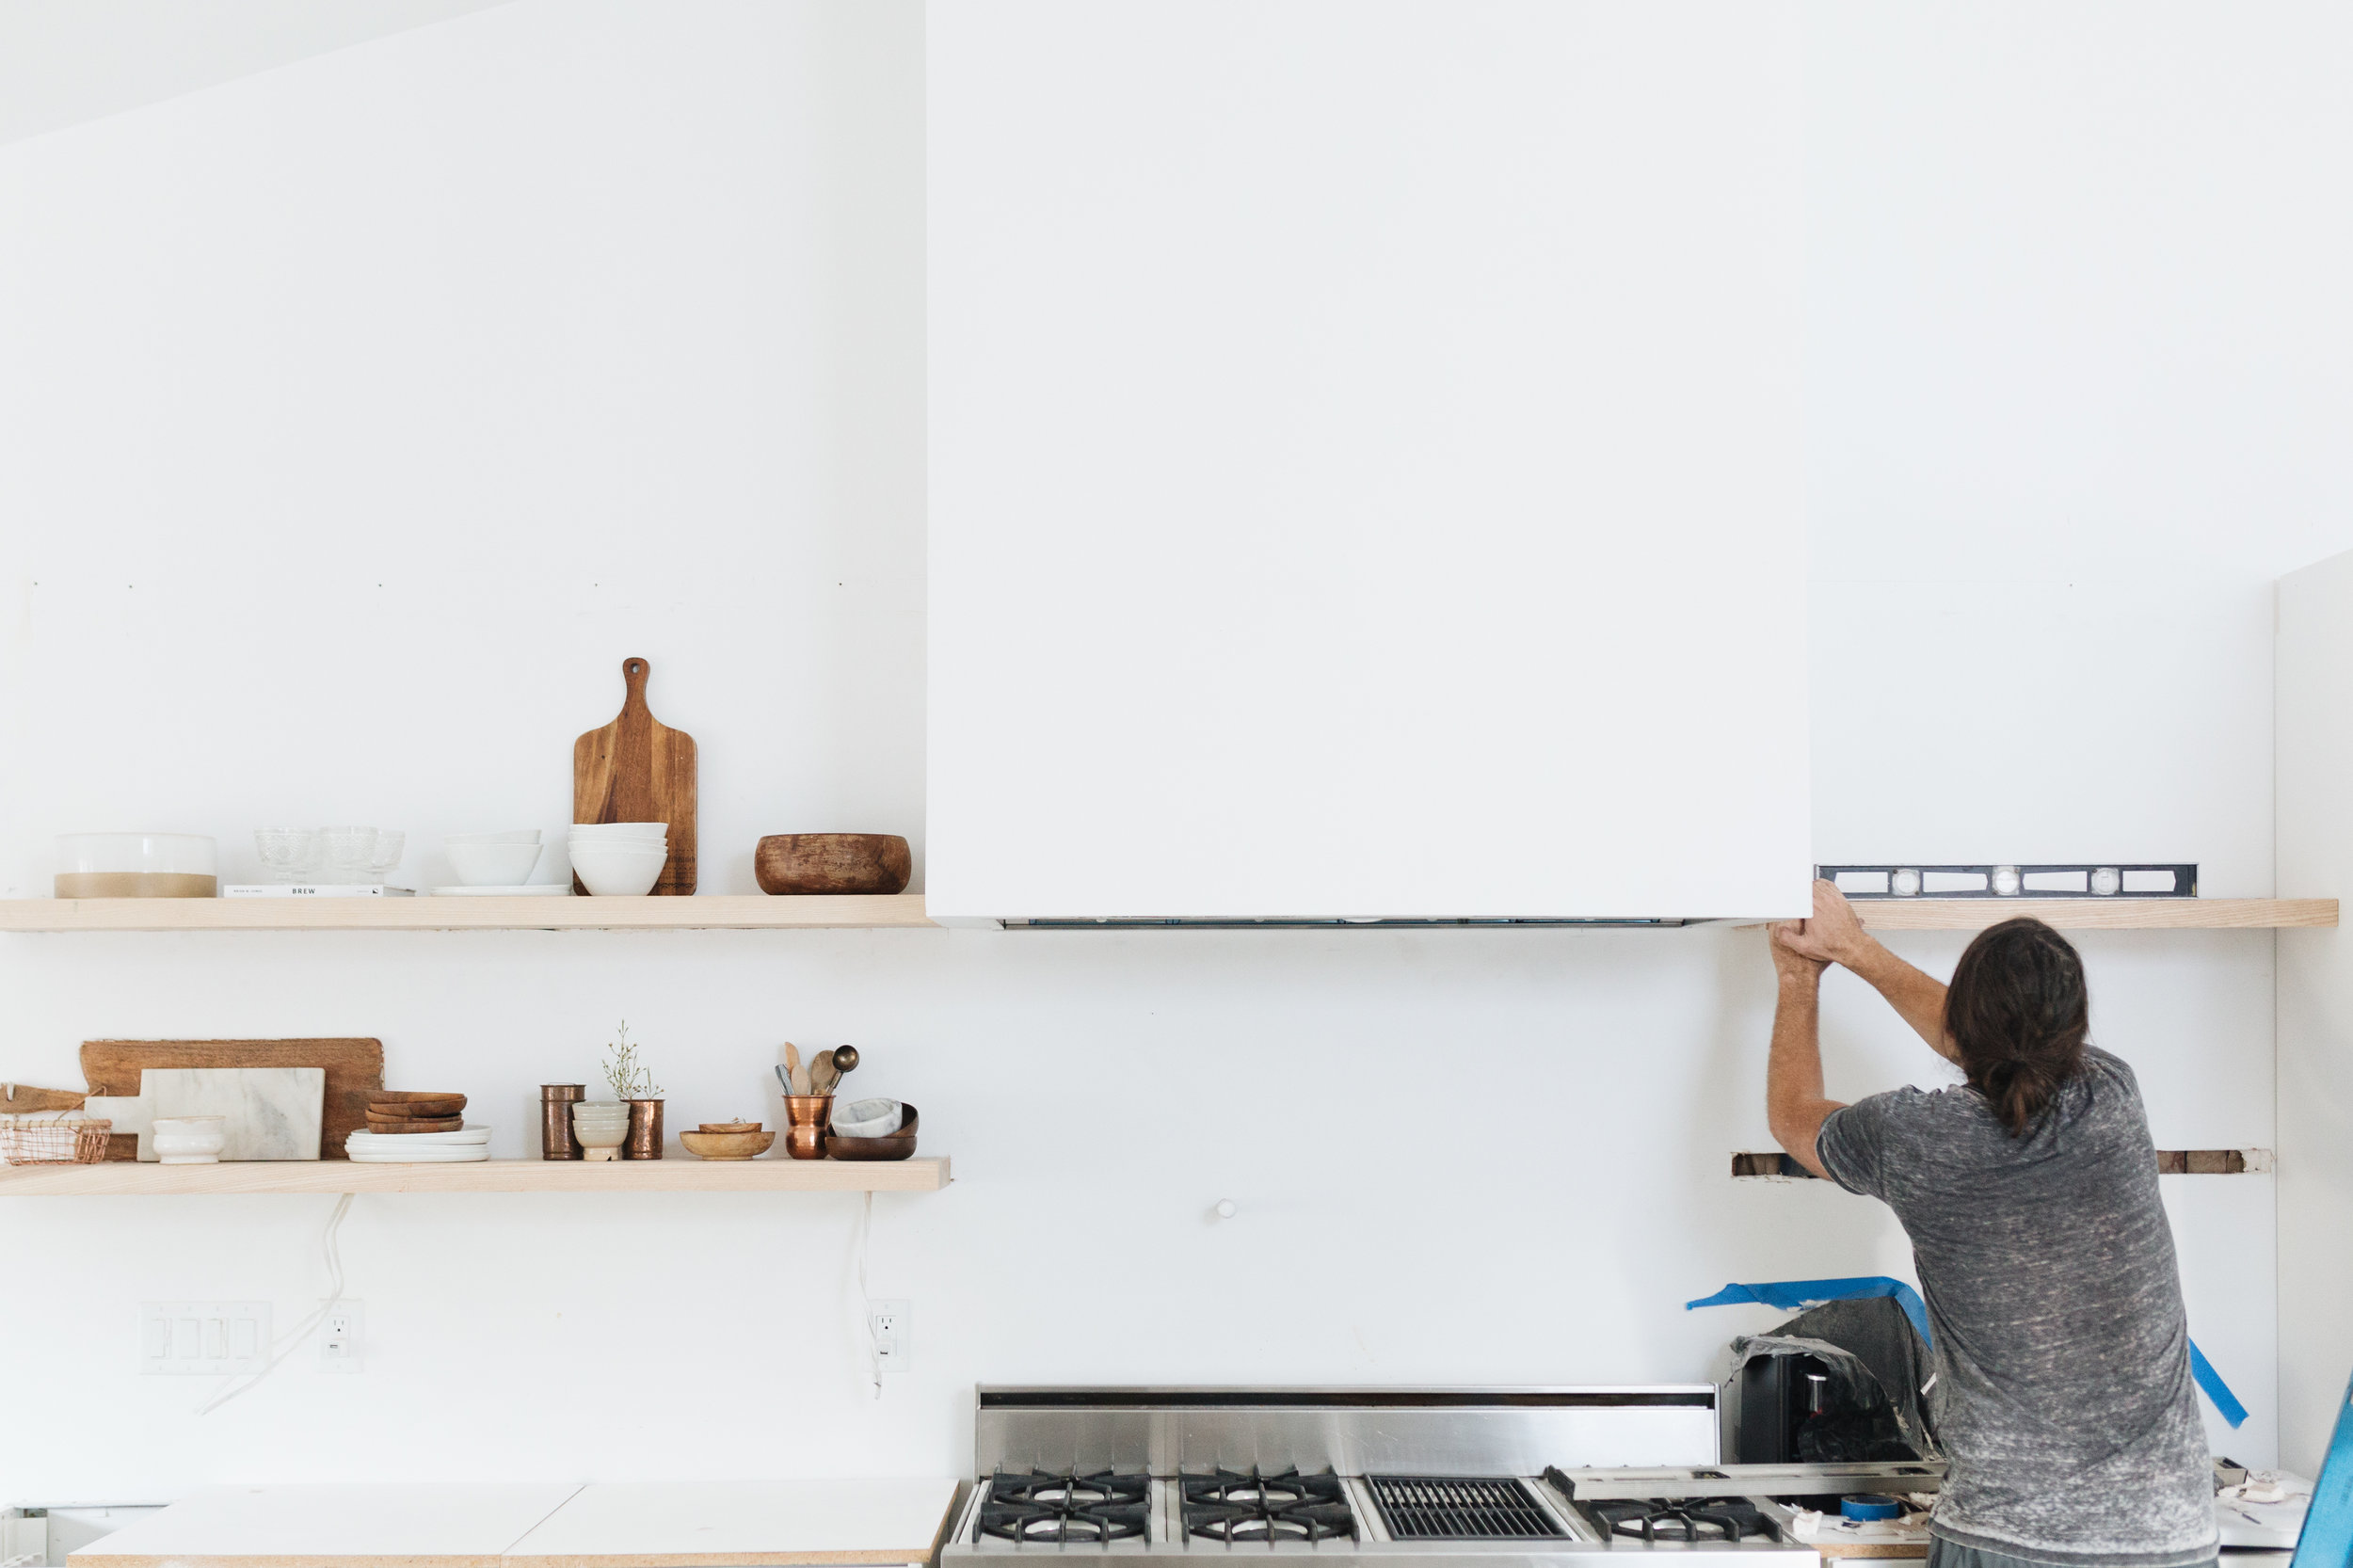
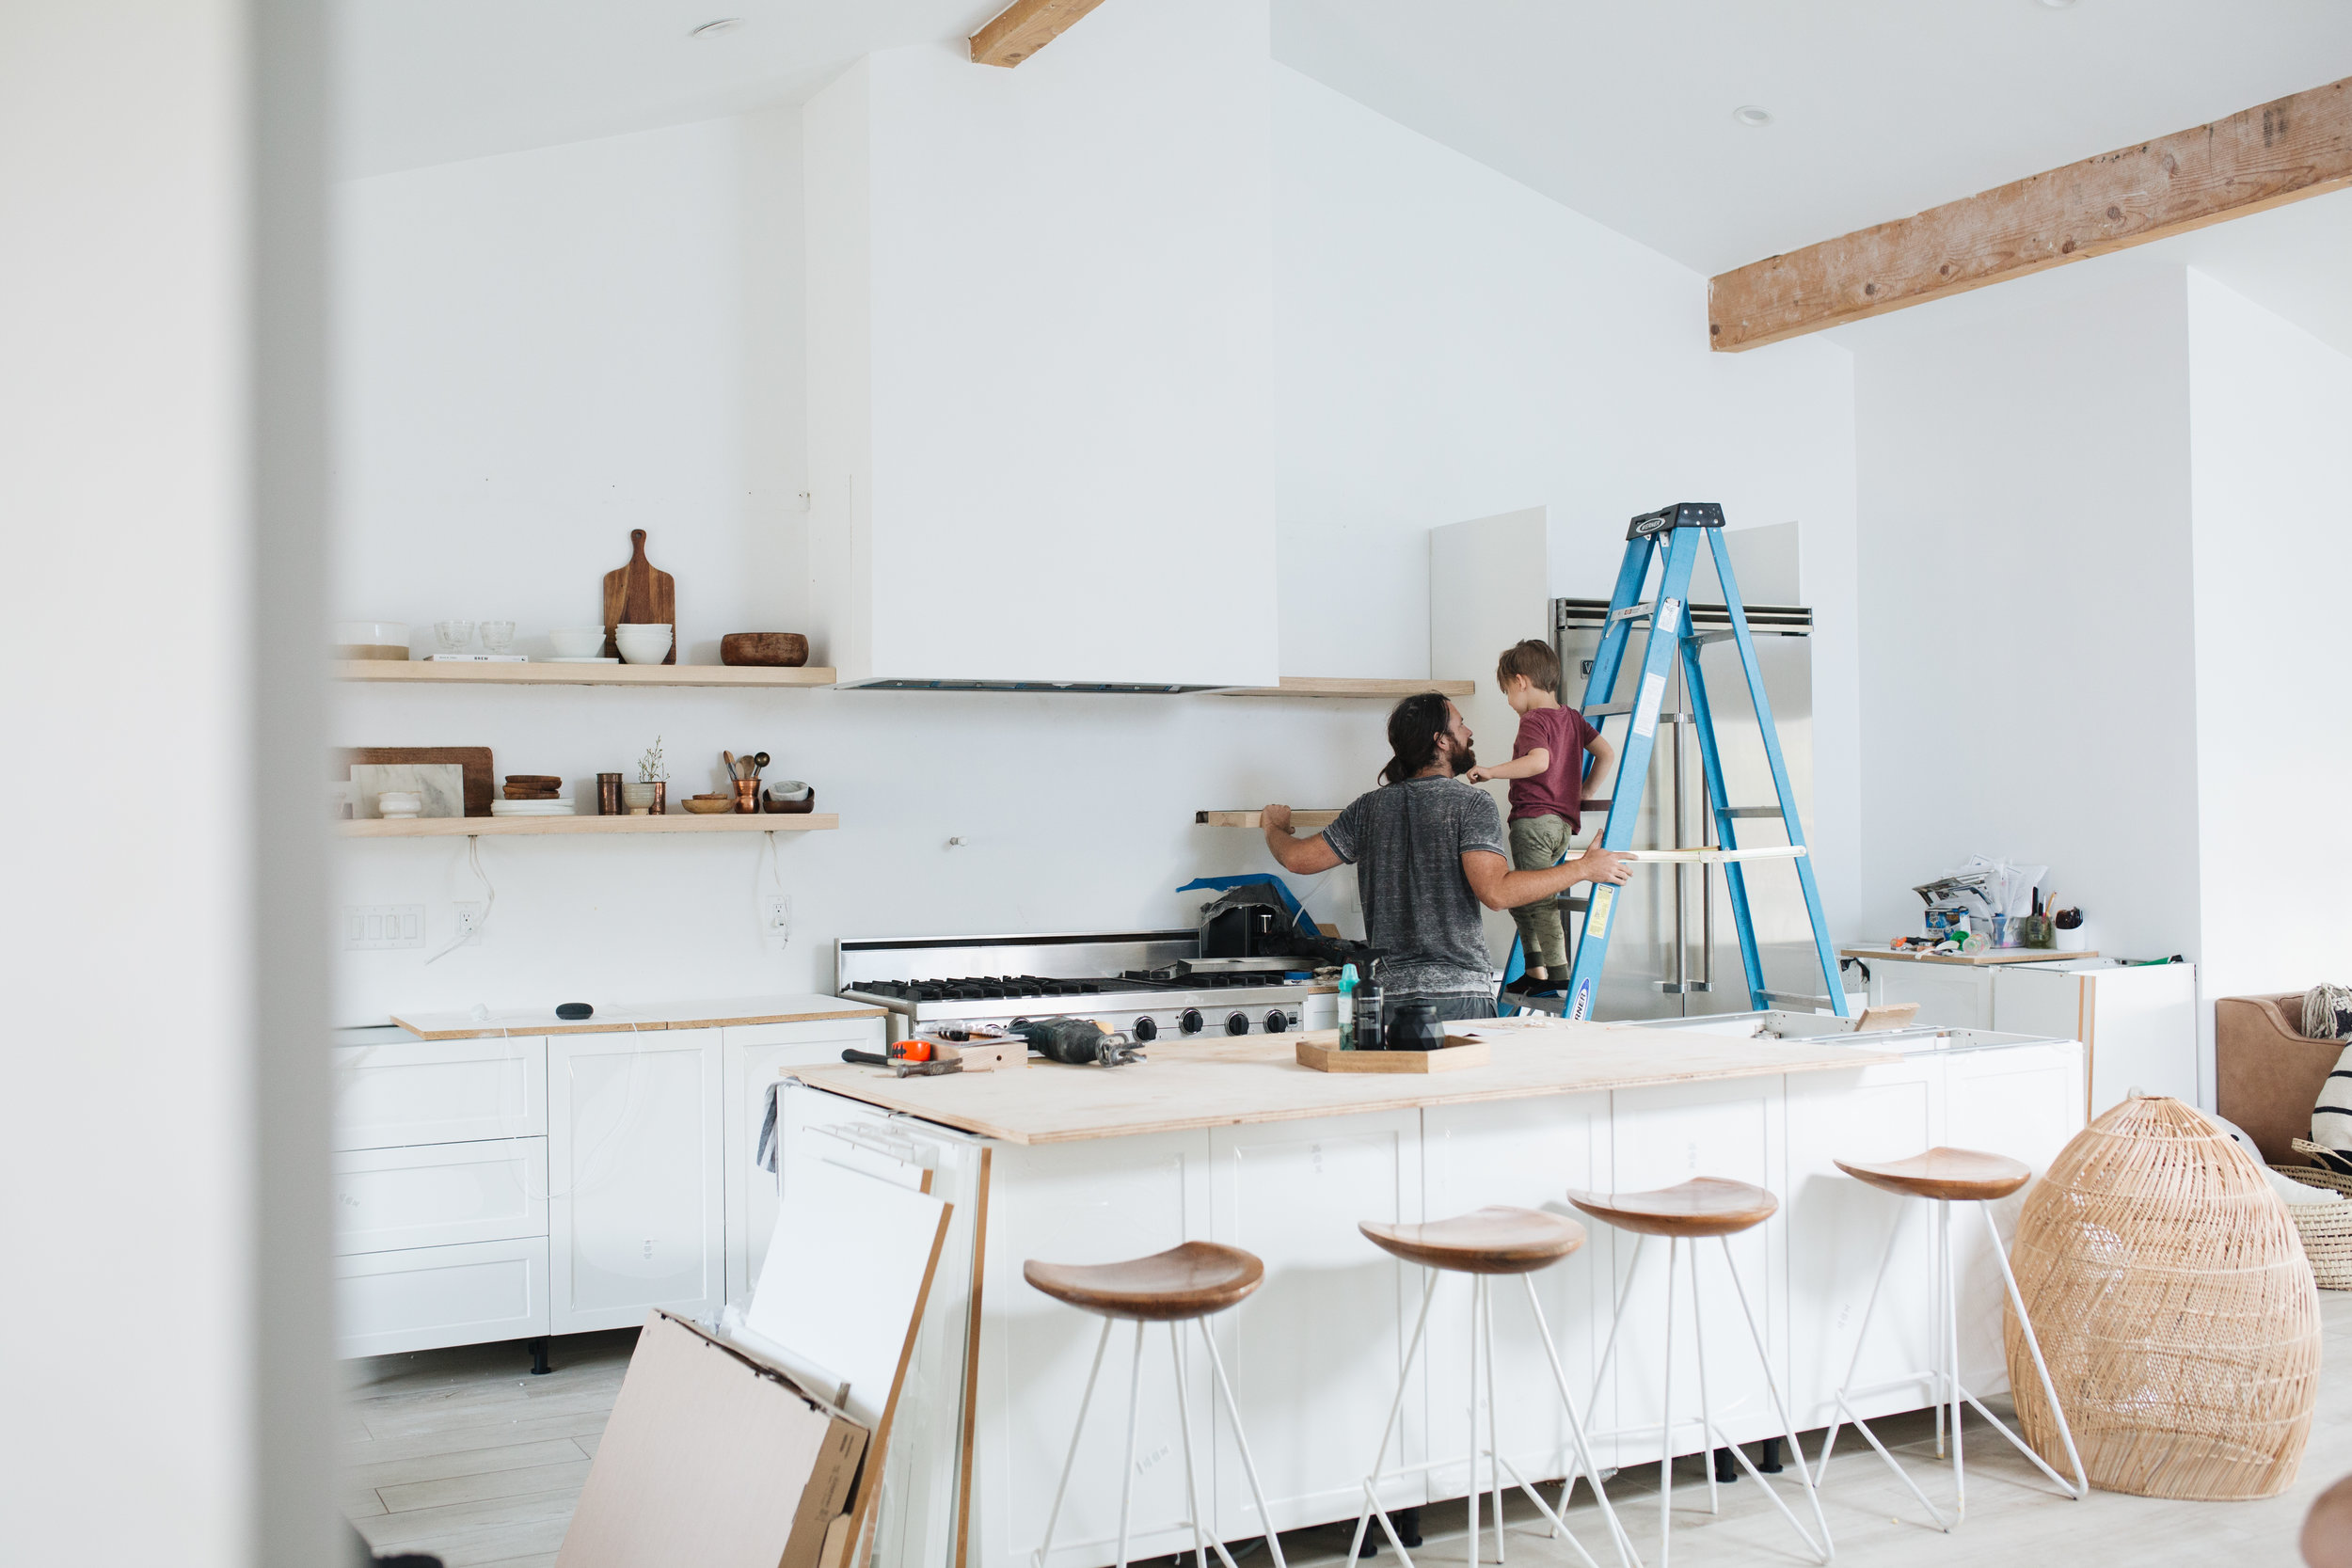
We tackled the floating shelves yesterday! We are closer to finalizing the countertops and backsplash and it's been an ongoing debate whether to keep the upper cabinets or go with the floating shelves and I did an Instagram story poll where you all weighed in and.... the floating shelves ultimately won! I am so happy with the poll results and feel like they're perfect for us for a few factors: 1. The white cabinet fronts that we got from a company called Semi Handmade are a pretty neutral matte white but its a different white than our wall and the range hood that we built, so we would have had to repaint the entire wall and hood.. 2. I felt like we needed some wood tones to bring warmth in and break up all the white that we've got going on 3. I don't need the extra storage that upper cabinets would provide. We have more storage than I know what to do with in this kitchen so I feel like why not just go for it! A lot of you requested that I do a tutorial on floating shelves and because my life is ruled by my favorite stranger-friends on instagram and how much I love you all and want you to just LOVE ME already... I decided to follow through and make that happen for you all. Is anyone even reading this? I don't know. But in my head this is really helpful and you all are really appreciative so I'm going with that.
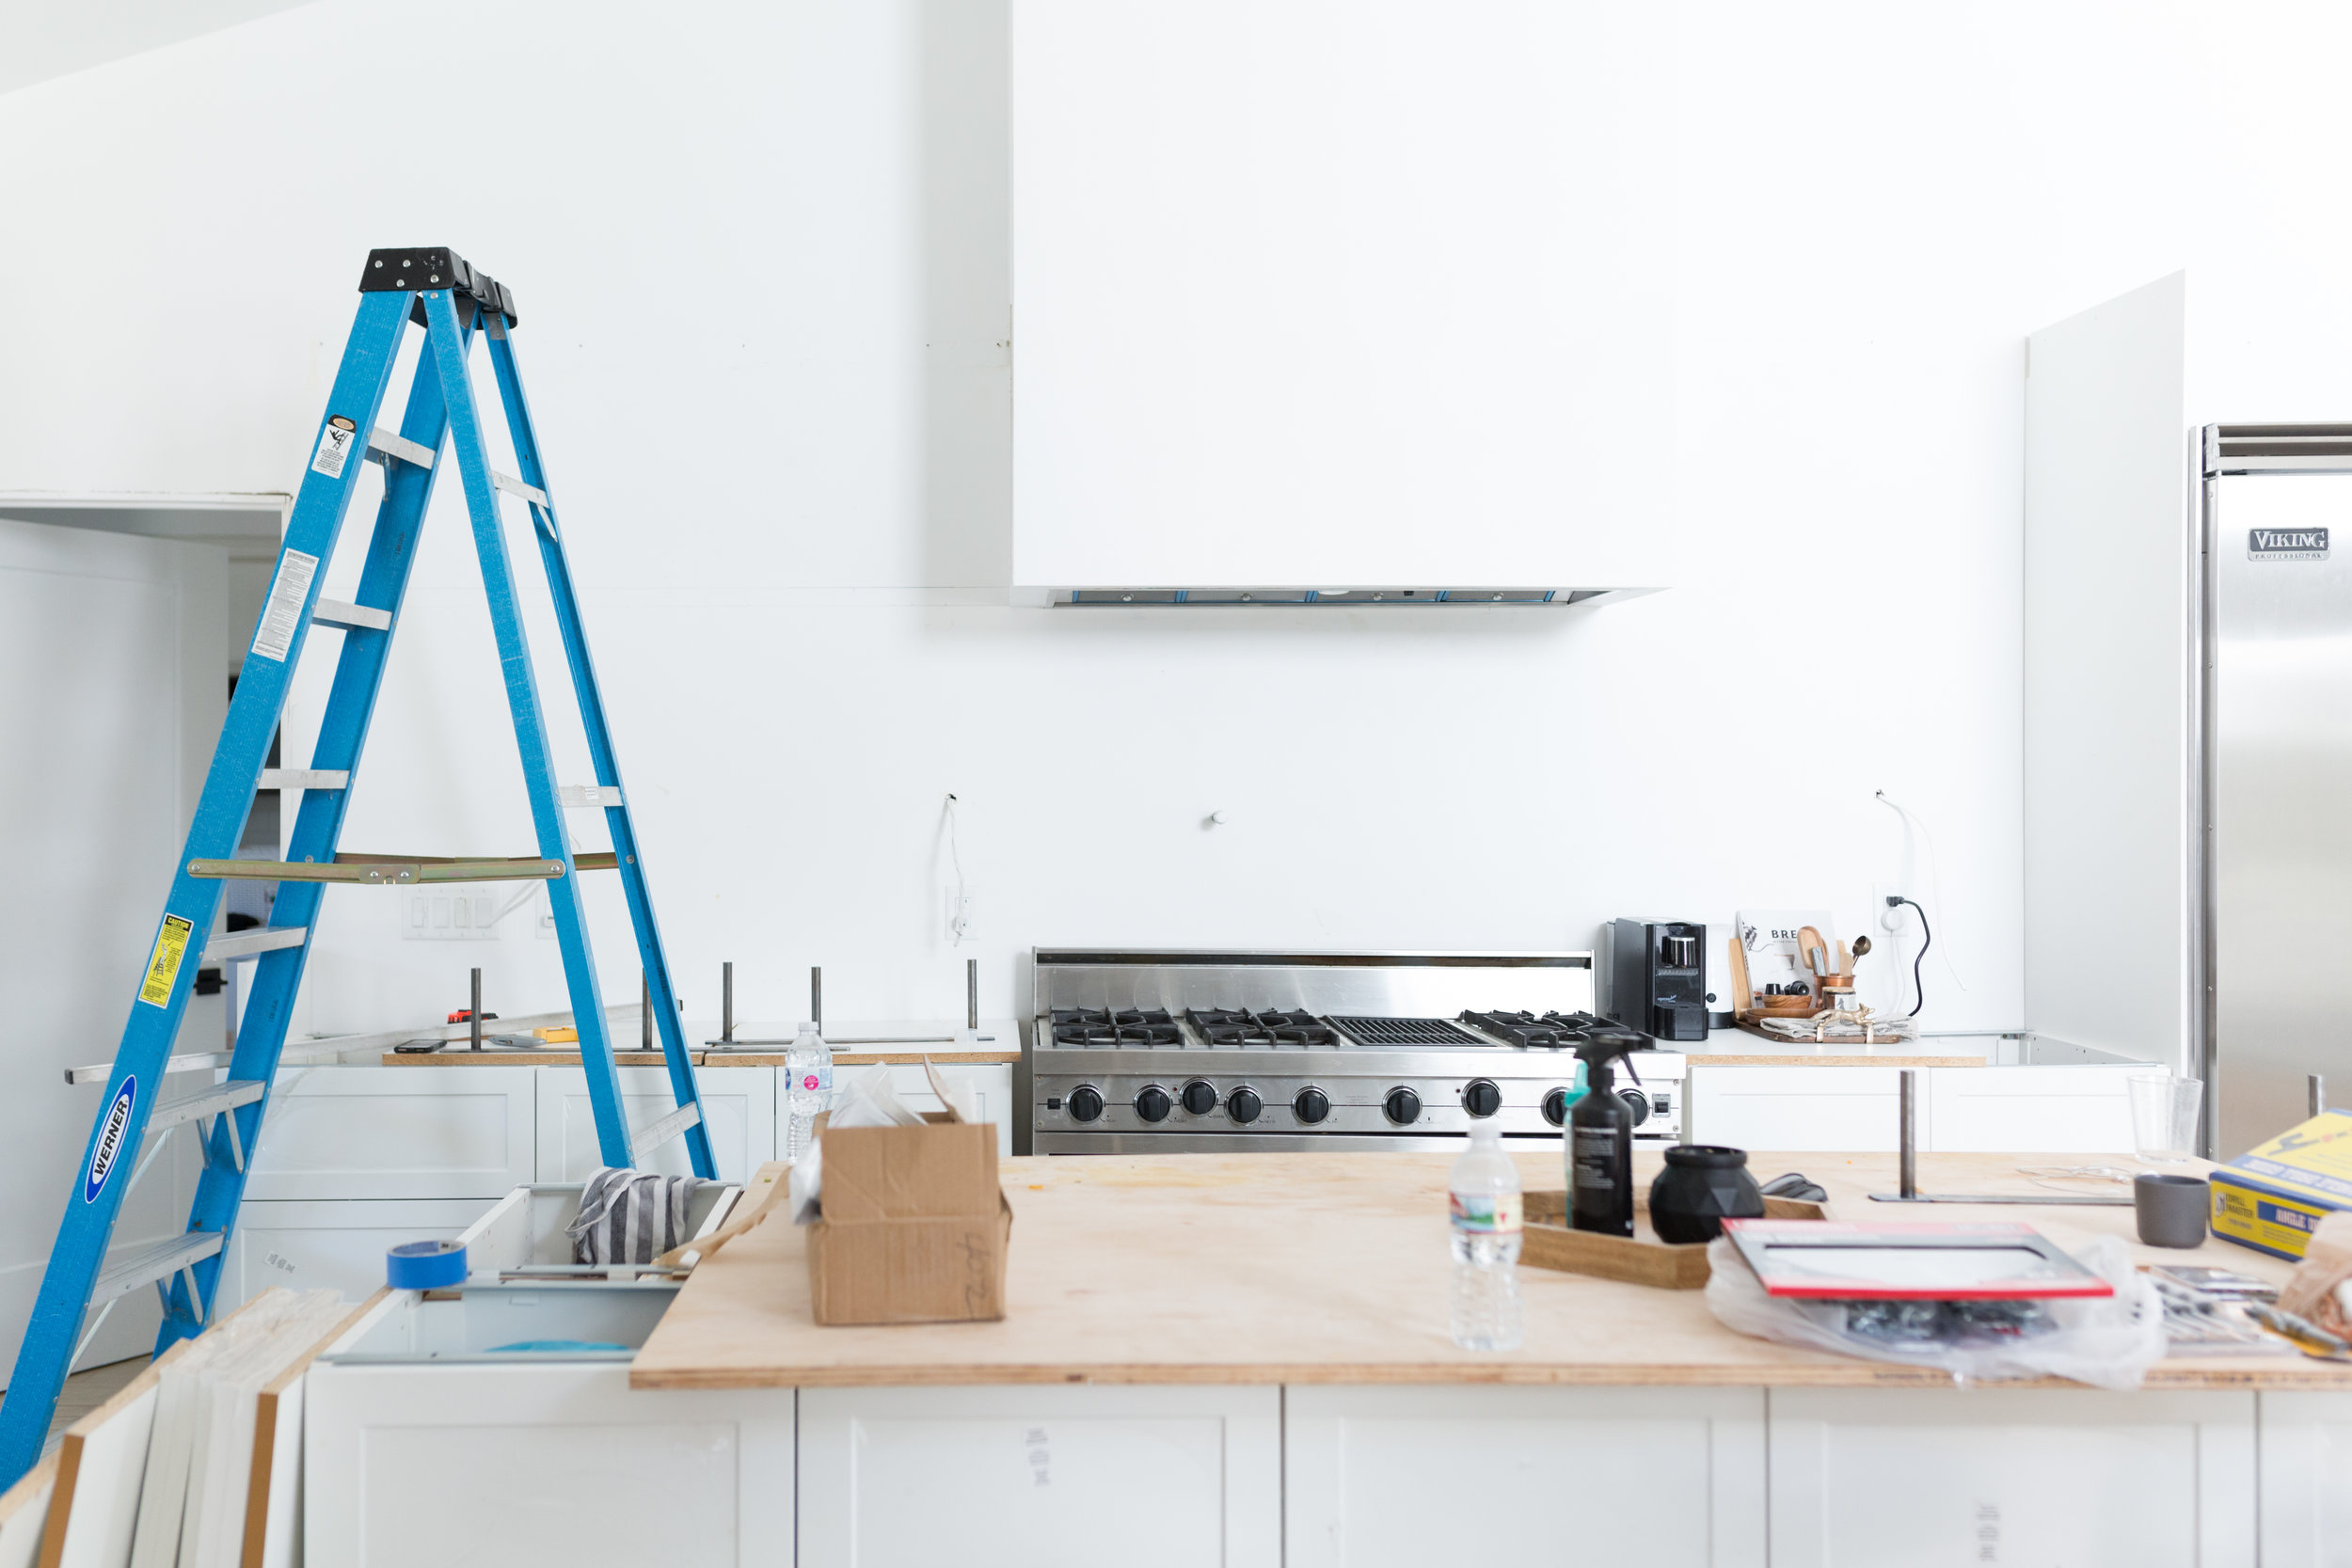
We asked our friends at Shelter Residential how they hang their floating shelves in their kitchen remodels and Ryan was able to give us a few pointers: if you can, cut the drywall the width of your metal hanging rack so it can inset into the wall and really look like a built in. This is completely optional but I decided to go for it because I really want these to be a focal point right when you walk in.
Materials and Preparation for your floating shelves
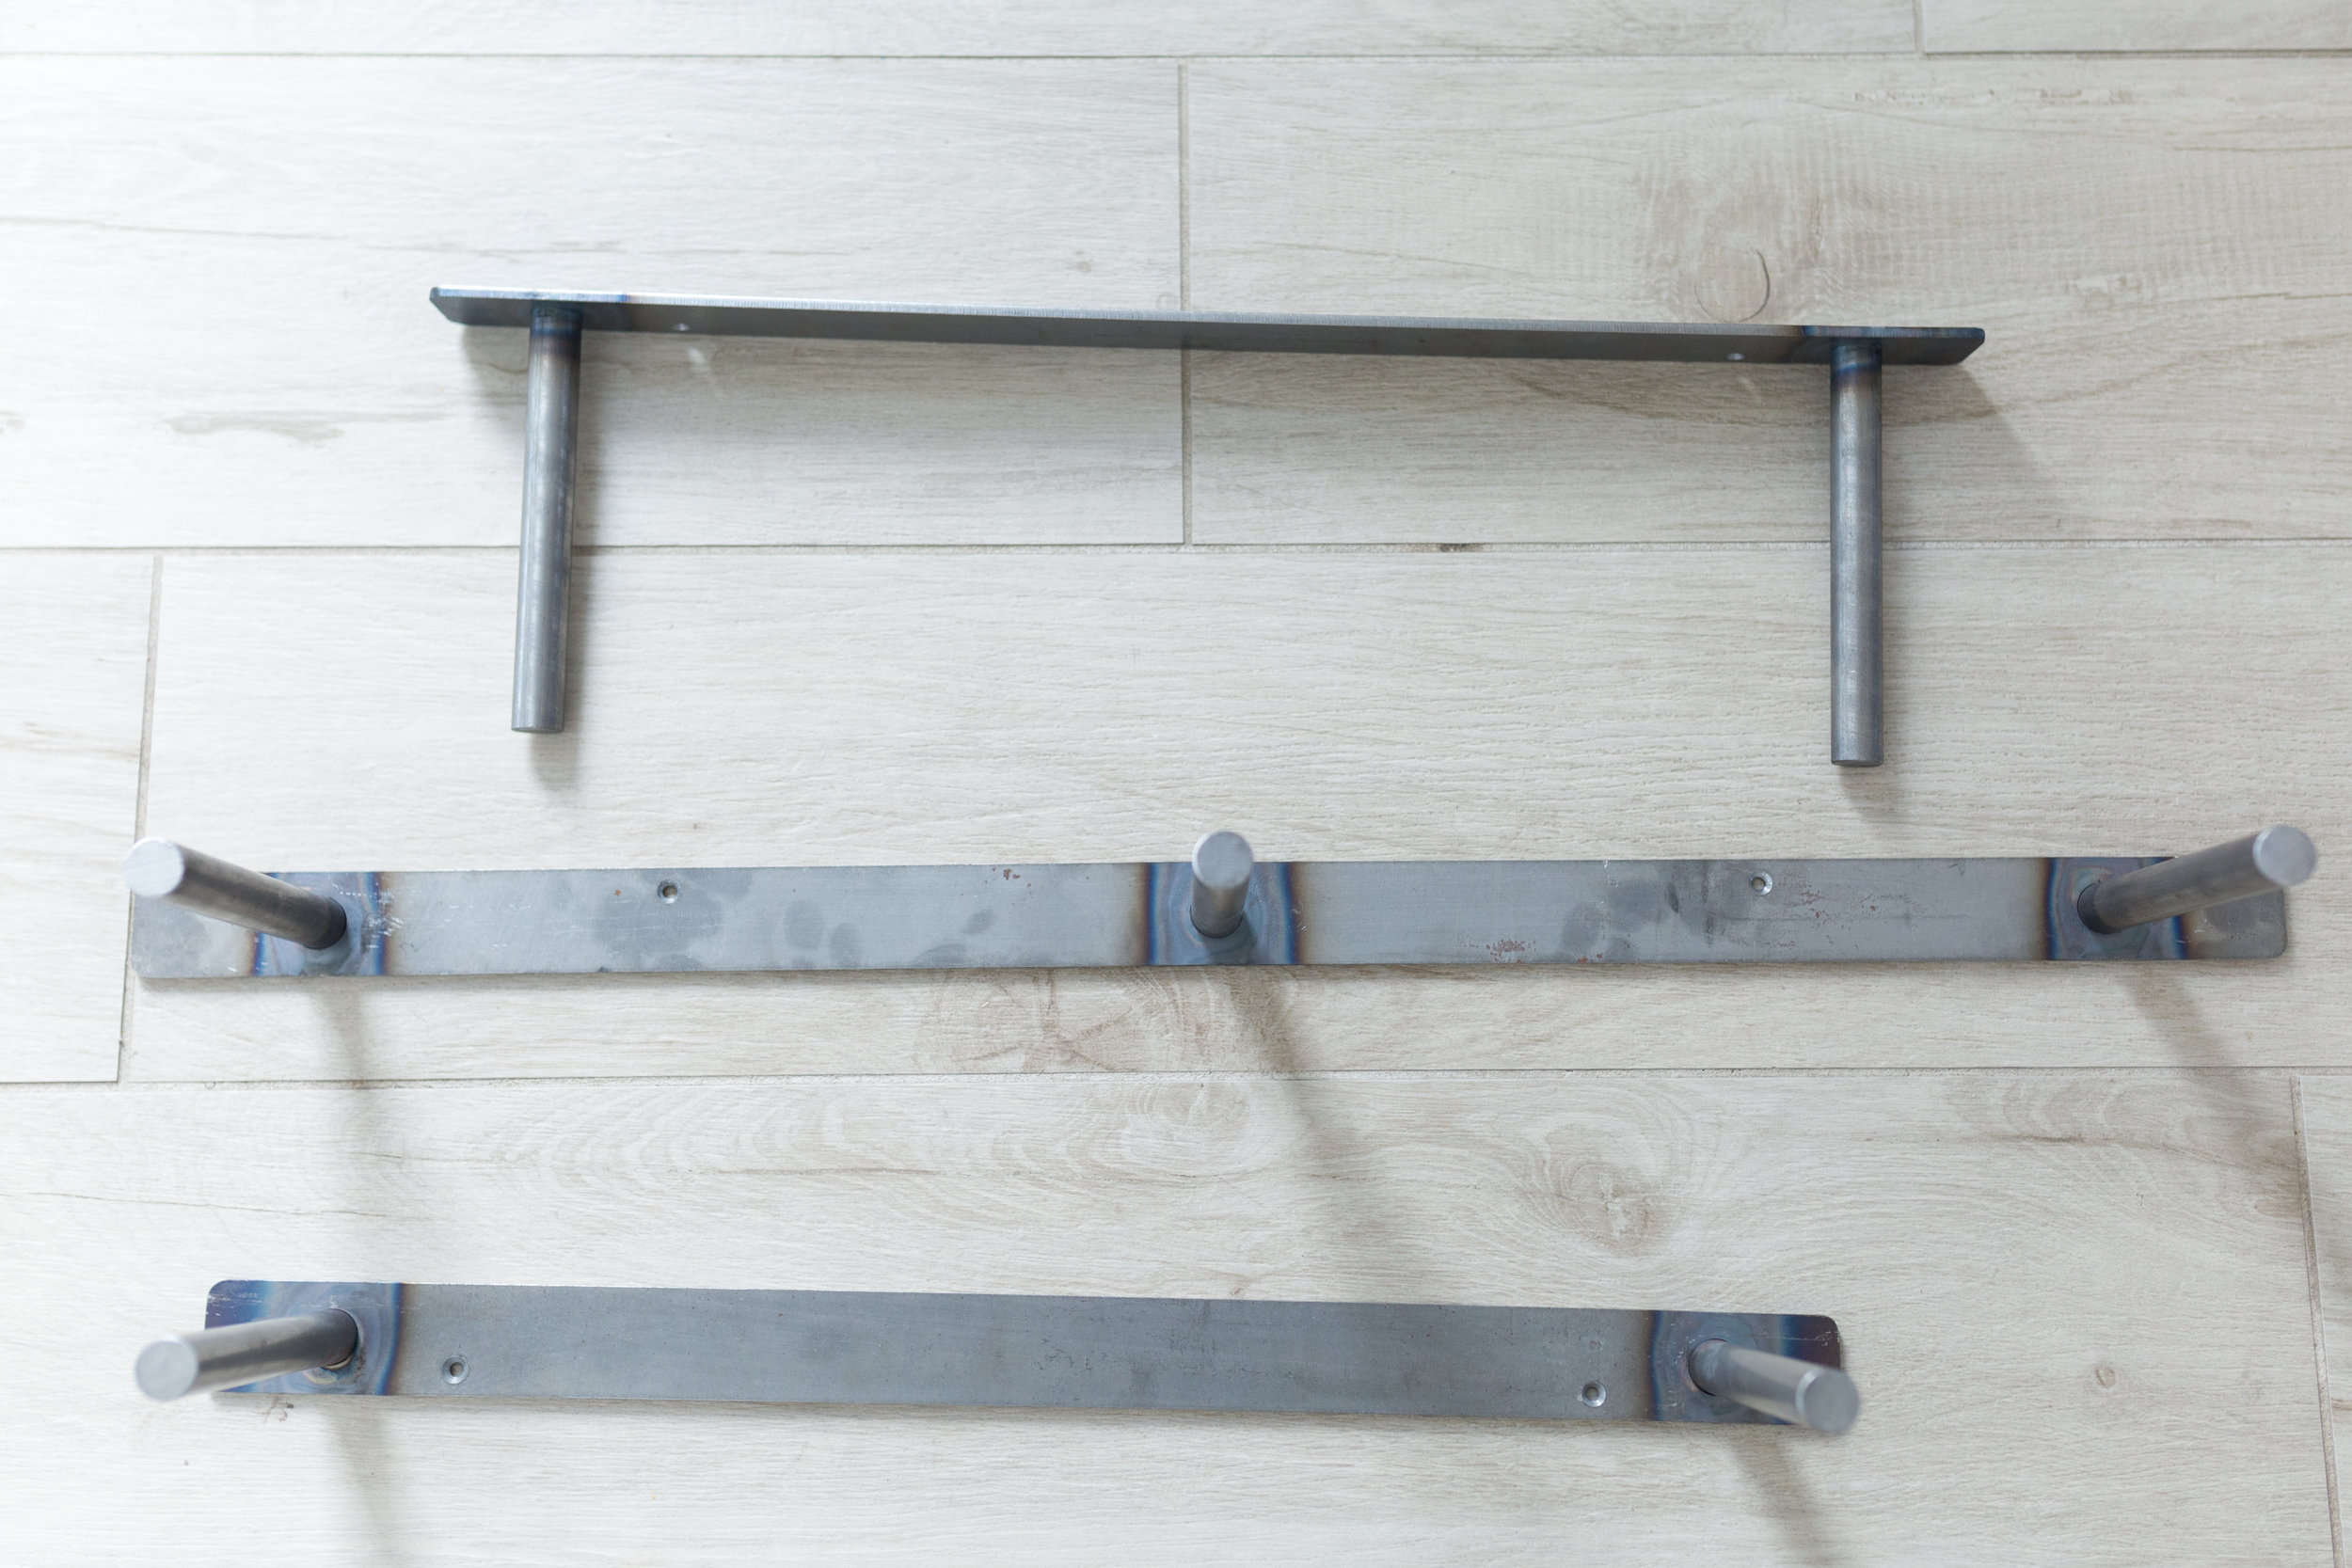
+Select your desired wood. We bought solid ash wood scrap pieces (9.5 ft x 1.75") from San Marcos Hardware and cut them to the sizes we needed (two 5 ft and two 3 ft) + sand and stain your boards if needed (we chose a clear, matte acrylic stain by Minwax + metal brackets, we decided on these heavy duty metal brackets because we needed them to be really sturdy to not only hold the weight of the wood but withstand the weight of cups, plates and pottery pieces. We bought ours here: Walnut Works sizes you need will depend on the length of the shelves you are installing. I recommend reading on their website to see the weight requirements etc.
For cutting the drywall to achieve the inset look (optional)
Tools you'll need:
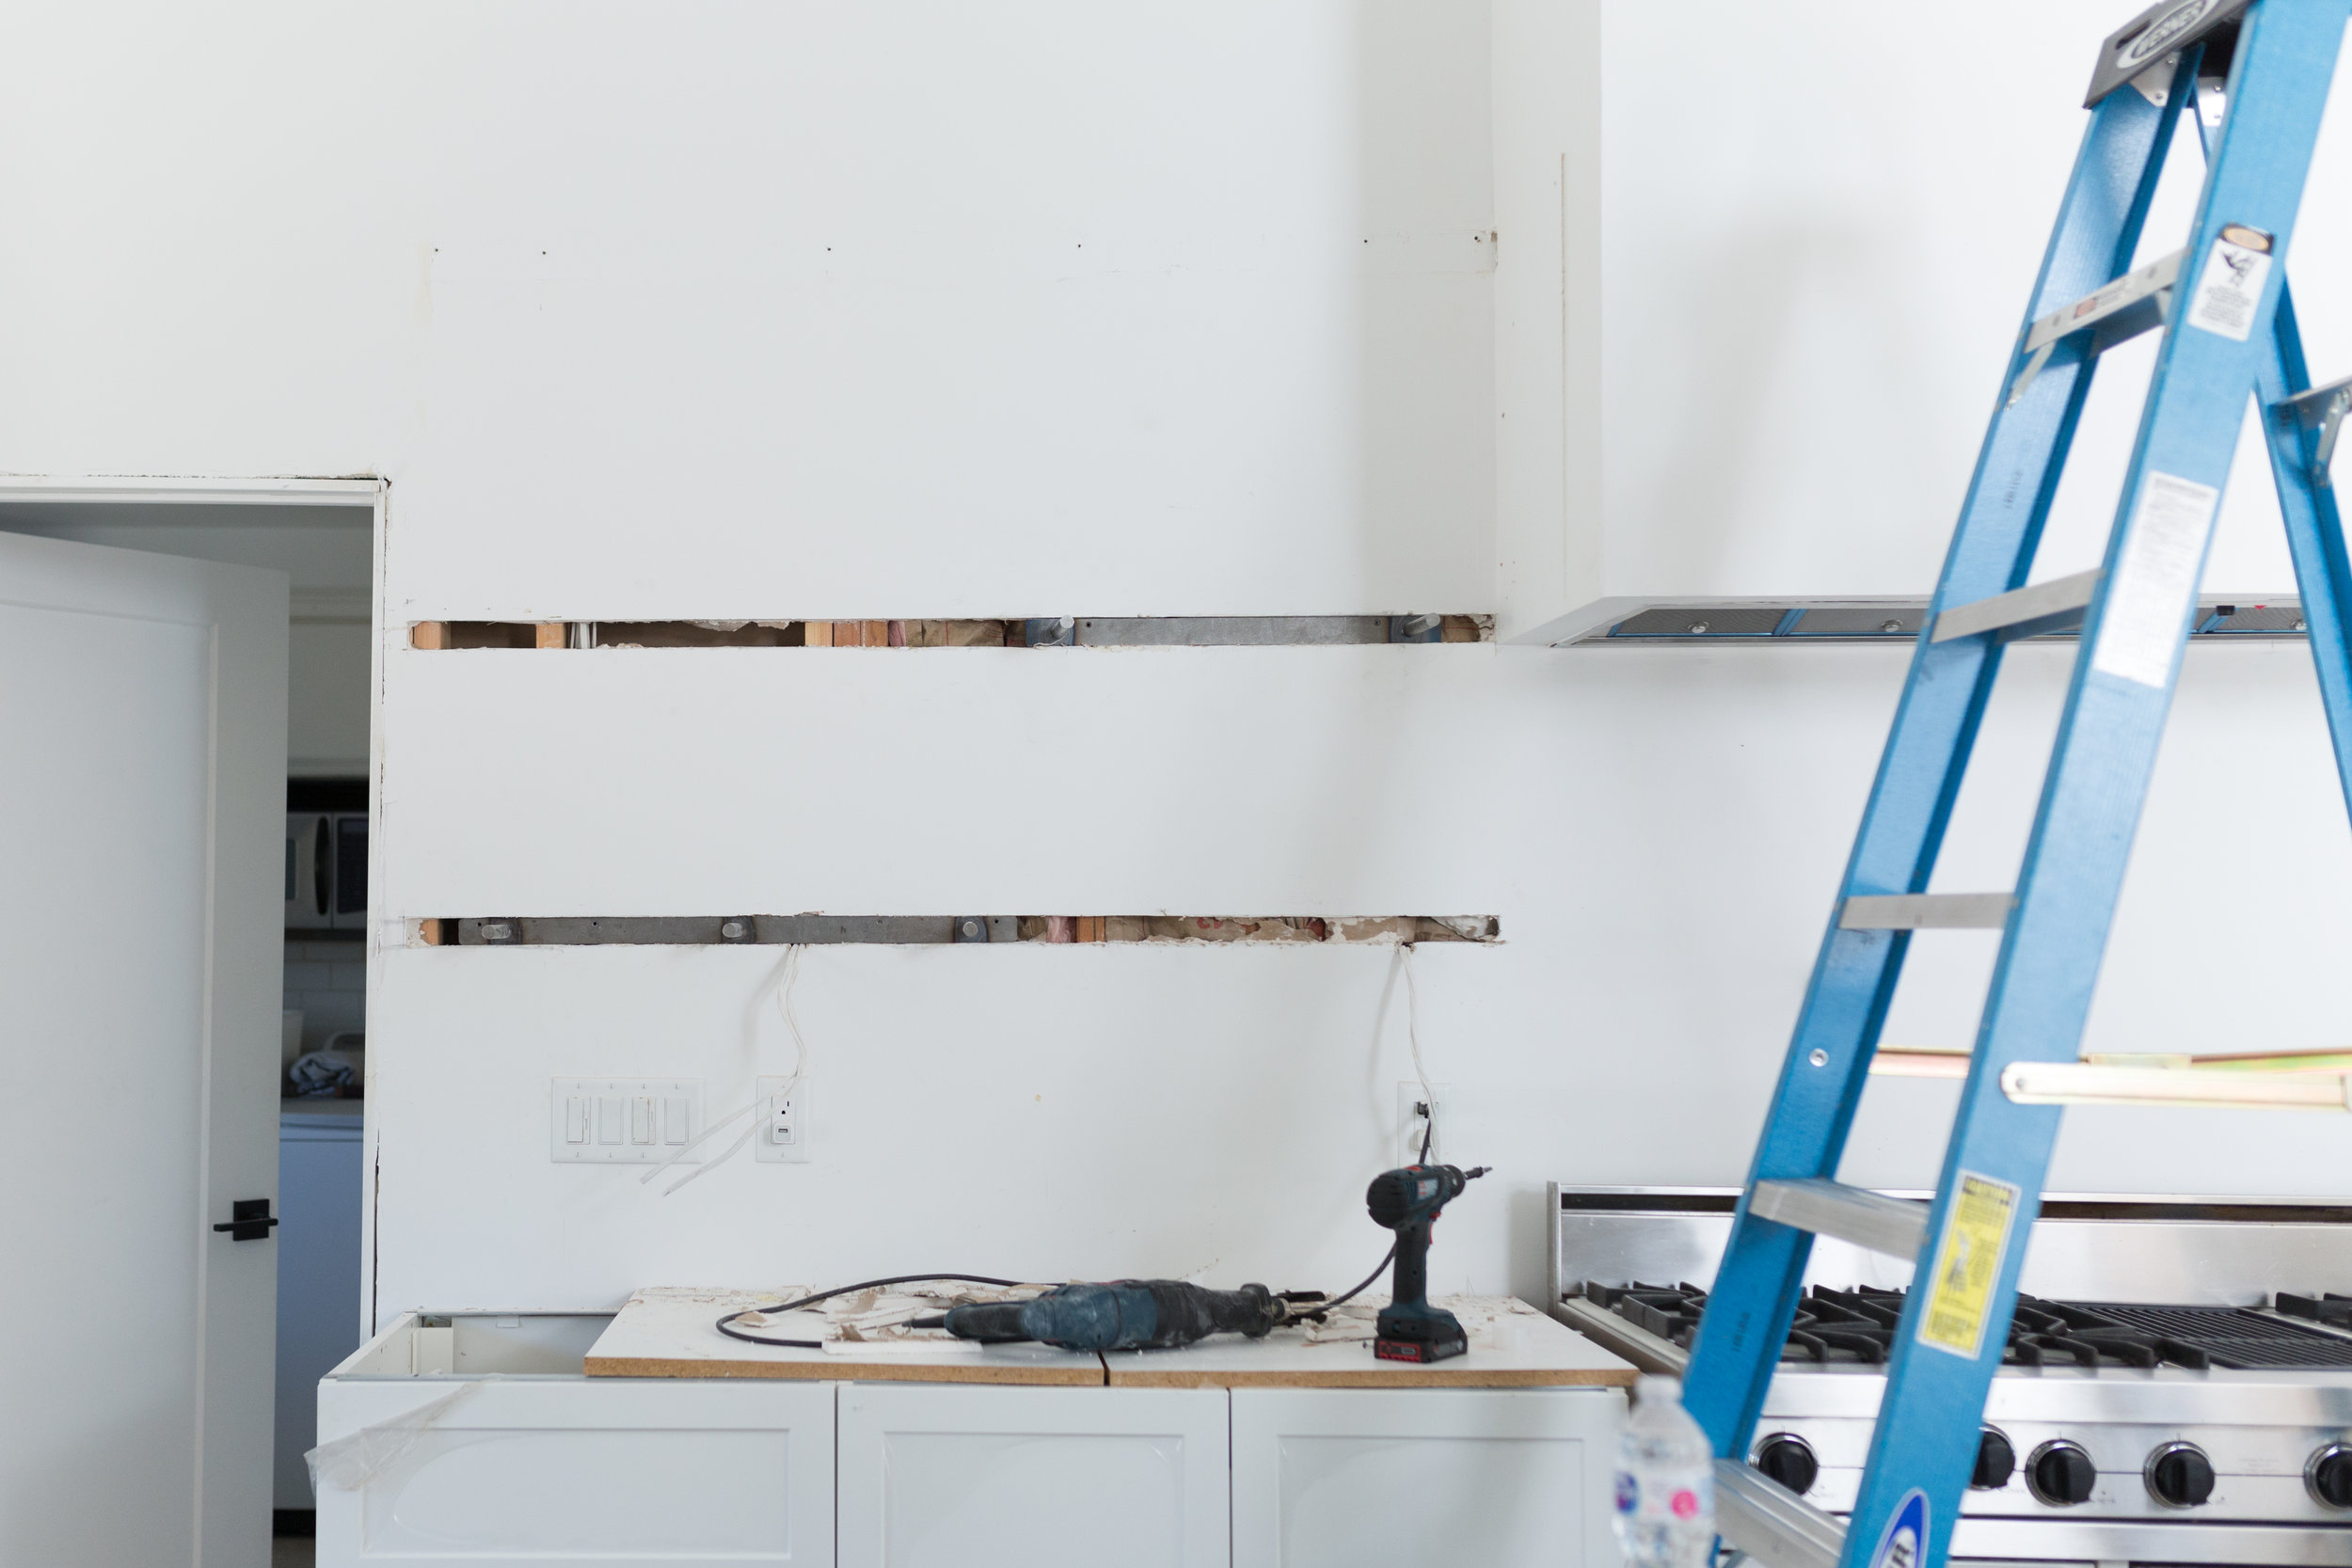
+sawzall or drywall knife or box cutter or a hand drywall saw depending on what you have + level + pencil
Step by Steps:
+start off by placing the bracket on the wall where you want it to go and put your level on it. Once its level, draw a line across the top and the bottom of your bracket with your pencil. Use your level to extend your line marks the length that your floating shelf is going to be in order to expose the studs that are needed to attach your brackets to. Cut along your pencil lines and remove the drywall. Make sure the bracket is level and screw it in to the exposed studs.
For drilling the holes into the wood:
Tools you'll need:
+drill guide (about $20) pictured below, + two scrap piece of wood to attach the drill guide to and use as a vice to hold the boards steady while you're drilling your holes into the wood (pictured below) + drill (corded recommended for optimum power) + 13/16" paddle bit and 1/2" bit + 6" paddle bit extender + shop vac optional
Step by Step
+ measure and remeasure where your holes are going to be drilled and mark it on your wood. + slide your wood into the vice and start with your 1/2" bit and drill a pilot hole. + vacuum the shavings out because they build up in the bottom of the hole and prevent you from drilling to the depth that you need. + place your 13/16" paddle bit on your drill and drill as far as you can go and then add the 6" paddle bit extender to drill the remaining 6".

For hanging and finishing your floating shelves:
Step by Step
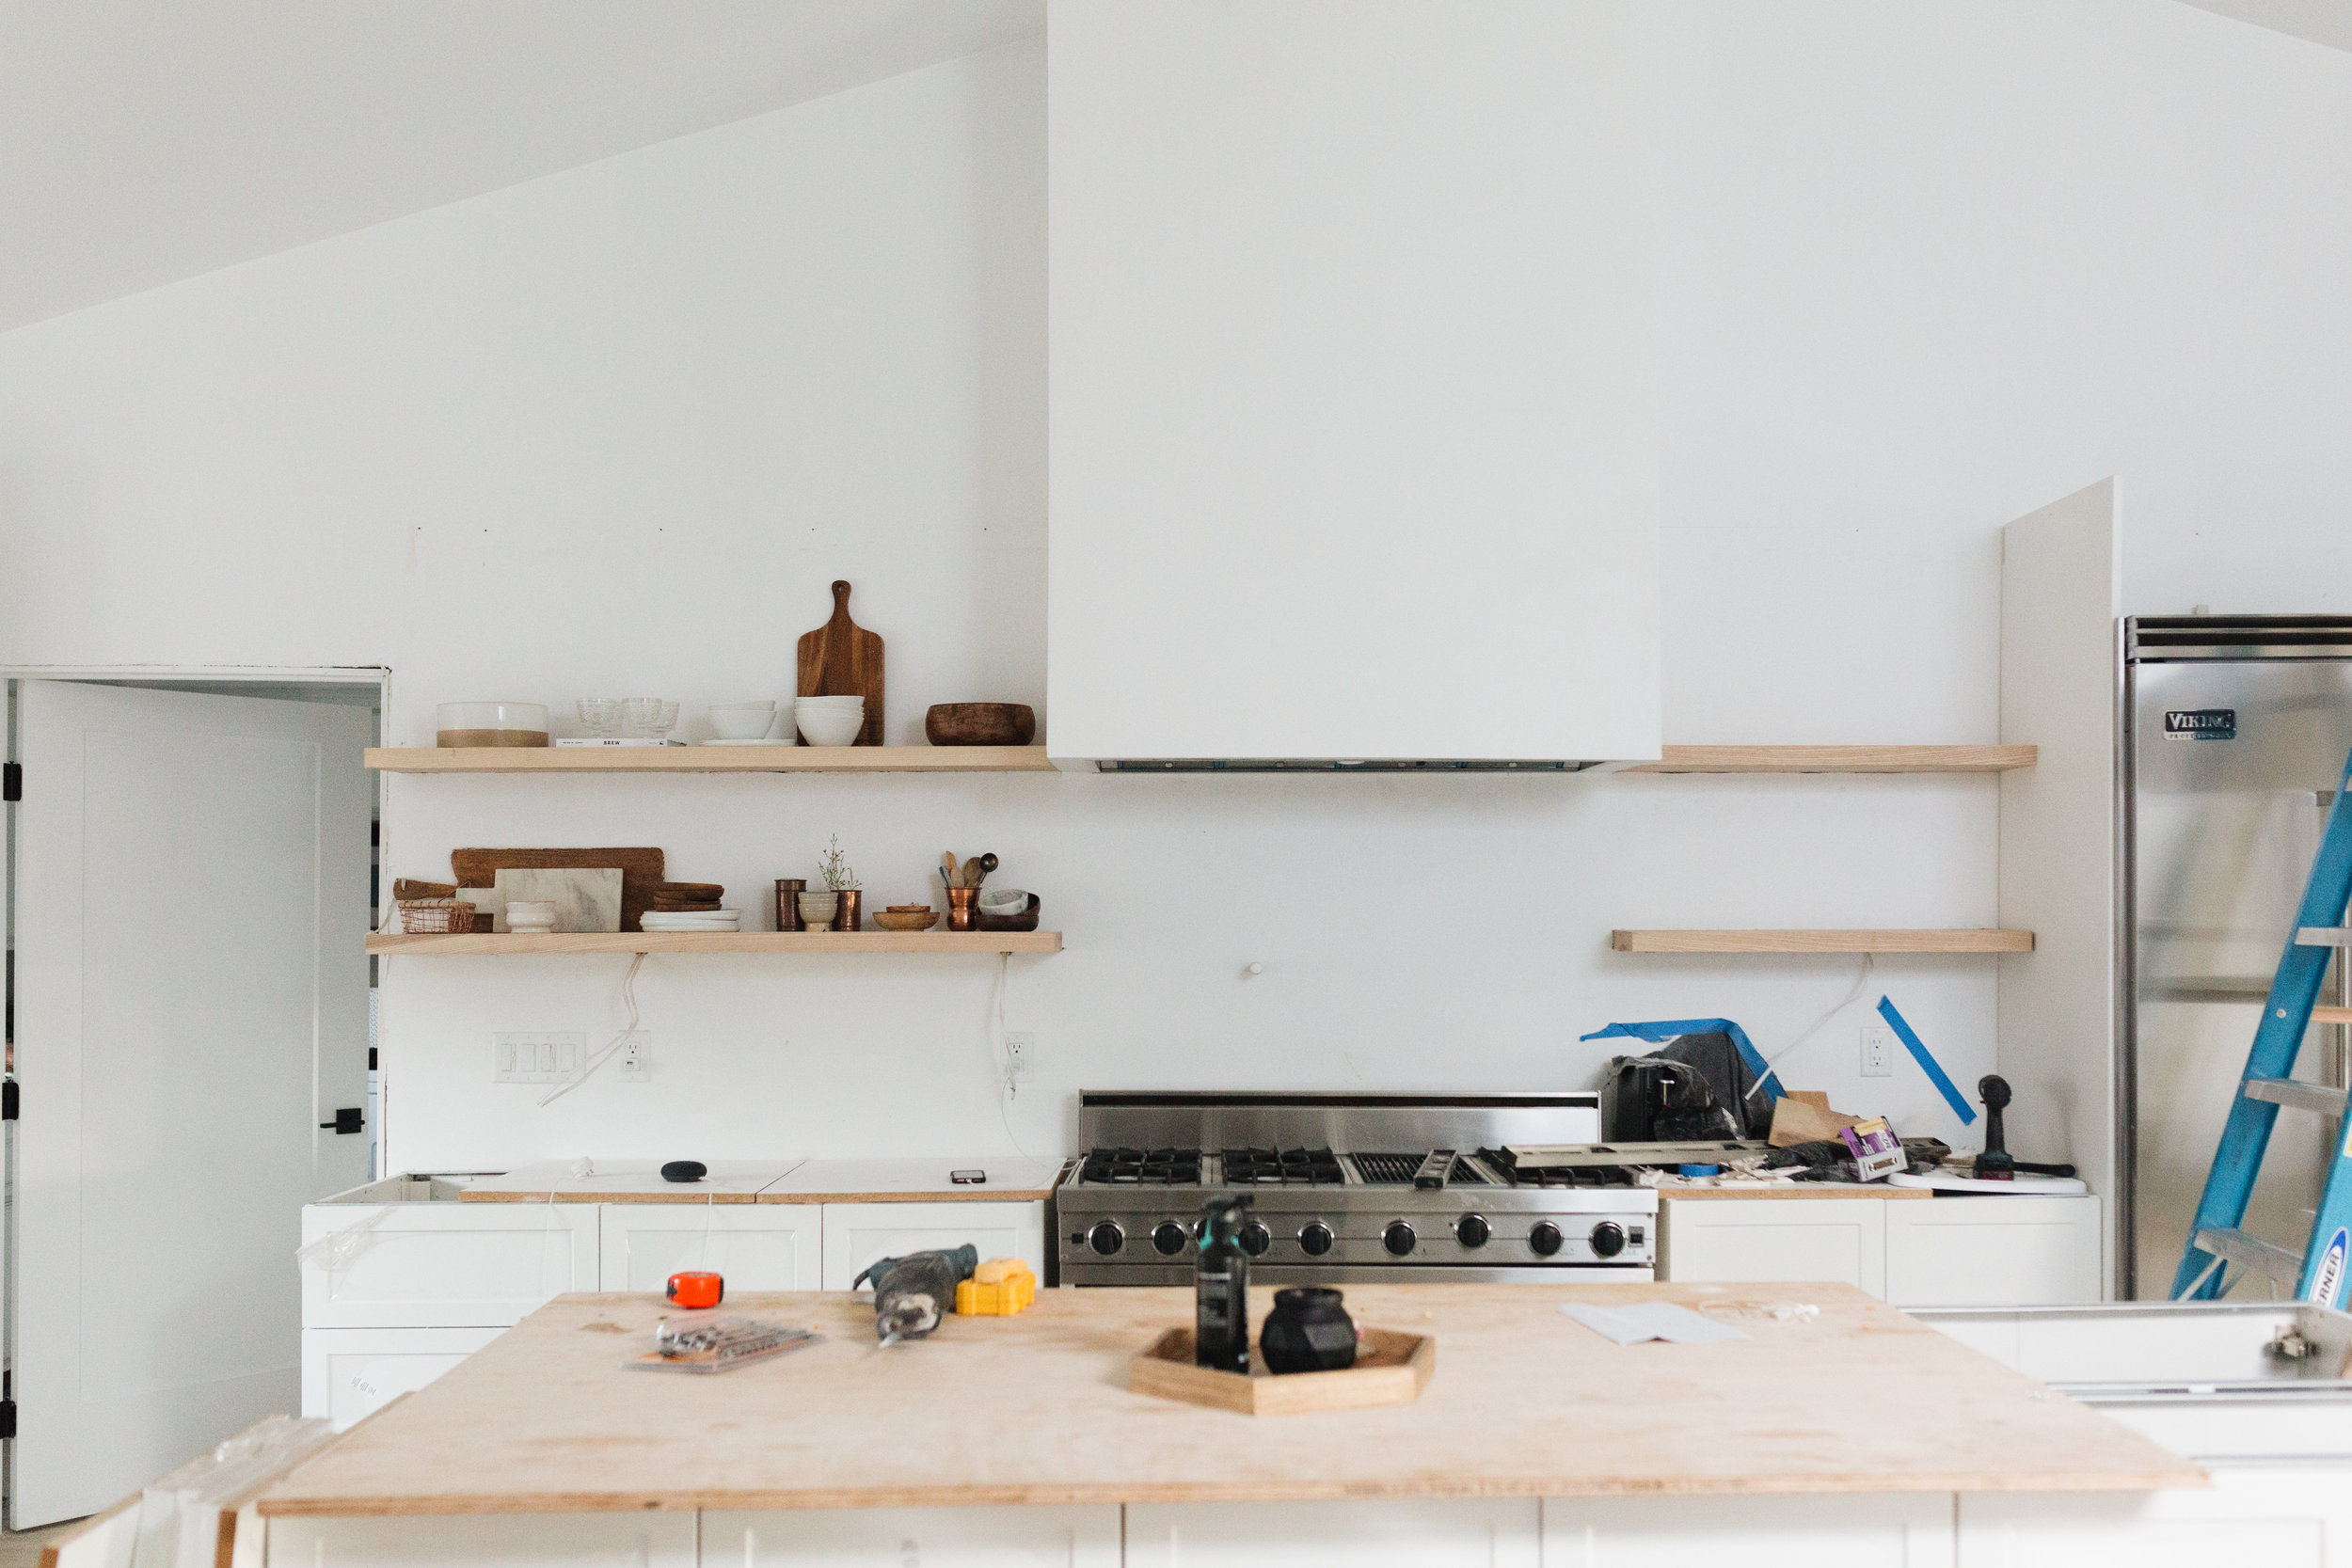
+line up the holes and slide your boards onto the metal brackets. If needed, get a scrap board and rubber mallet to assist you in hitting the boards onto the brackets. + Use interior paintable white calk to calk any seams along the top and bottom of your shelves. We may just hire our drywall guy to come and do his magic on any creases between the shelves and the wall so they really look flush and built in so that could also be a good option if needed! We still have some finish work to do and some wires hanging from underneath the lower shelves for where our undermount lighting is going to go, but I thought I would throw some kitchen stuff on the shelves and style em up a little to show you what they look like because I'm always way too impatient to see the final product!