build: our chicken coop reveal
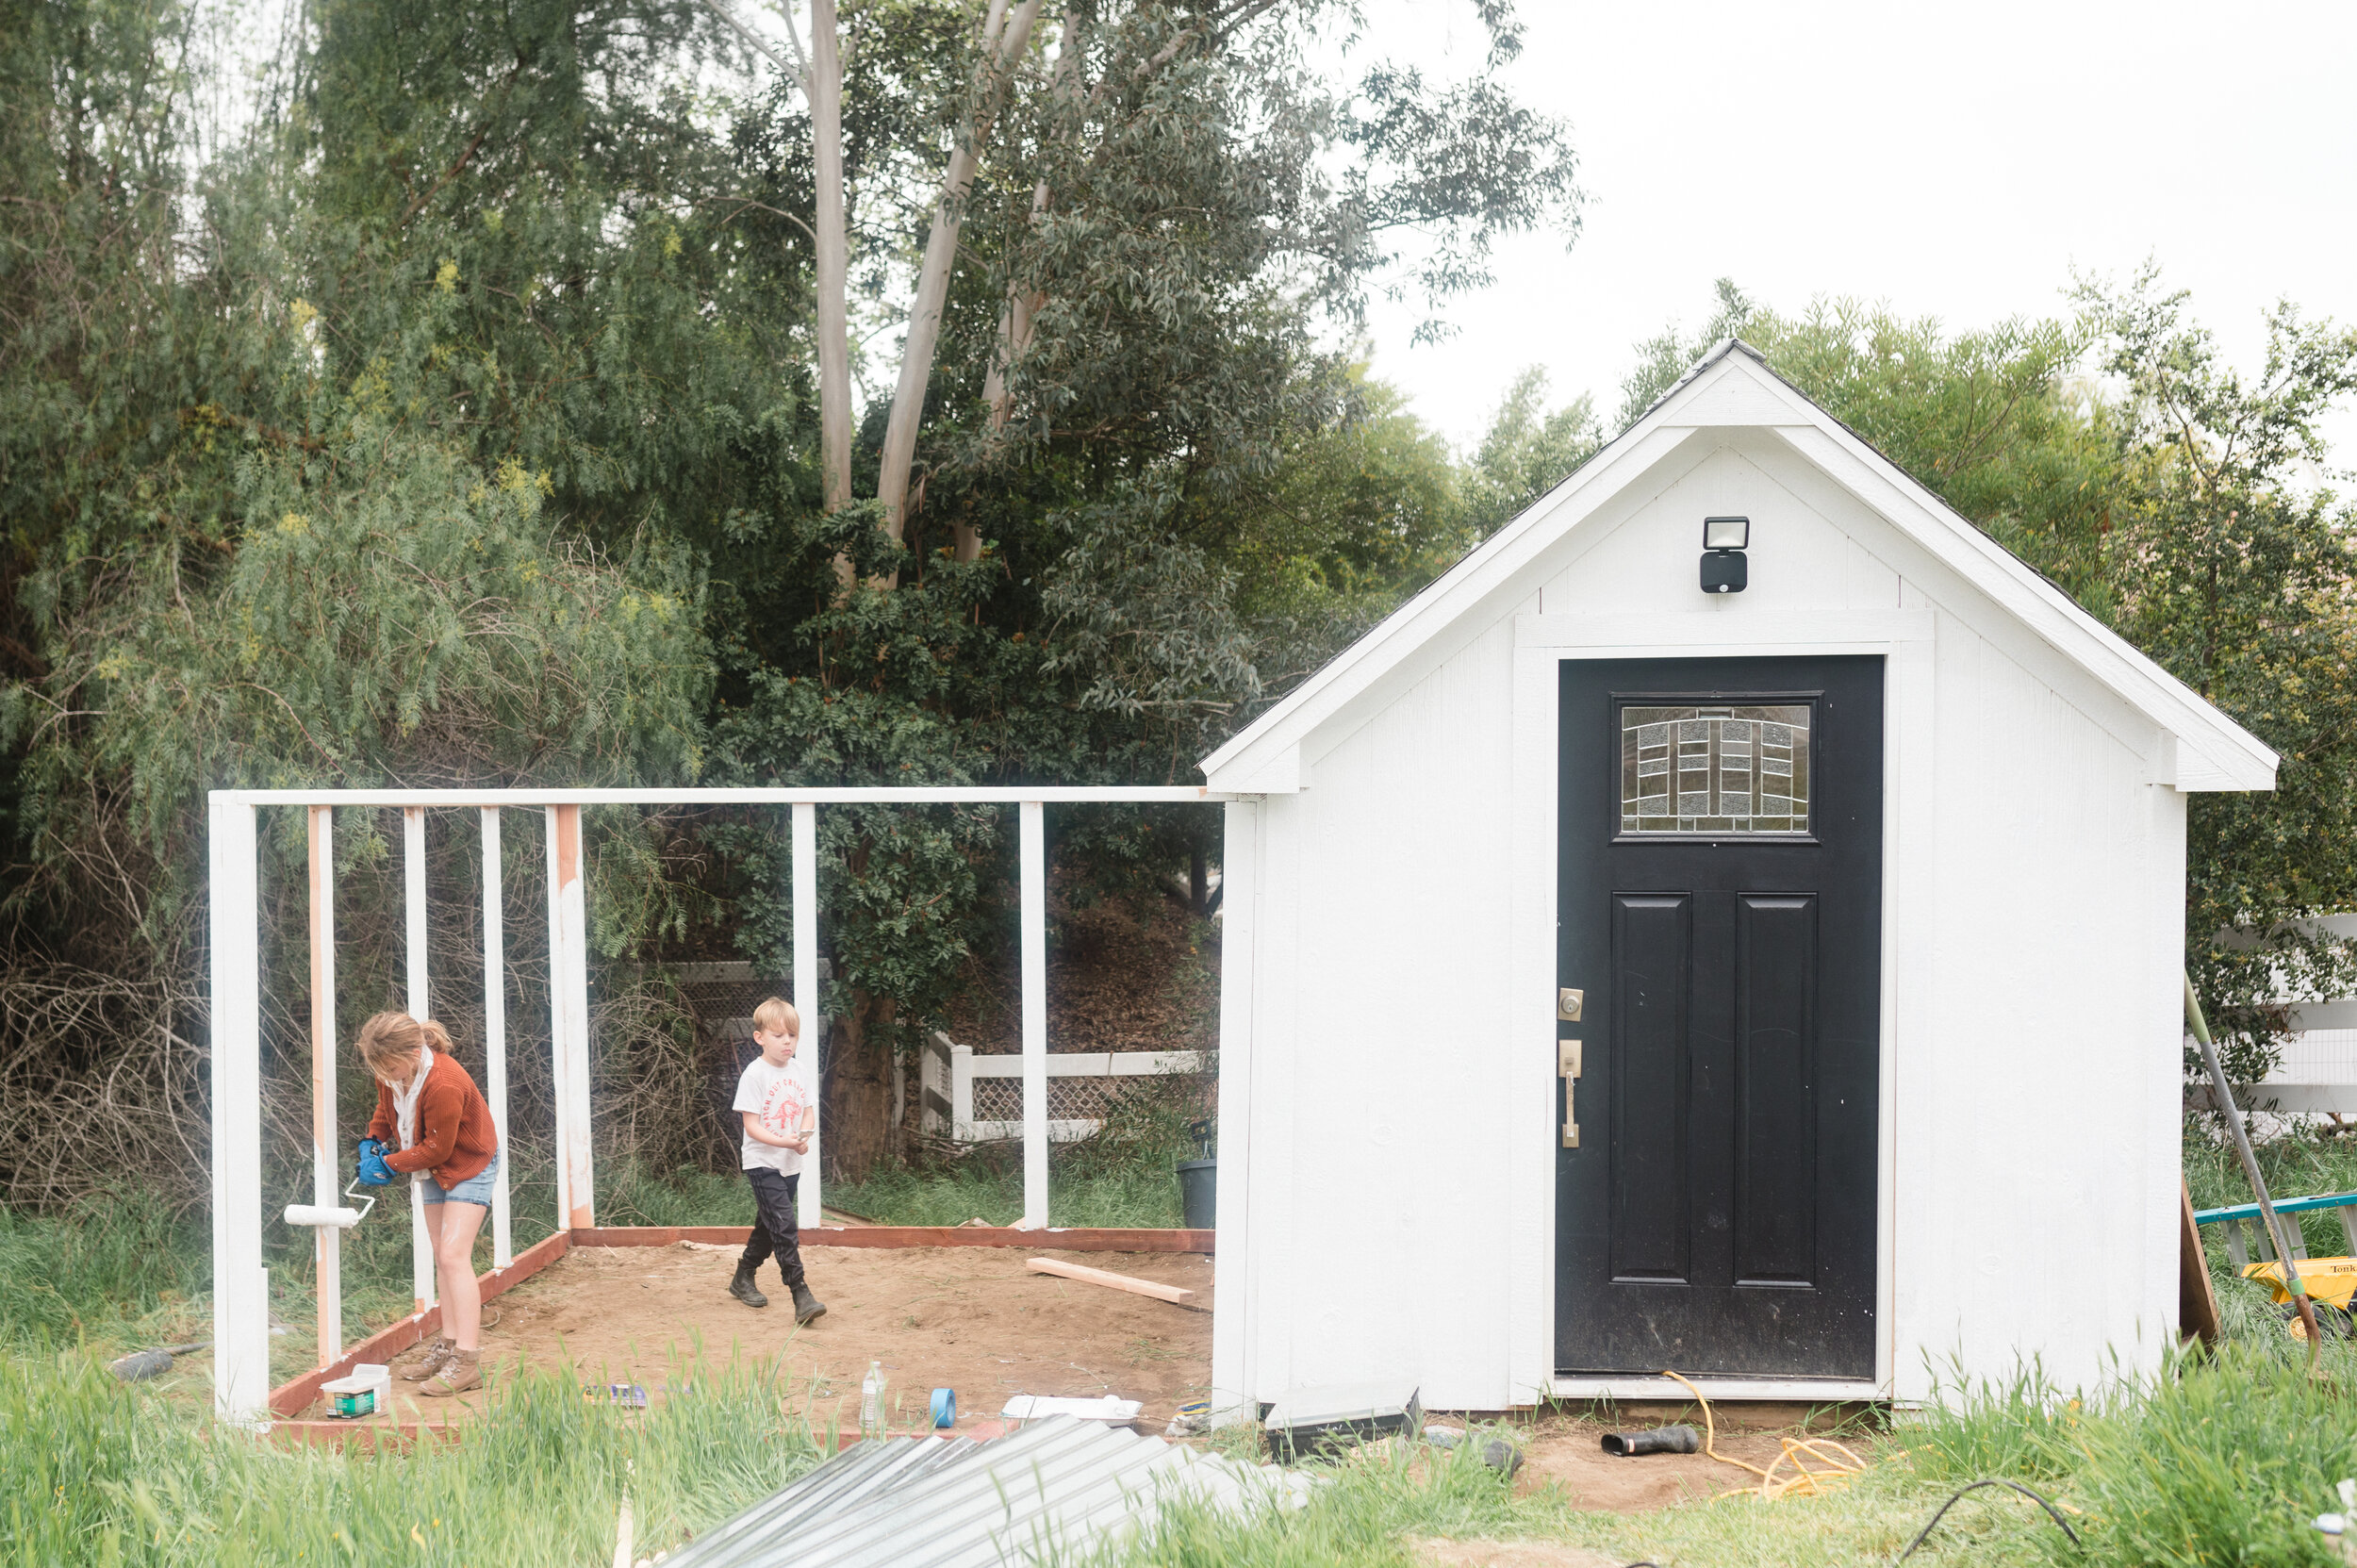
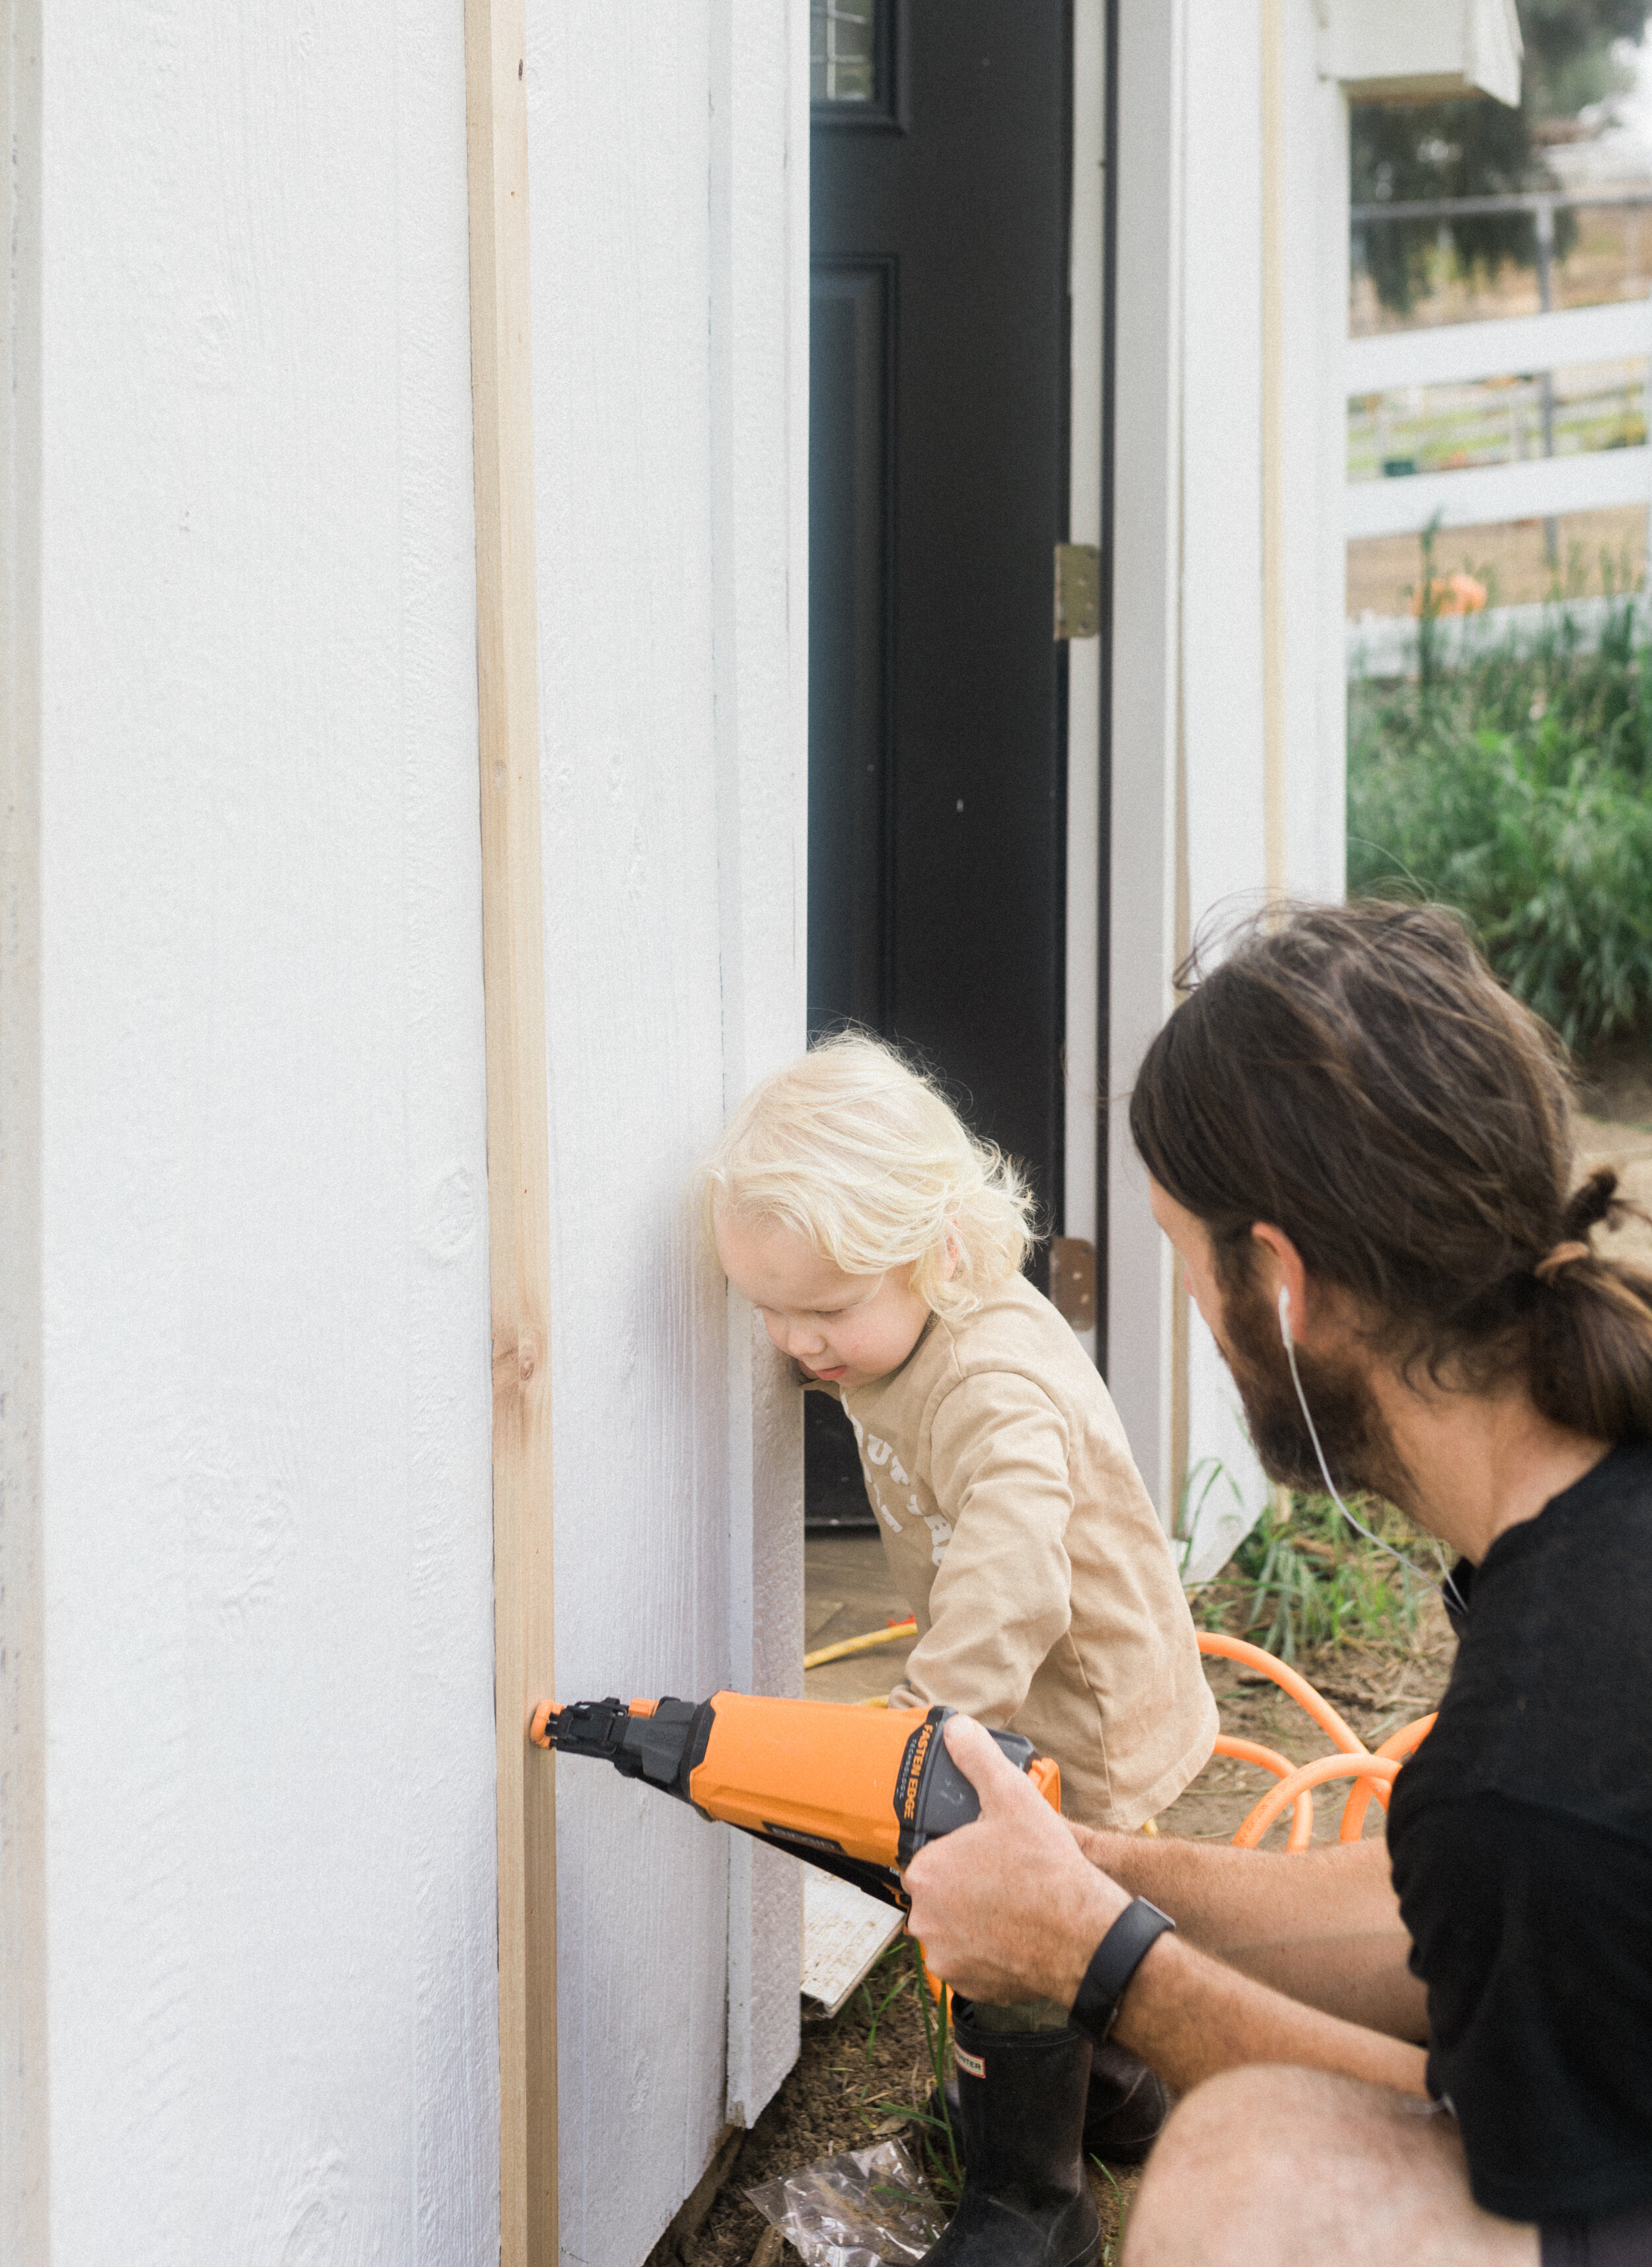
Before the quarantine we were throwing around the idea of surprising the kids with six or seven chicks for Easter and then when we were in the thick of isolation and social distancing we knew it would be such a fun little distraction for the kiddos to take care of some fuzzy cute chicks so we started building our chicken coop! We learned a few things along the way from my parents and other chicken owners so I thought I would share in case any of you are wanting to do the same!
OVERVIEW
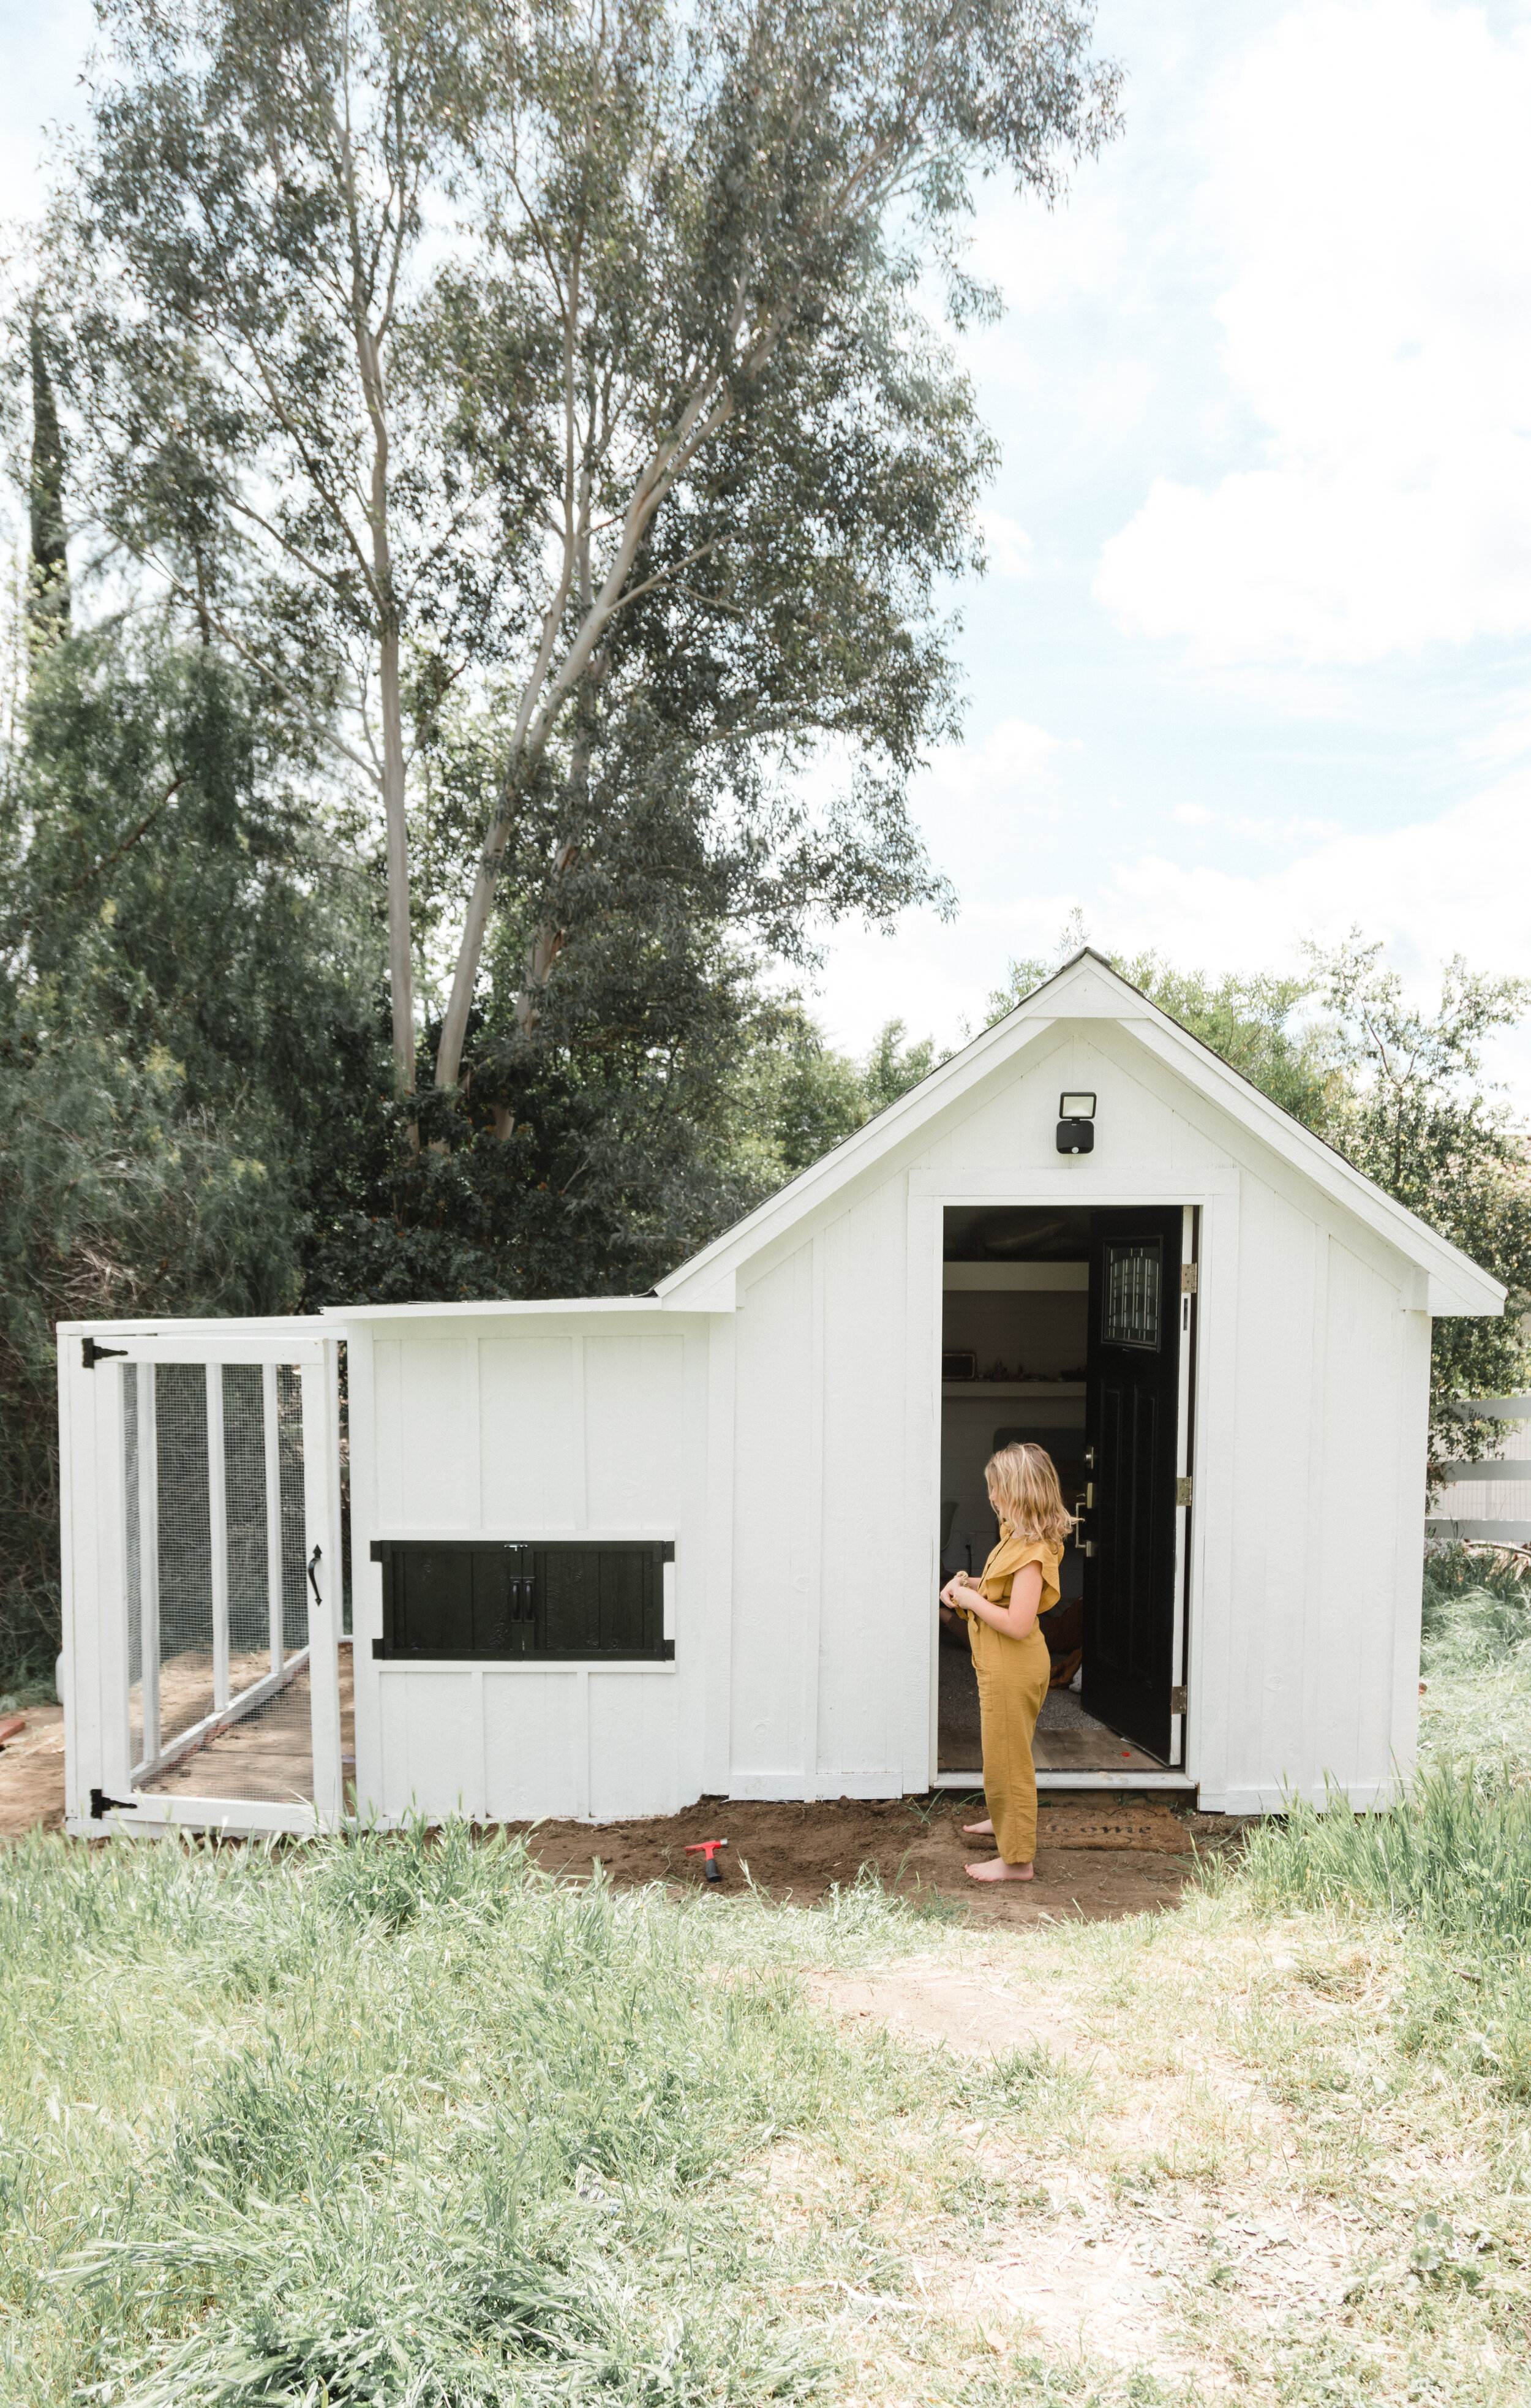
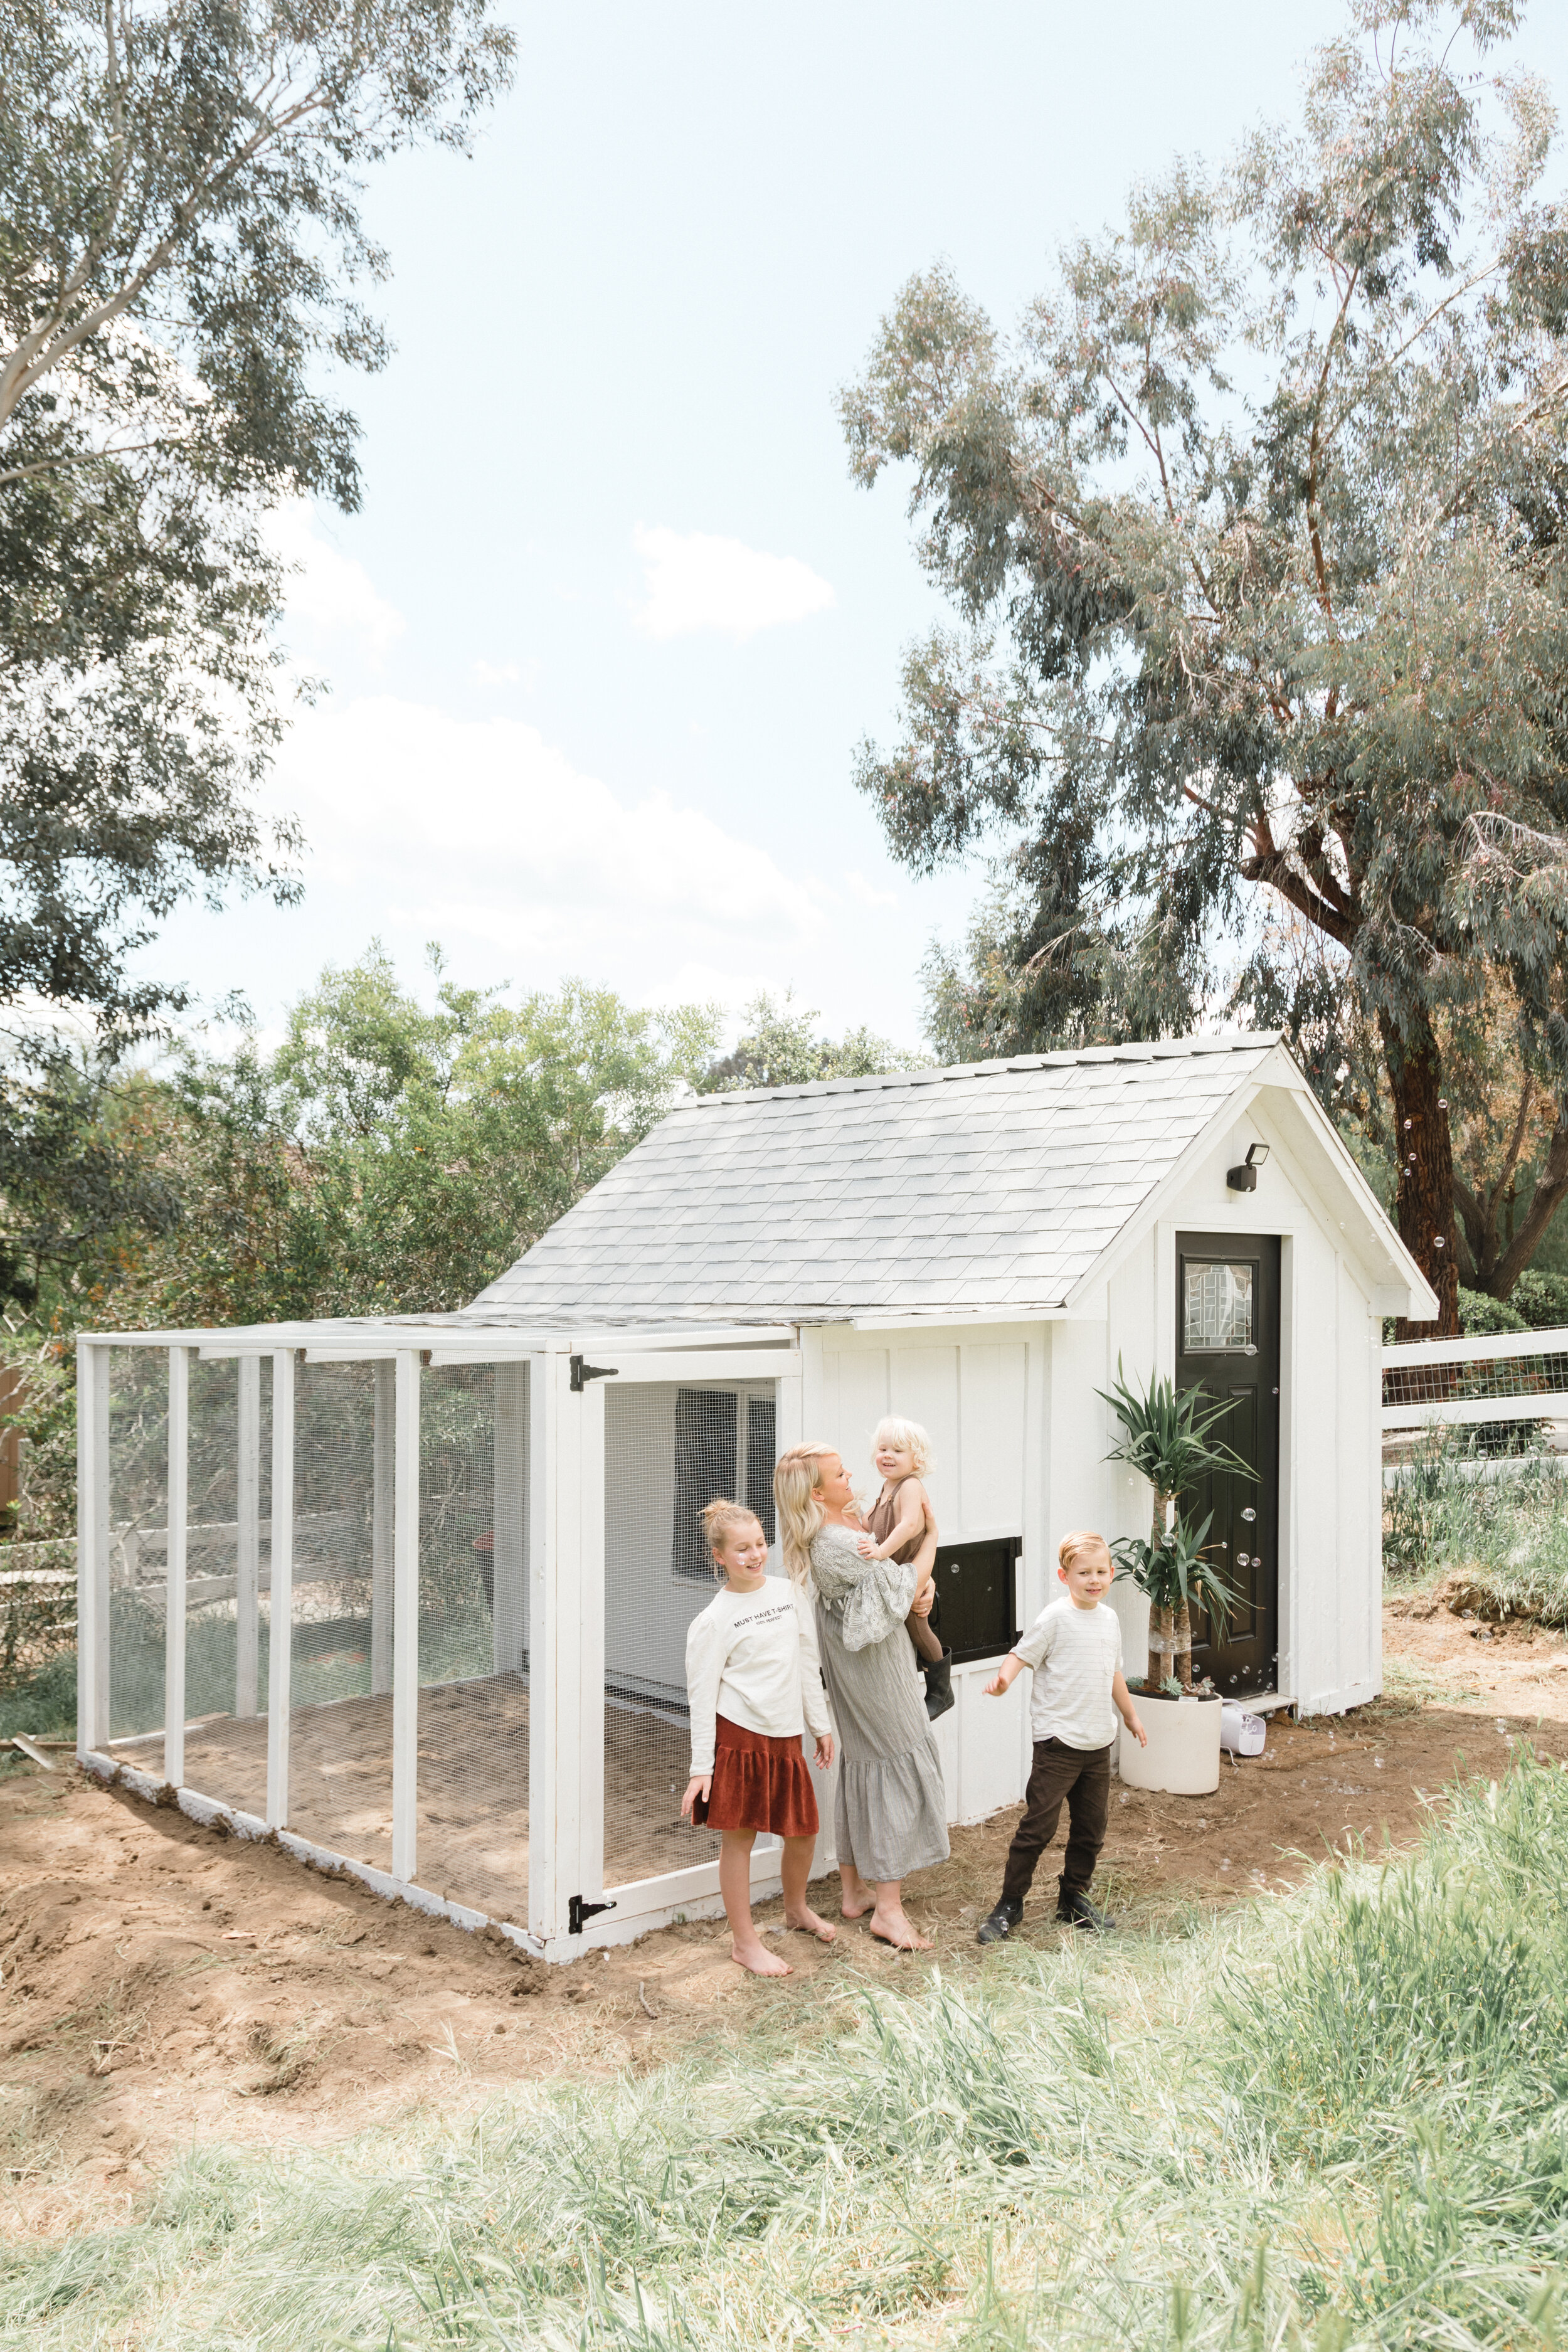
The materials listed below are based on the measurements for our coop which is 7x11


Steps
Level and Mark
First you will want to mark out the area and make sure it is level. Mark the area with wood stakes and the mason string line. You will then want to put your level under the line to make sure each side is level. You may need to move some dirt to level it. You will first create your base by cutting your frame to 11x7 feet. You will line up your pressure treated pieces by overlapping each piece to make a square followed by two screws in each joint. Once you have your square be sure to put the level on each piece. Be sure to put a stake in each corner so the frame doesn’t shift.
Framing
You will want to first create the four corners of the structure because you will want to create a slope for your roof with water. For example when you look at the front of ours you will see that the left side is lower than the right side. The right side is 3 inches higher than the right side. The left side pieces are 70” and the right side measure 73”. For each corner piece you will overlap each piece to make an “L” that lines up with the corner of the frame. You can toenail screw on each side to secure the piece in place. Once you have each corner in place you will cut your top pieces and secure them on the top. Cut and place the longer slides of the coop first and secure them. The other two roof pieces will be narrower than the full size of the coop and rest on the remaining piece of the L support.
Once your four corners and roof framing are set you can cut and place the additional pieces. Each piece will vary in size based on placement for the slope. You will want to measure and cut each piece. On the long sides of the coop the support pieces should all be the same which can make cutting go quicker. Install each support piece until the main frame is complete.
The next step will be installing the joist hangers in line with each support piece. You will measure and cut each piece and slide into the top of each joist hanger and screw the bracket to the side of the joist. After the framing and roof joists are in place you will cut and build the door. Be sure to cut the frame of the door to give you a ½” clearance all the way around.
Nesting Box
You can cut and assemble this box outside of the coop and set and place when you are ready to screw to the side of the coop. Regulations say you have have up to 6 chickens per nesting box and the box must at least be 18” off the ground. We made our boxes 12”x12” with three boxes. You will want to cut and assemble the 3 boxes and create a sloping roof for the top. We did a 2.5” trim piece along the front to keep the shavings in from the nest. We built a little plywood ladder and perch from the left over furring strips and plywood. You will also want a perch in front of the nesting boxes for the ladder to rest on. We screwed our ladder to the perch so things wouldn’t be moved.
Once the box is made we cut the two door holes to access the nesting boxes and then installed the nesting box frame. We painted the doors black and then installed them using the 3” black hinges and door pulls. We also used a latch to keep the doors closed when not in use.
For the door we installed the latch kit and gate hardware along with the same door pull that we placed on the nesting box doors. Be sure to complete all the painting before installing the hardware.
Siding and Trim
We used the siding panel for 4 feet of the front of the coop. Cut the panel to fit the slope and side of the coupe. Use the furring strips to create a board and batten look by placing the strips equal distant apart. The furring strips can also be used as a border around the nest box doors. The longer and wider trim piece can be used to trim the top and sides of the siding panel.

Roofing
You will cut the OSB roofing material and screw to the roof joists. Roll out felt underlayment. Place the shingles at a staggered pattern so the seams of each row do not line up. You will start at the bottom of where you would like the roofing to start and stack the shingles from the bottom. Use the roofing nails to attach the top of each shingle to the plywood. Place each row overlapping up until the color line.
Painting
Be sure to paint everything before installing the hardware cloth, latches, and chicken wire. We used an exterior prime and paint in a satin like this one: link
Hardware Cloth and Chicken Wire
You can use chicken wire for the wall sides if you would prefer but we liked the rigidity and look of the hardware cloth. We used chicken wire below ground to keep out predators. You will want to dig a 12-18” trench around your frame where you will place chicken wire that will screw to the frame of the coop. Once you have your trench filled in and your chicken wire placed you can begin to place your hardware cloth. It may help to have two people for this and be sure to wear gloves because the edges can be sharp. You will measure each opening and use the tin snips to cut the hardware cloth to the size. You will use the lath screws to secure the hardware cloth. Repeat this step for all the sides and the roof.